DE-FLOCKING A SO-SOFT PONY
There are many different ways to take flocking off a pony but this is my method.
Hi fellow pony lovers!
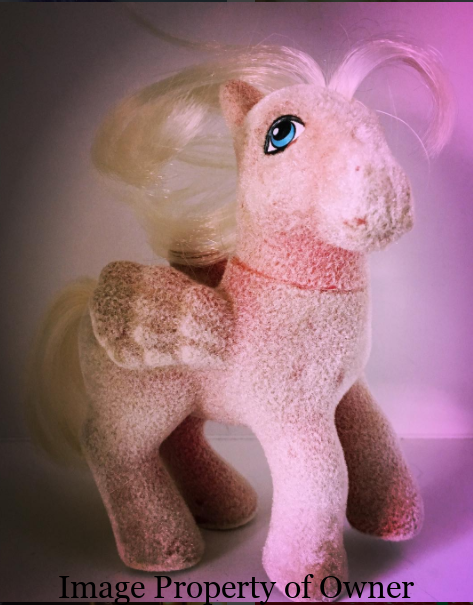
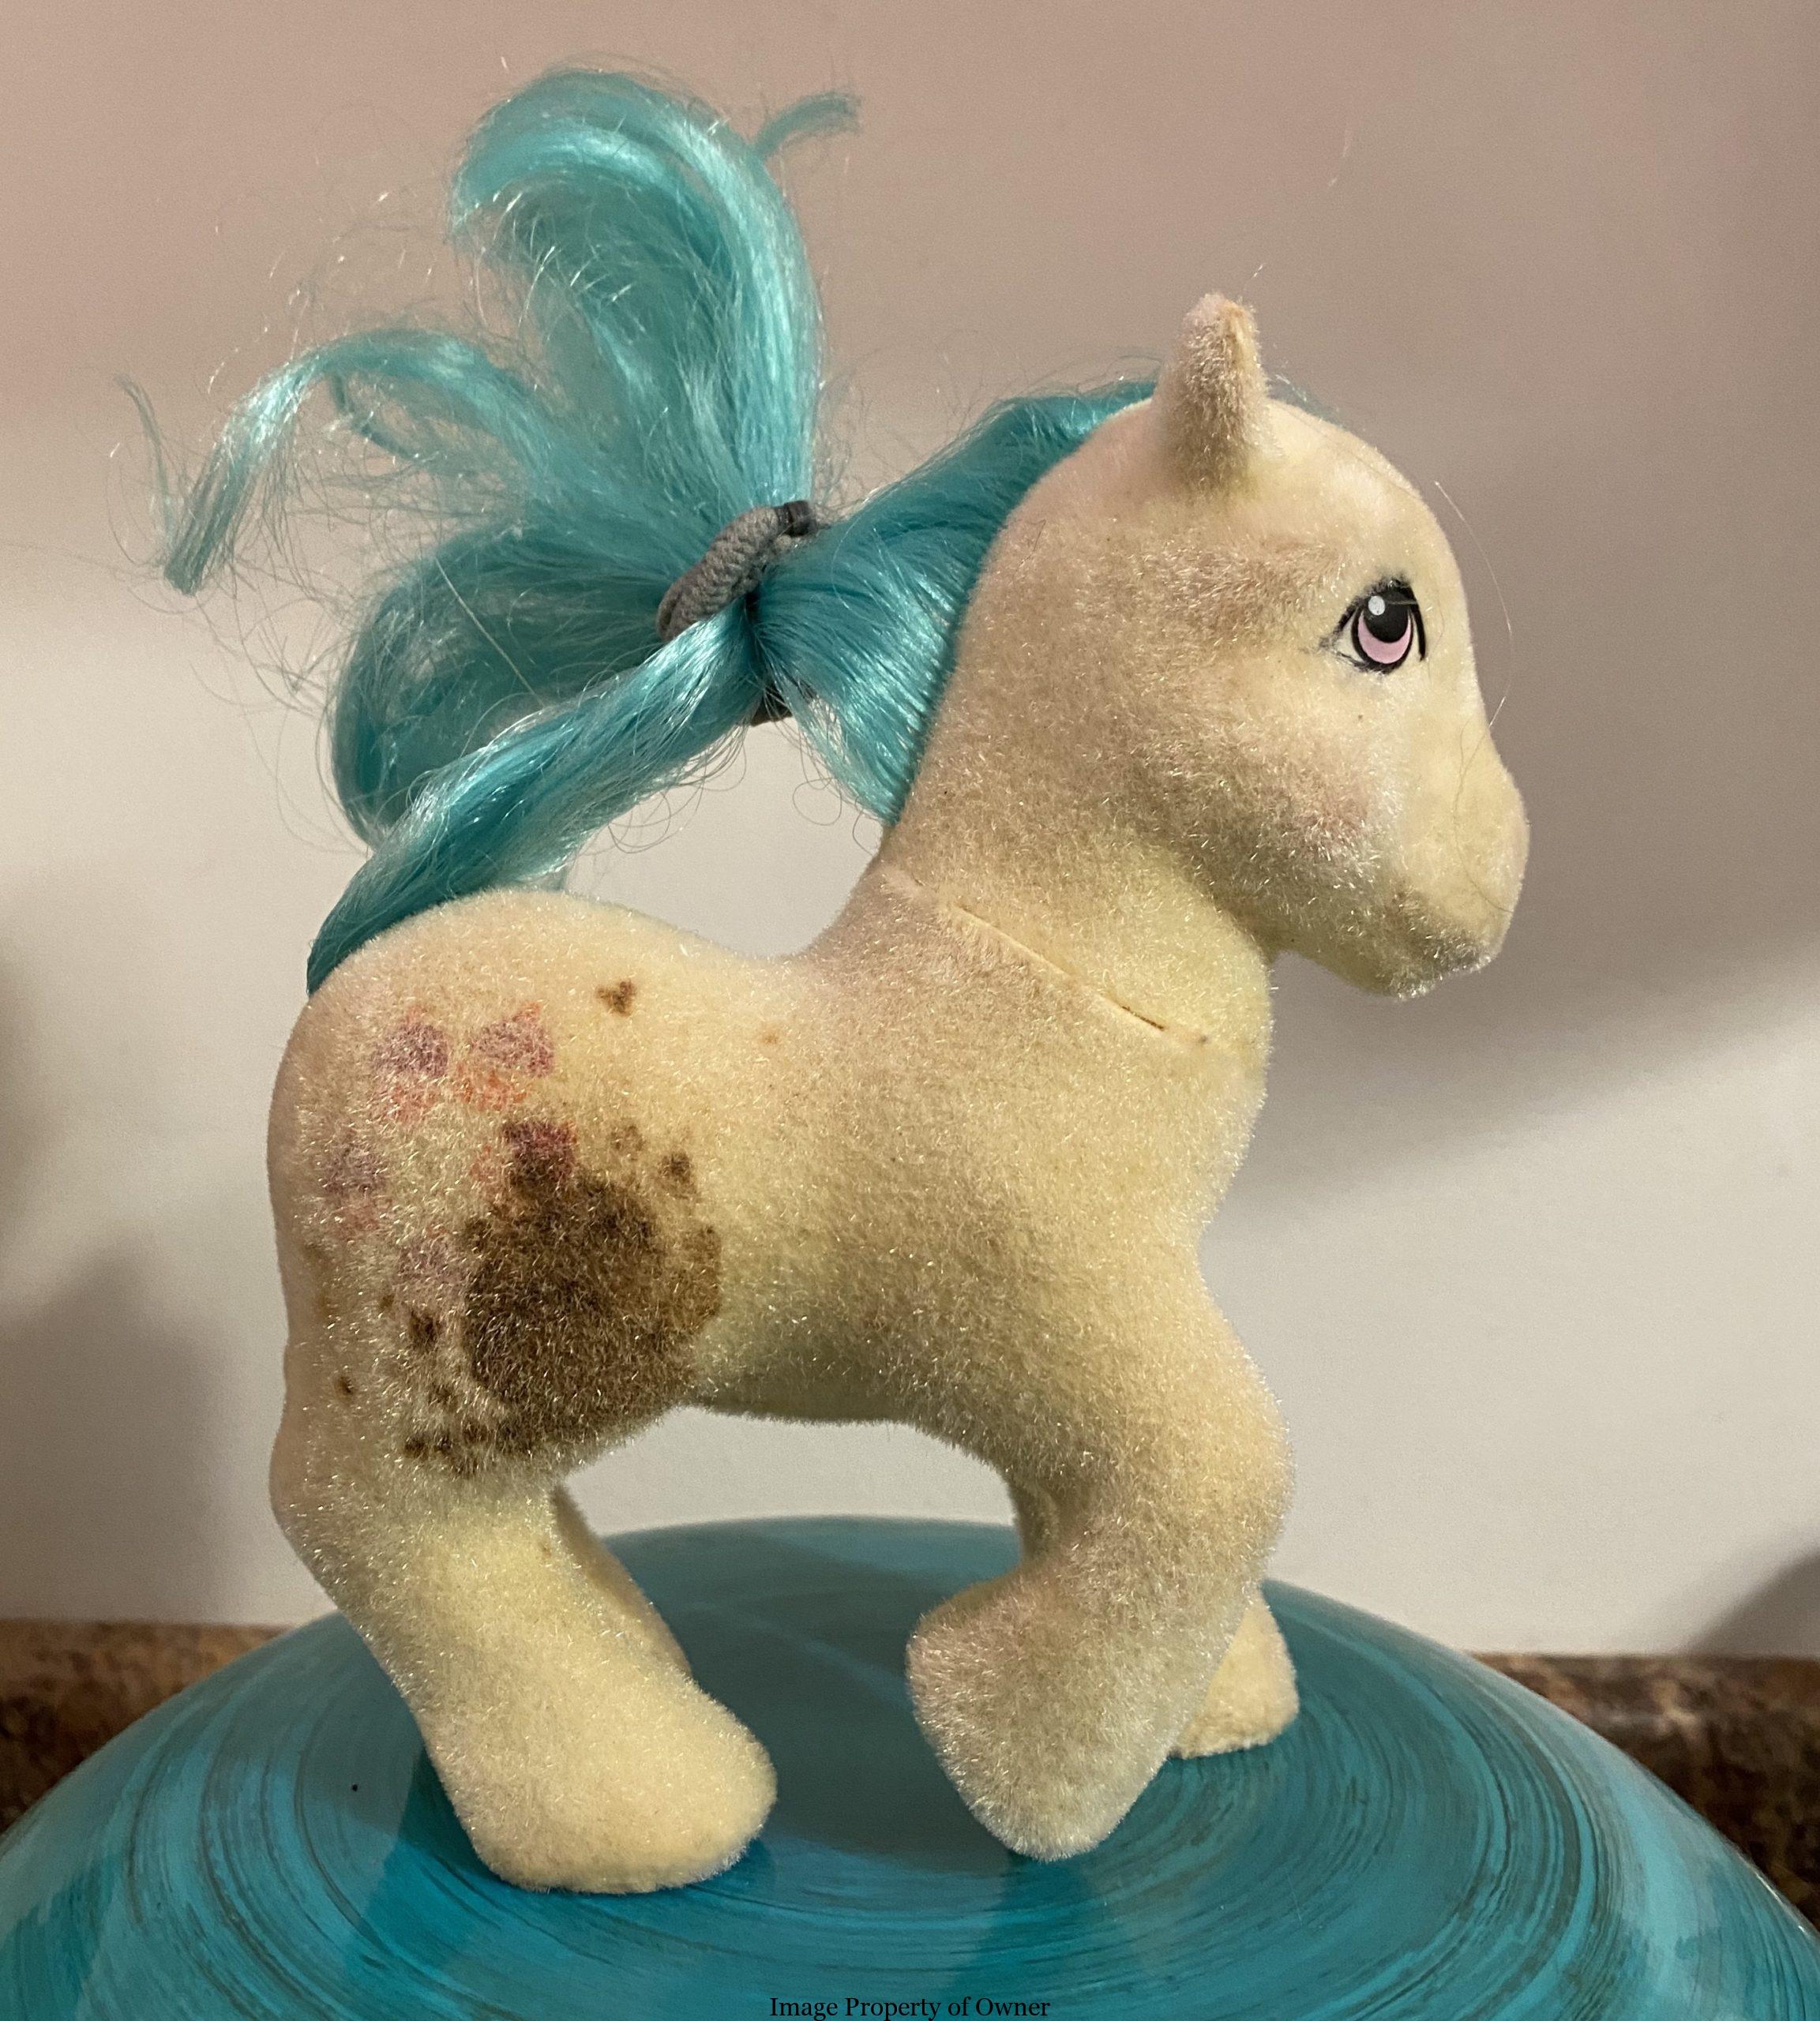
Today we’re going to learn how to de-flock a My Little Pony. Sounds painful, you say? Nope,not for you or your pony. Why de-flock? Some pony collectors either don’t like the So-Soft ponies’ look or want to take the flocking off to customize their pony, some want the pony to match a baby pony that might have been issued (there were no so-soft babies made by Hasbro), some just want to clean up a So-Soft whose flocking has discoloured, become grimy and can’t be cleaned or is already falling off and then there are those like me who just prefer the bright colours of the plastic underneath. Whatever your reason, here we go!
*Note: different collectors have different methods of de-flocking. If this one isn’t your cup of tea, do a quick google search, many people who restorations have posted their own tutorials.

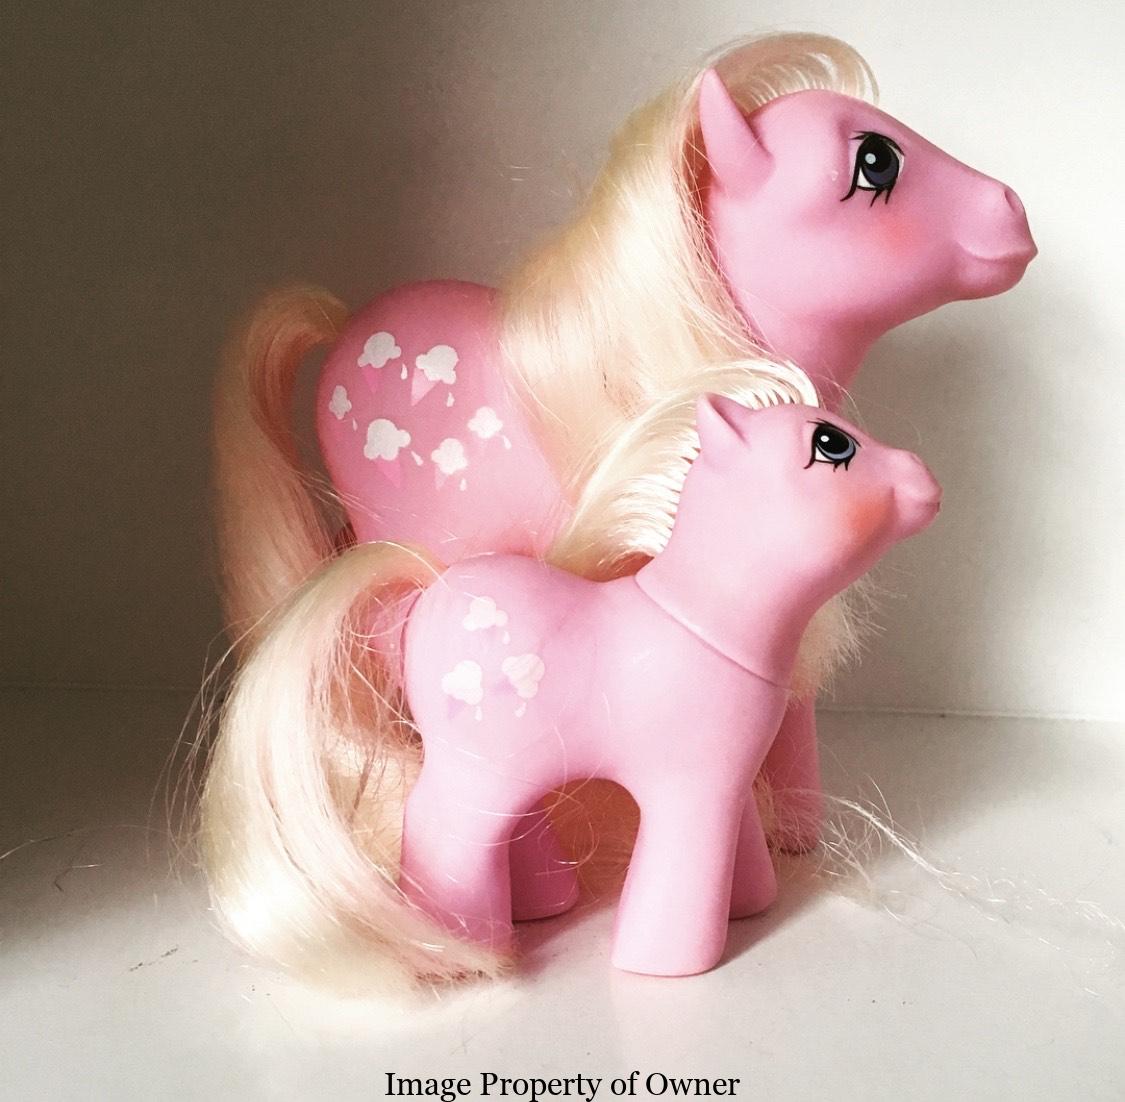
MLP So-Soft Ribbon
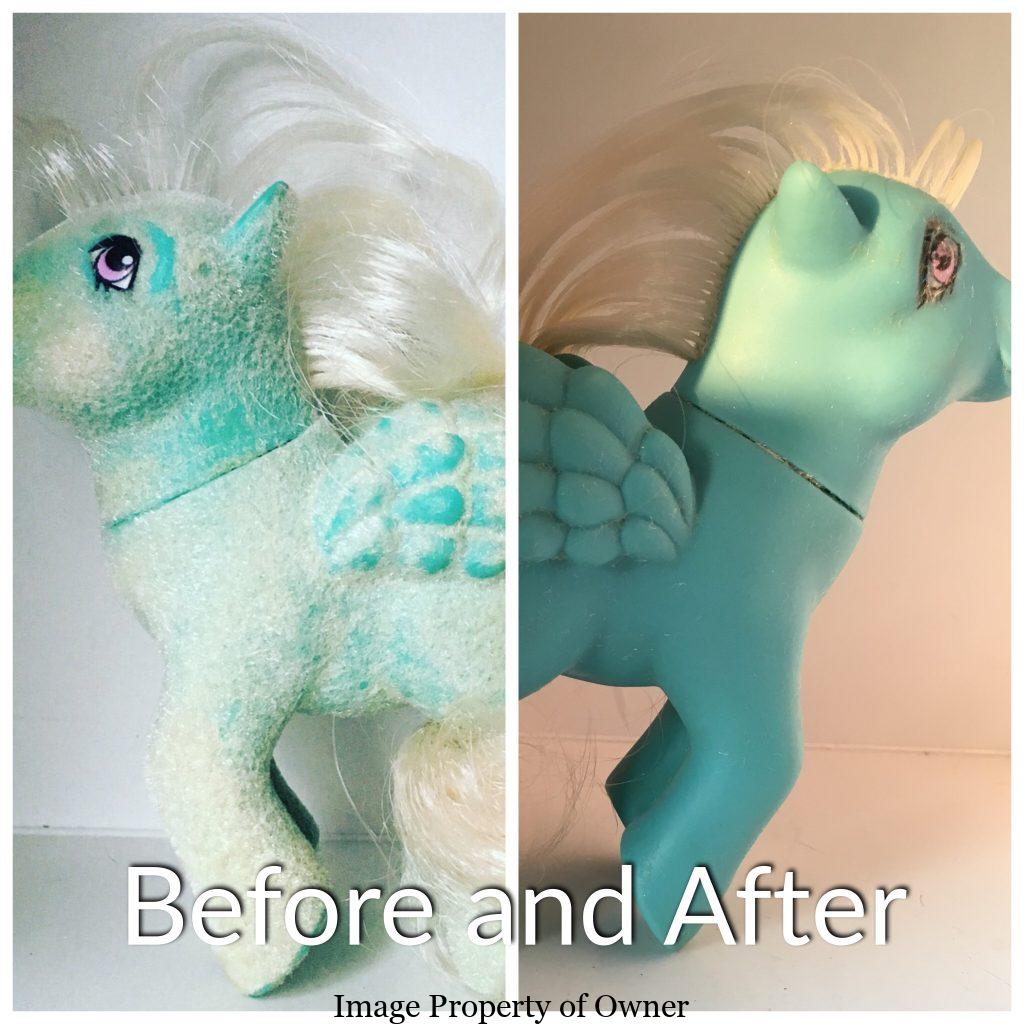
MLP So-Soft Wind Whister
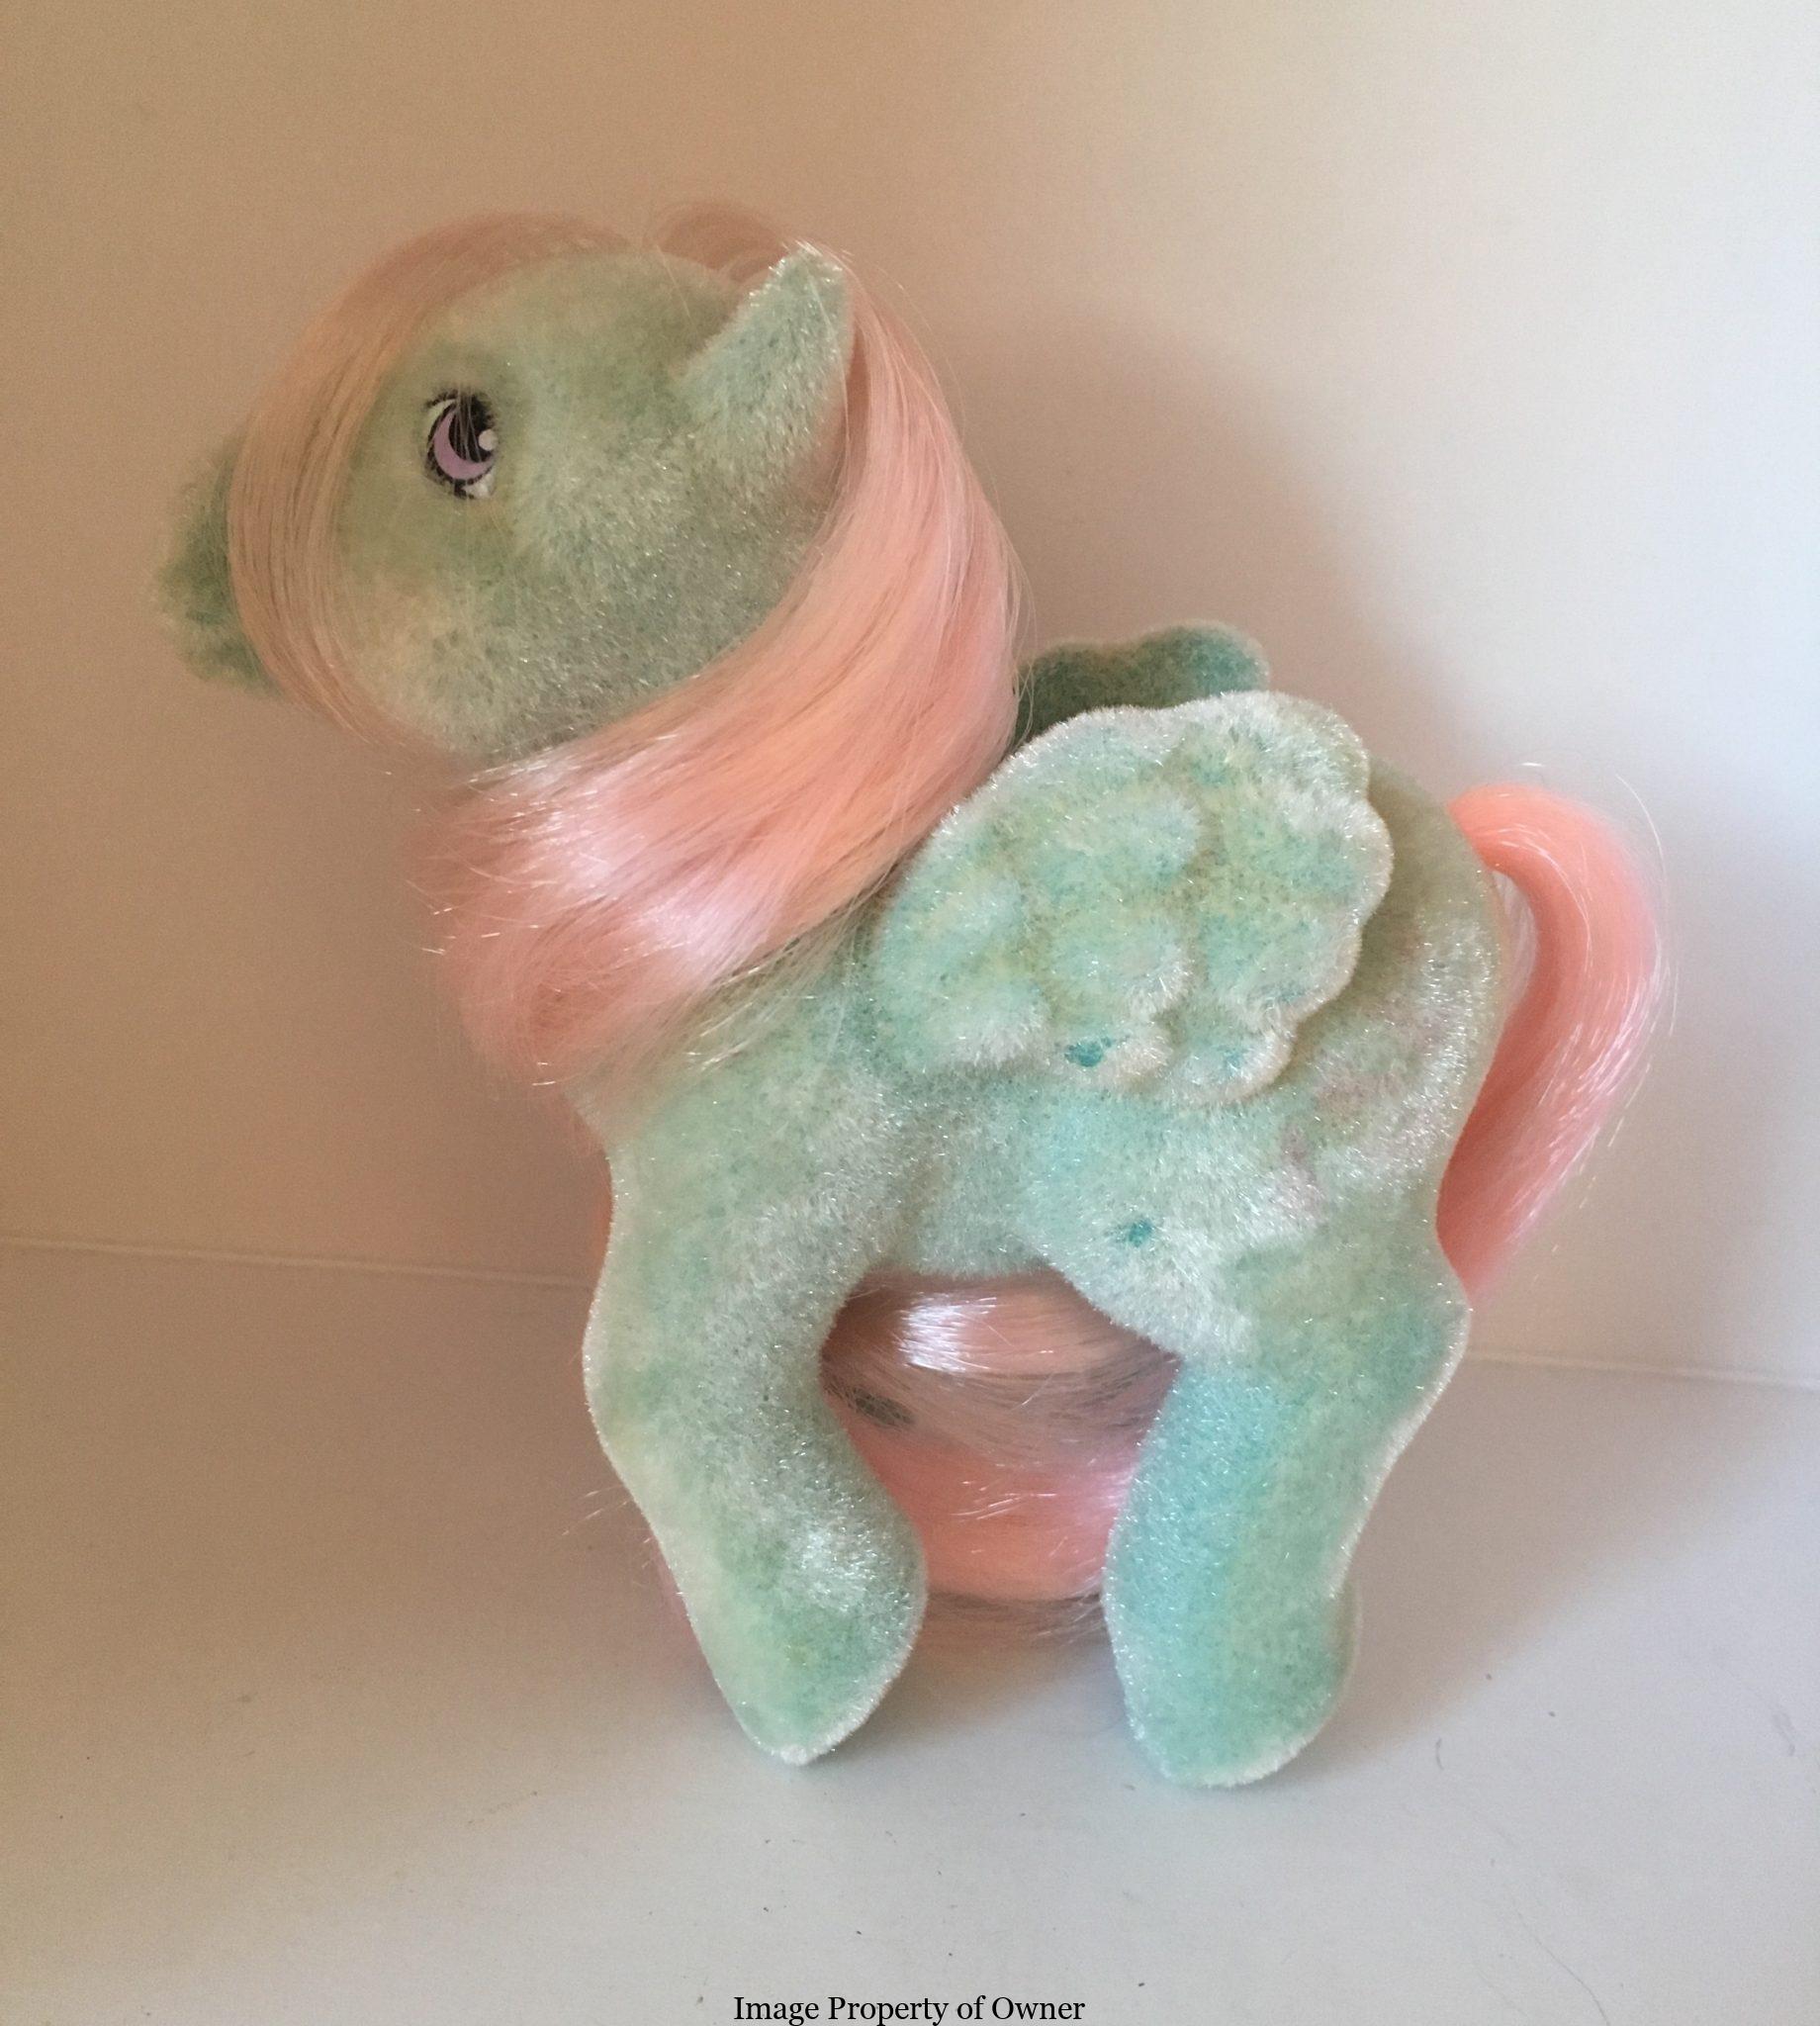
MLP So-Soft Paradise
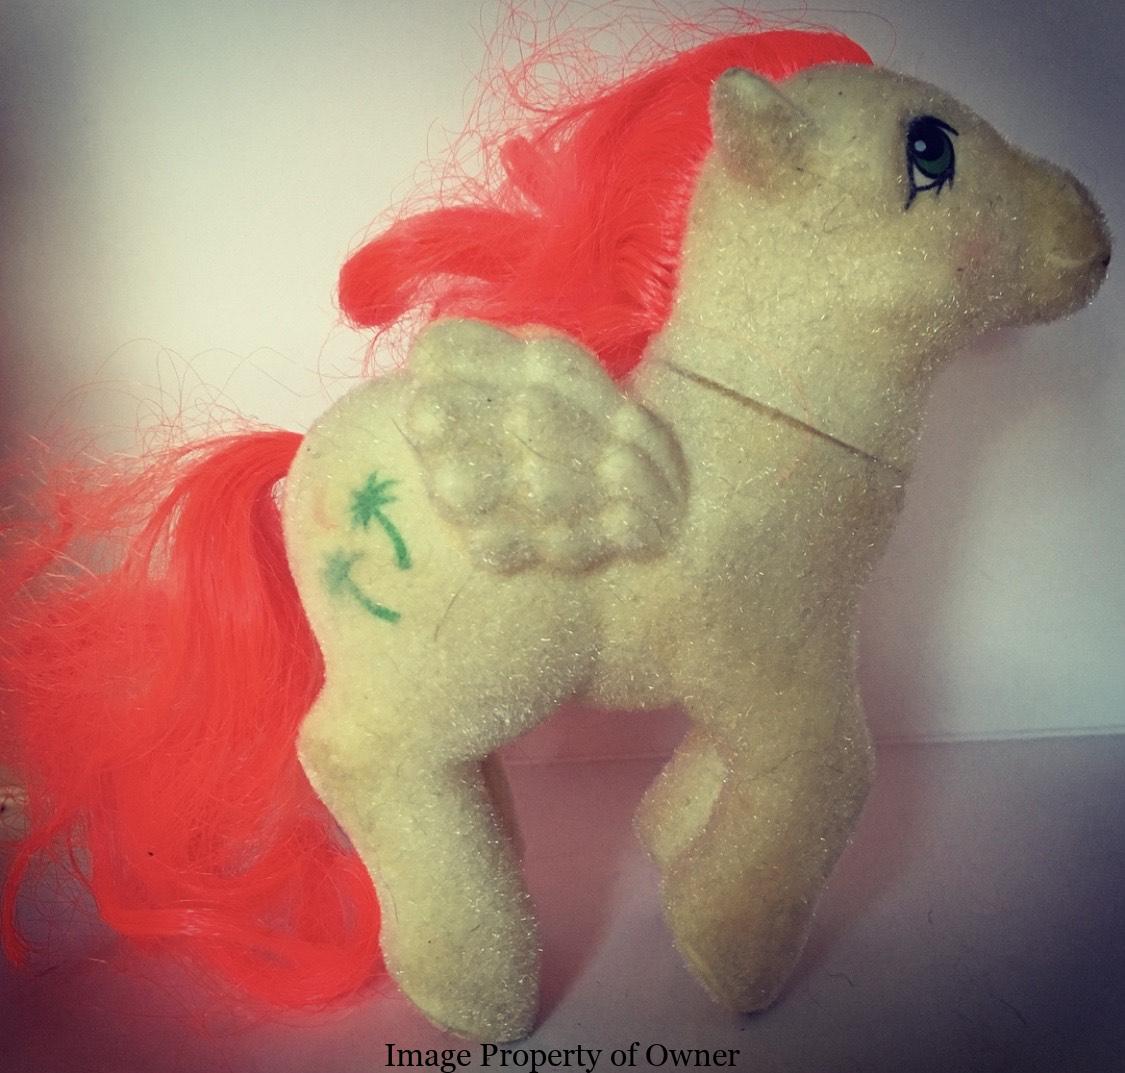
MLP So-Soft Hippity Hop
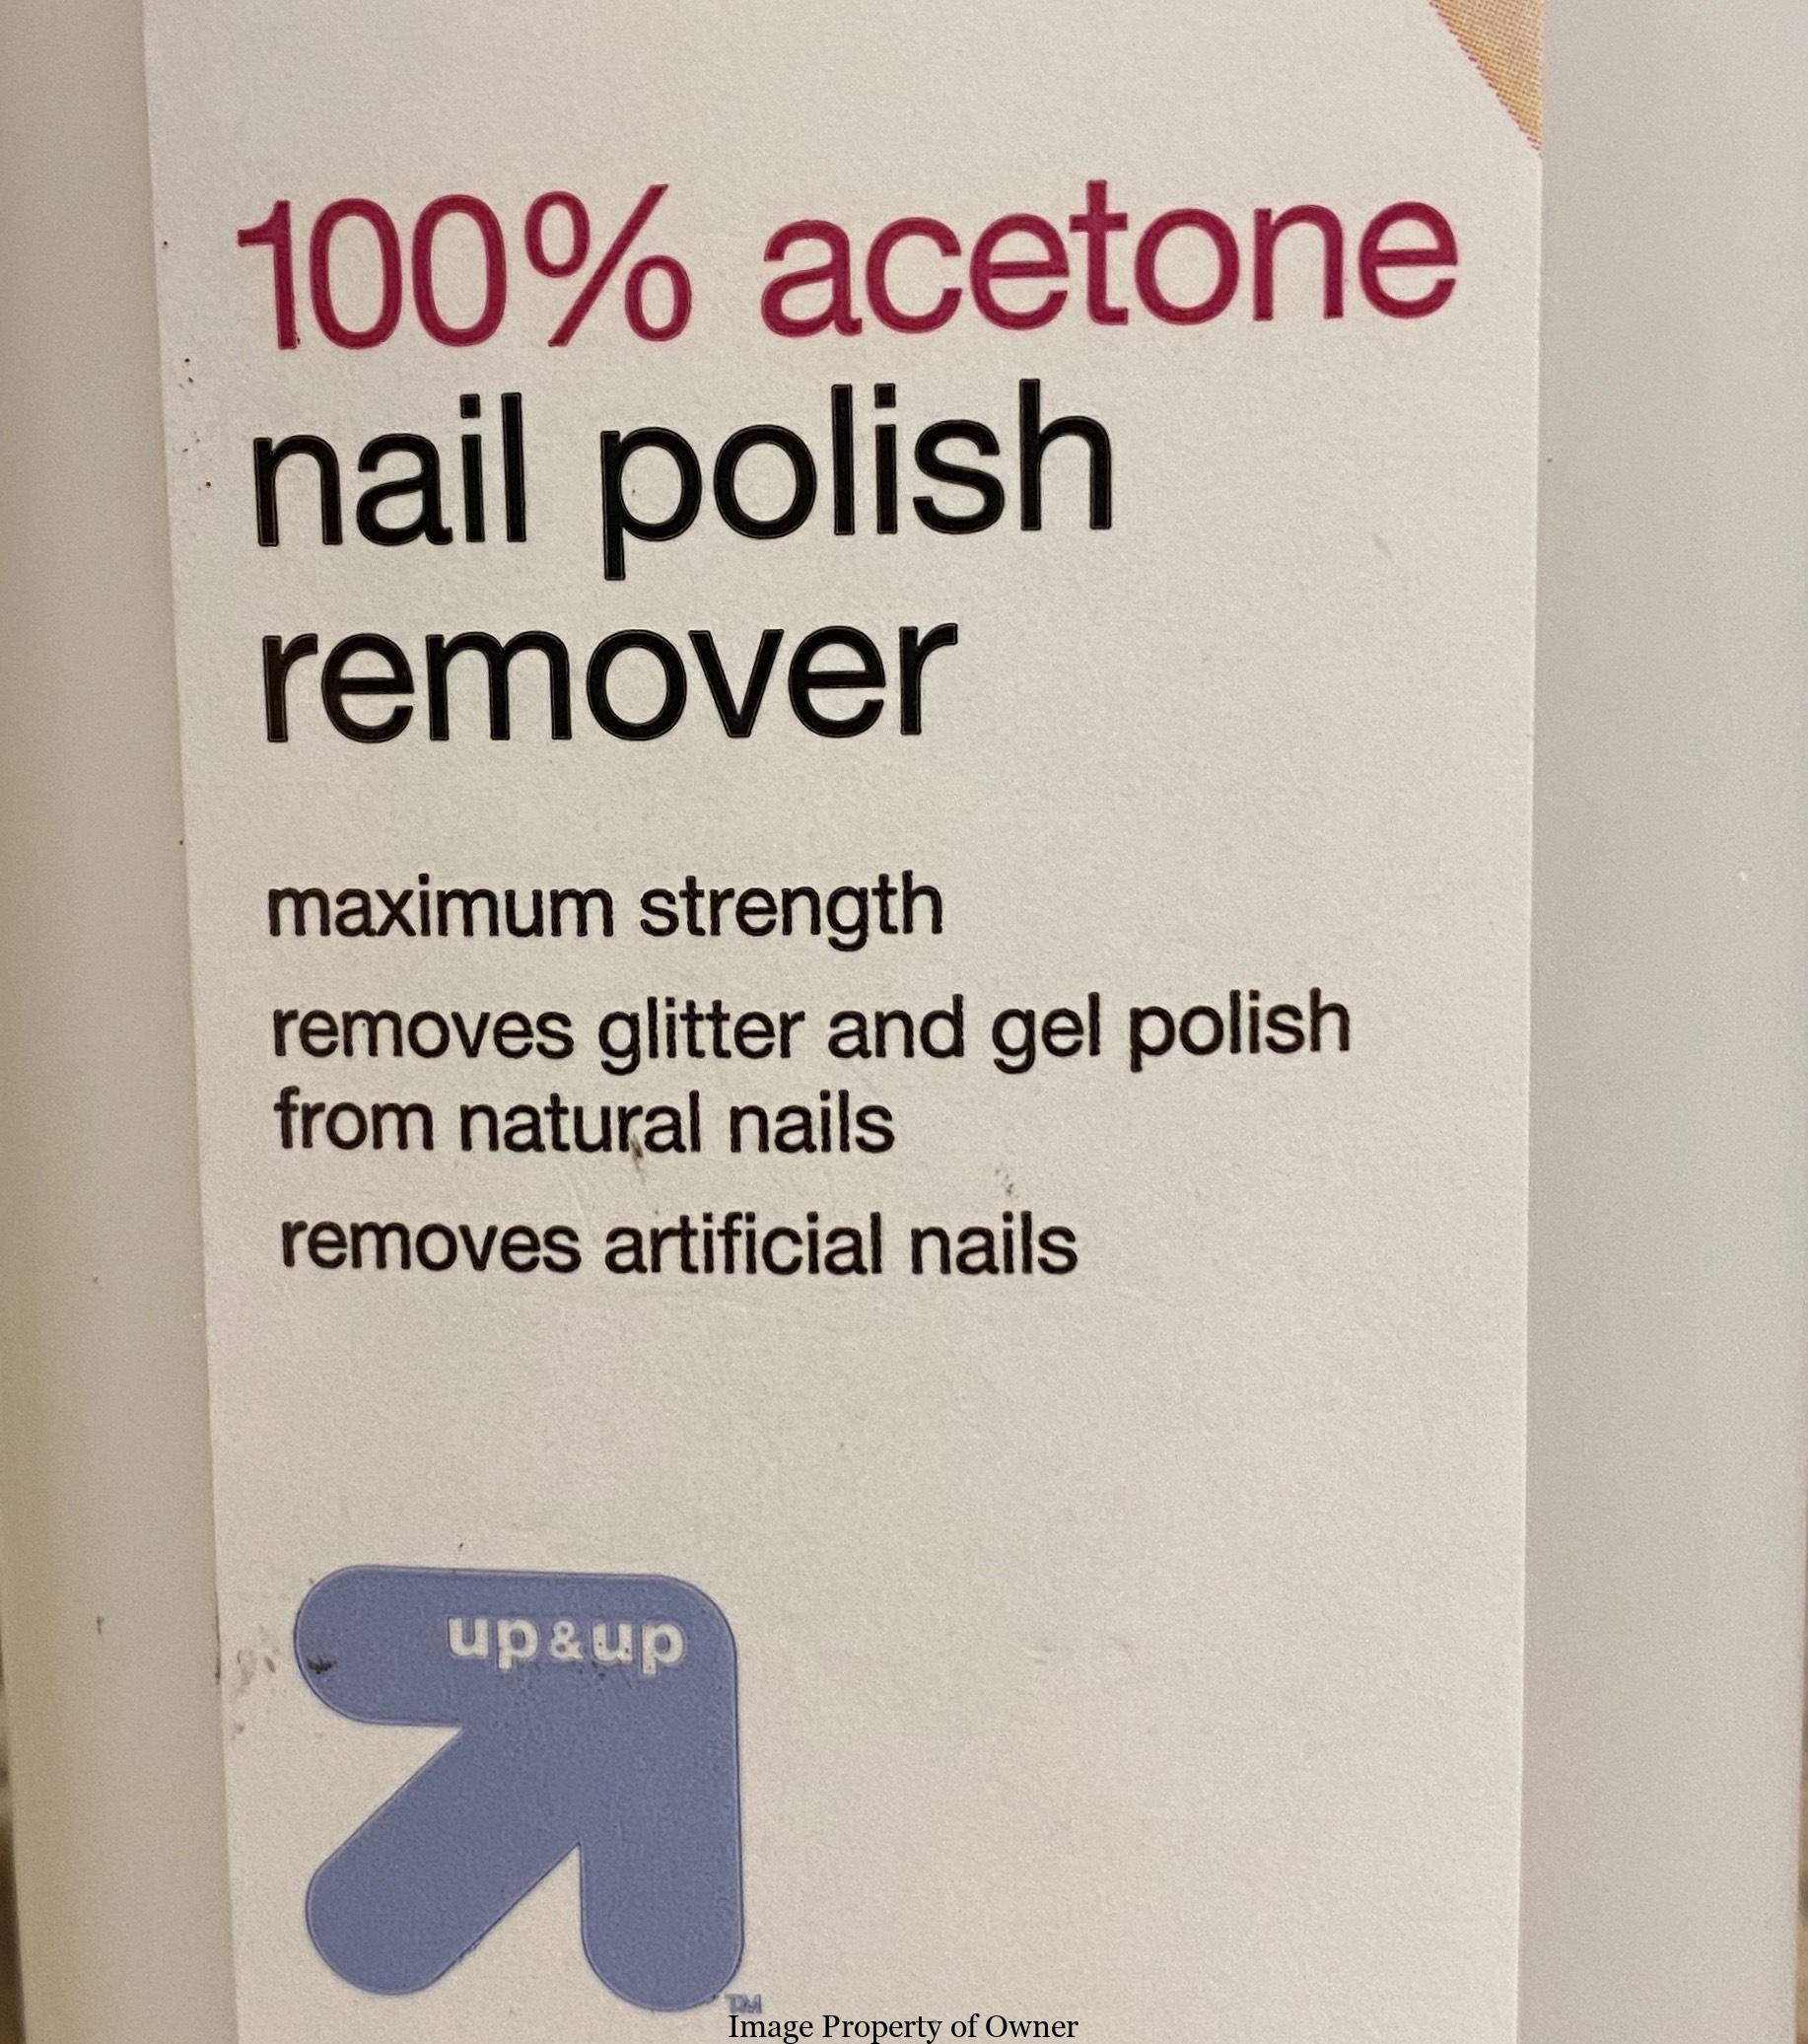
Supplies you will need: 100% Acetone nail polish remover (at places like Target, drug stores or a hardware store), q-tips, cotton balls, kitchen paper, an x-acto knife, medical gloves to protect your fingers, a plastic bowl you don’t care about big enough for pony to sit in (I like to use the wide plastic cereal bowls from Target they market to college students). Some optional supplies depending on how dirty/stained pony is would be a Mr. Clean Magic Eraser, blue painting tape, tinfoil, hair conditioner. I find 1 pony usually takes 50-75% of a 16 oz bottle of acetone from start to finish depending on how strong the glue is underneath.
Remember that acetone is NOT nice to the skin so please glove if you can (I realise getting medical gloves for non-medical purposes is a bit of a stretch in Covid-times) and if you can’t or just prefer not to, make sure to wash and moisturize your hands well afterwards, taking care not to get much on you to begin with. But if you prefer not to glove and you’ve had your nails done, this is not the method for you- acetone will eat that new nail job right off.

**IMPORTANT NOTE** Areas you will not use acetone on are EYES, SYMBOLS/ CUTIE MARKS, HAIR and anything with GLITTER on it (just in case you were thinking of cleaning up a Non-So-Soft with acetone. These are NO-NO areas). Acetone will eat right through the paint of eyes and symbols. The ONLY time you would use it on these areas is if you are doing a total restore on a bait pony and want to paint your own eyes and symbols. If so- go to town!
FIRST, tie up your pony’s mane and tail with some hair ties, rubber bands or bulldog clips. To begin with, be aware that acetone evaporates really quickly so I always pour out a small bit at a time in my plastic bowl. Soak a cotton ball or gauze pad in acetone, ring it out and let sit on a large area of your pony like the belly, flank or legs to loosen the flocking, and then gently begin to rub. Some ponies will be easy-peasy to pull the flocking off of, and some are just going to fight you over it so take it slow. Leave a wide area around your No-No sections to go back to. One word of caution here, if your cotton ball is soaked in acetone, it tends to creep outwards and soak the flocking. Which is great in safe areas and NOT in No-No areas so just make sure it’s not sopping before you put it on pony. If you’re a person who likes to pick at stickers and such, you’ll love de-flocking; it’s pretty satisfying pulling it off once it loosens, lol.

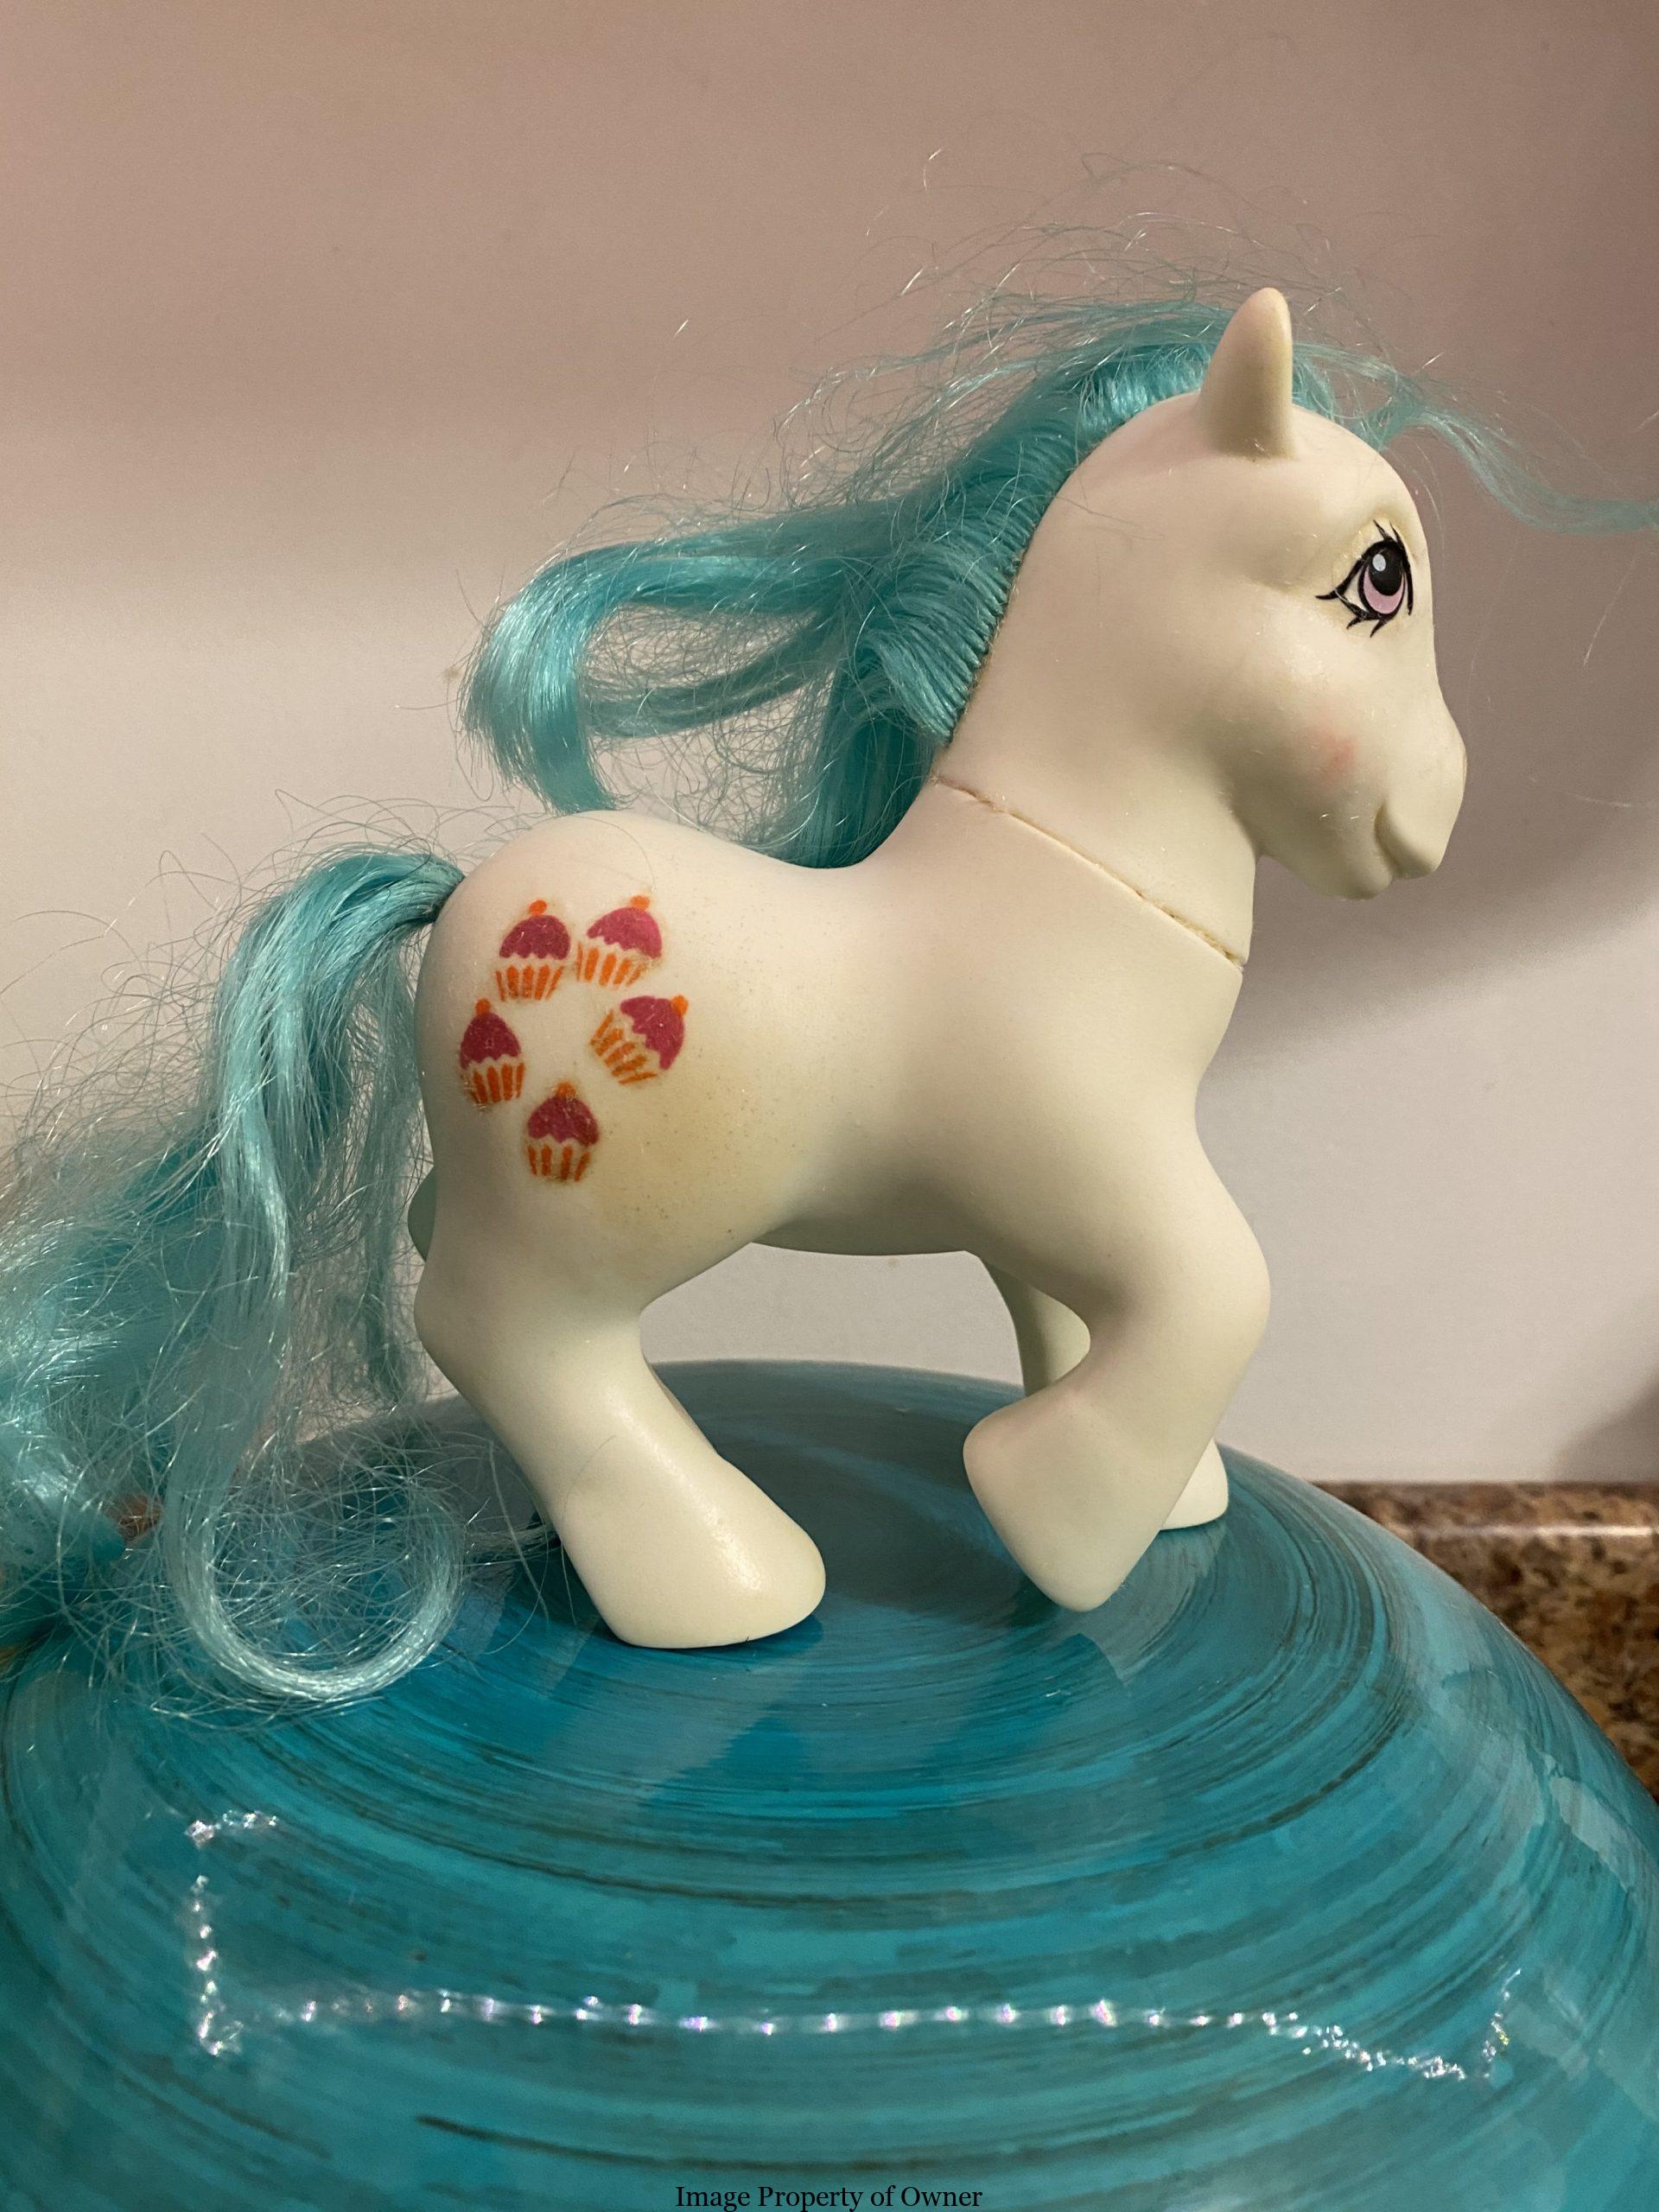
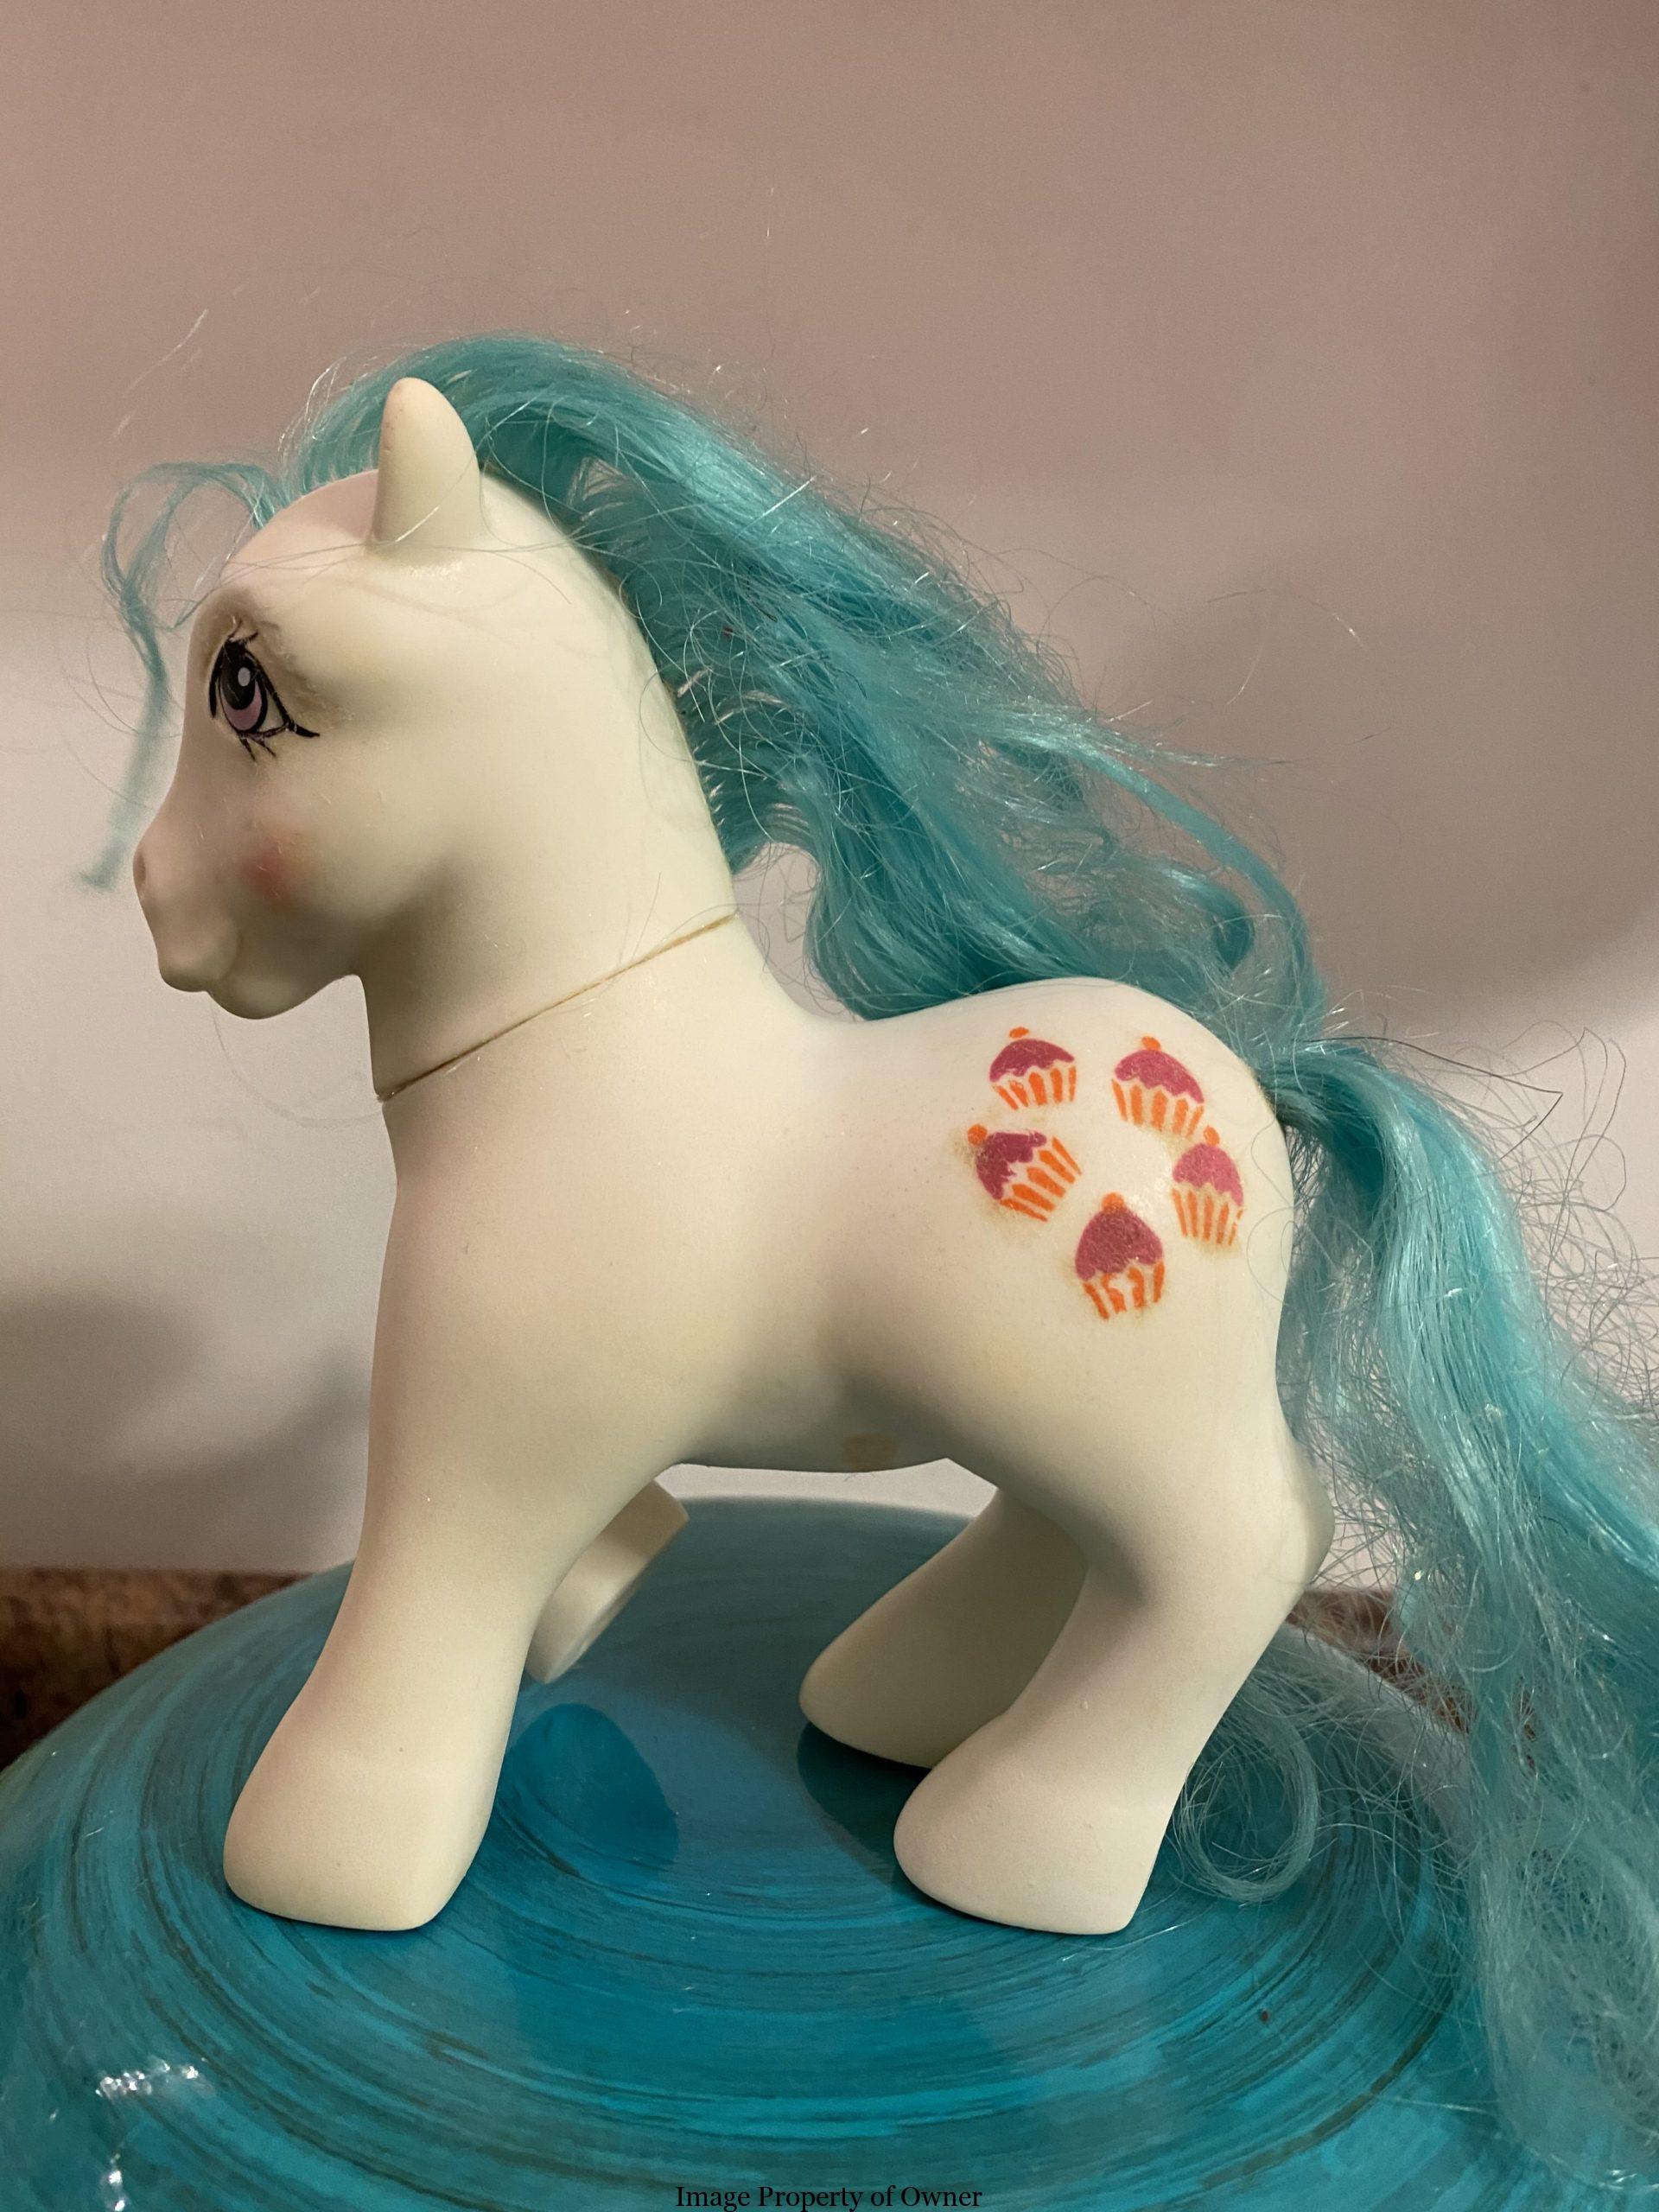
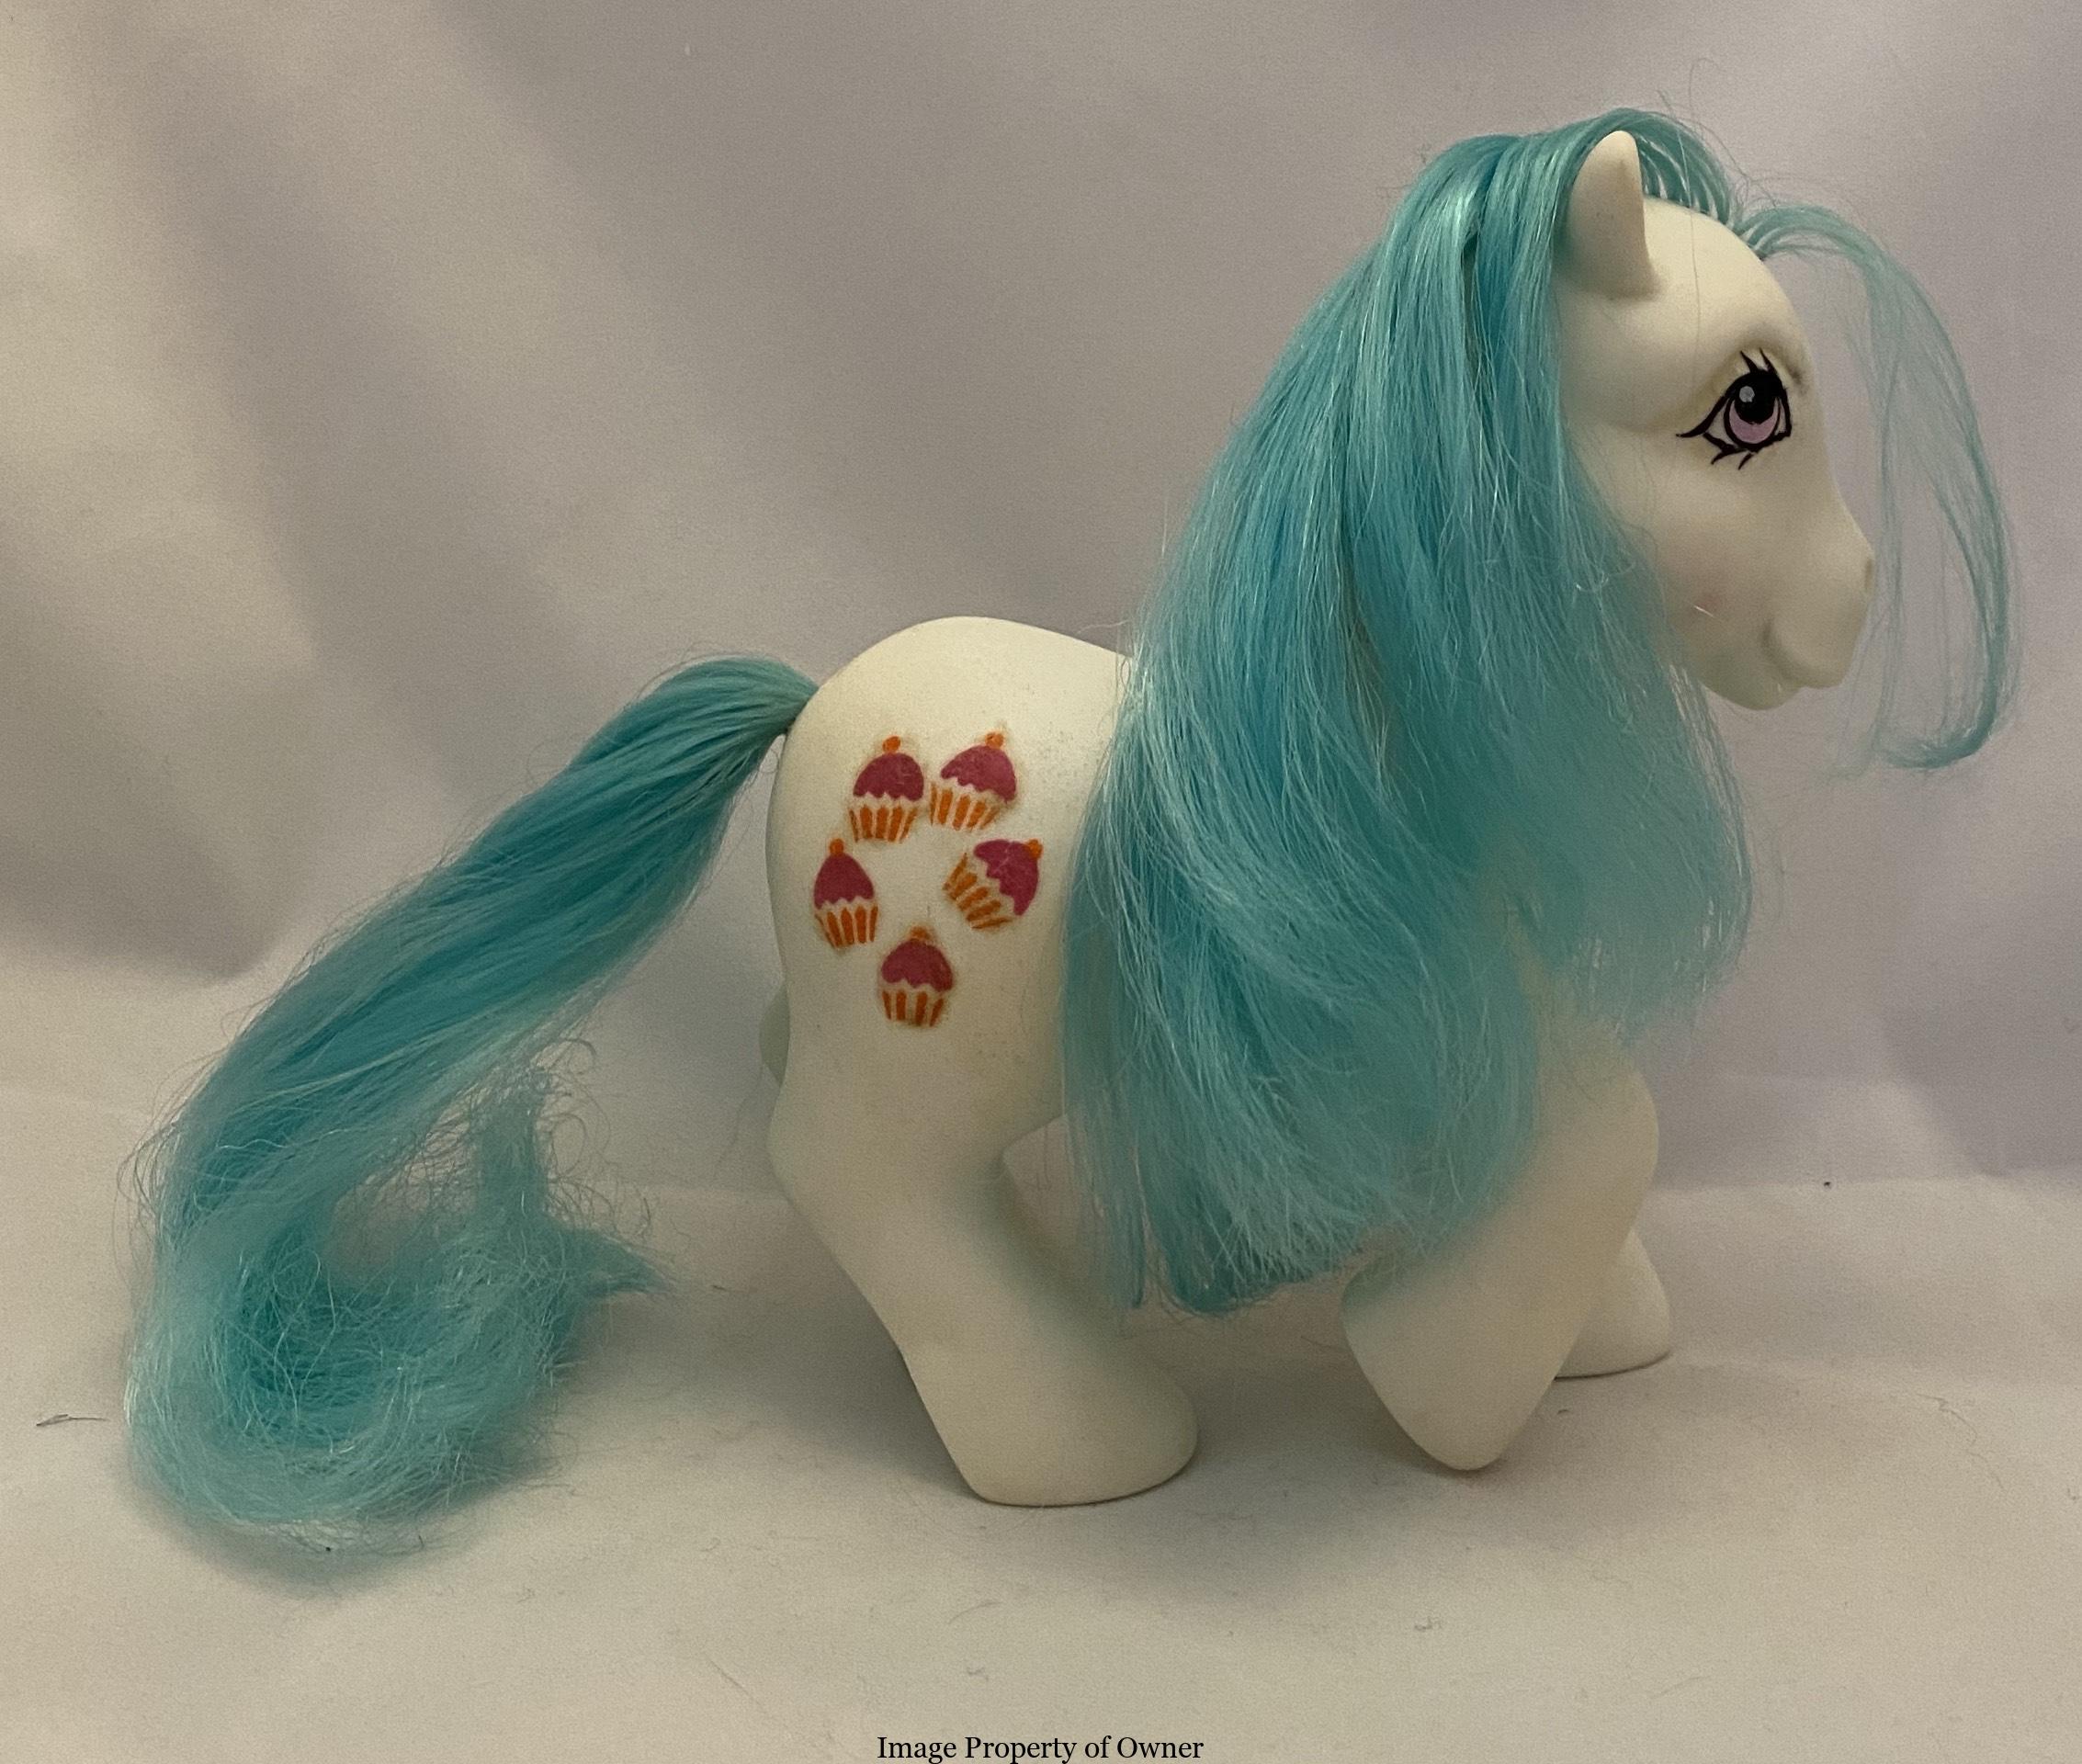
MLP So Soft Cupcake
Make sure pony’s hair is out of the way.
Soaking flocking with an acetone-soaked cotton ball.

Cotton balls can be shoved between legs where it’s hard to reach.

Some ponies will shed their flocking easily at least in some places like the legs.
One little way I like to cheat on the legs and belly is to just fill up a plastic container with acetone and let my pony soak for like 30-45 sec to really loosen everything up so I can just wipe her off easily. I find Target’s college plastic wide cereal bowls OR 2 cup gladware bowls fit exactly right. Be sure to hold the pony up just so her symbols are above the acetone and I just towel her off immediately with kitchen paper to absorb the acetone before really rubbing so the acetone can’t saturate the flocking and travel up to the symbols. Flocking never seems to come off in sheets no matter how loose it is, so you’ll be rubbing pony over several times and how long it takes really depends on the pony. Sometimes I just do a bit and come back to it another day and other times I just take an afternoon and do the entire pony. PLEASE NOTE– you’ll want to either lay down something to catch the flocking bits or do it in a sink to catch them because as you get rolling, that stuff covers the floor and everything else like a blizzard and you definitely don’t want any “helpers” eating it.
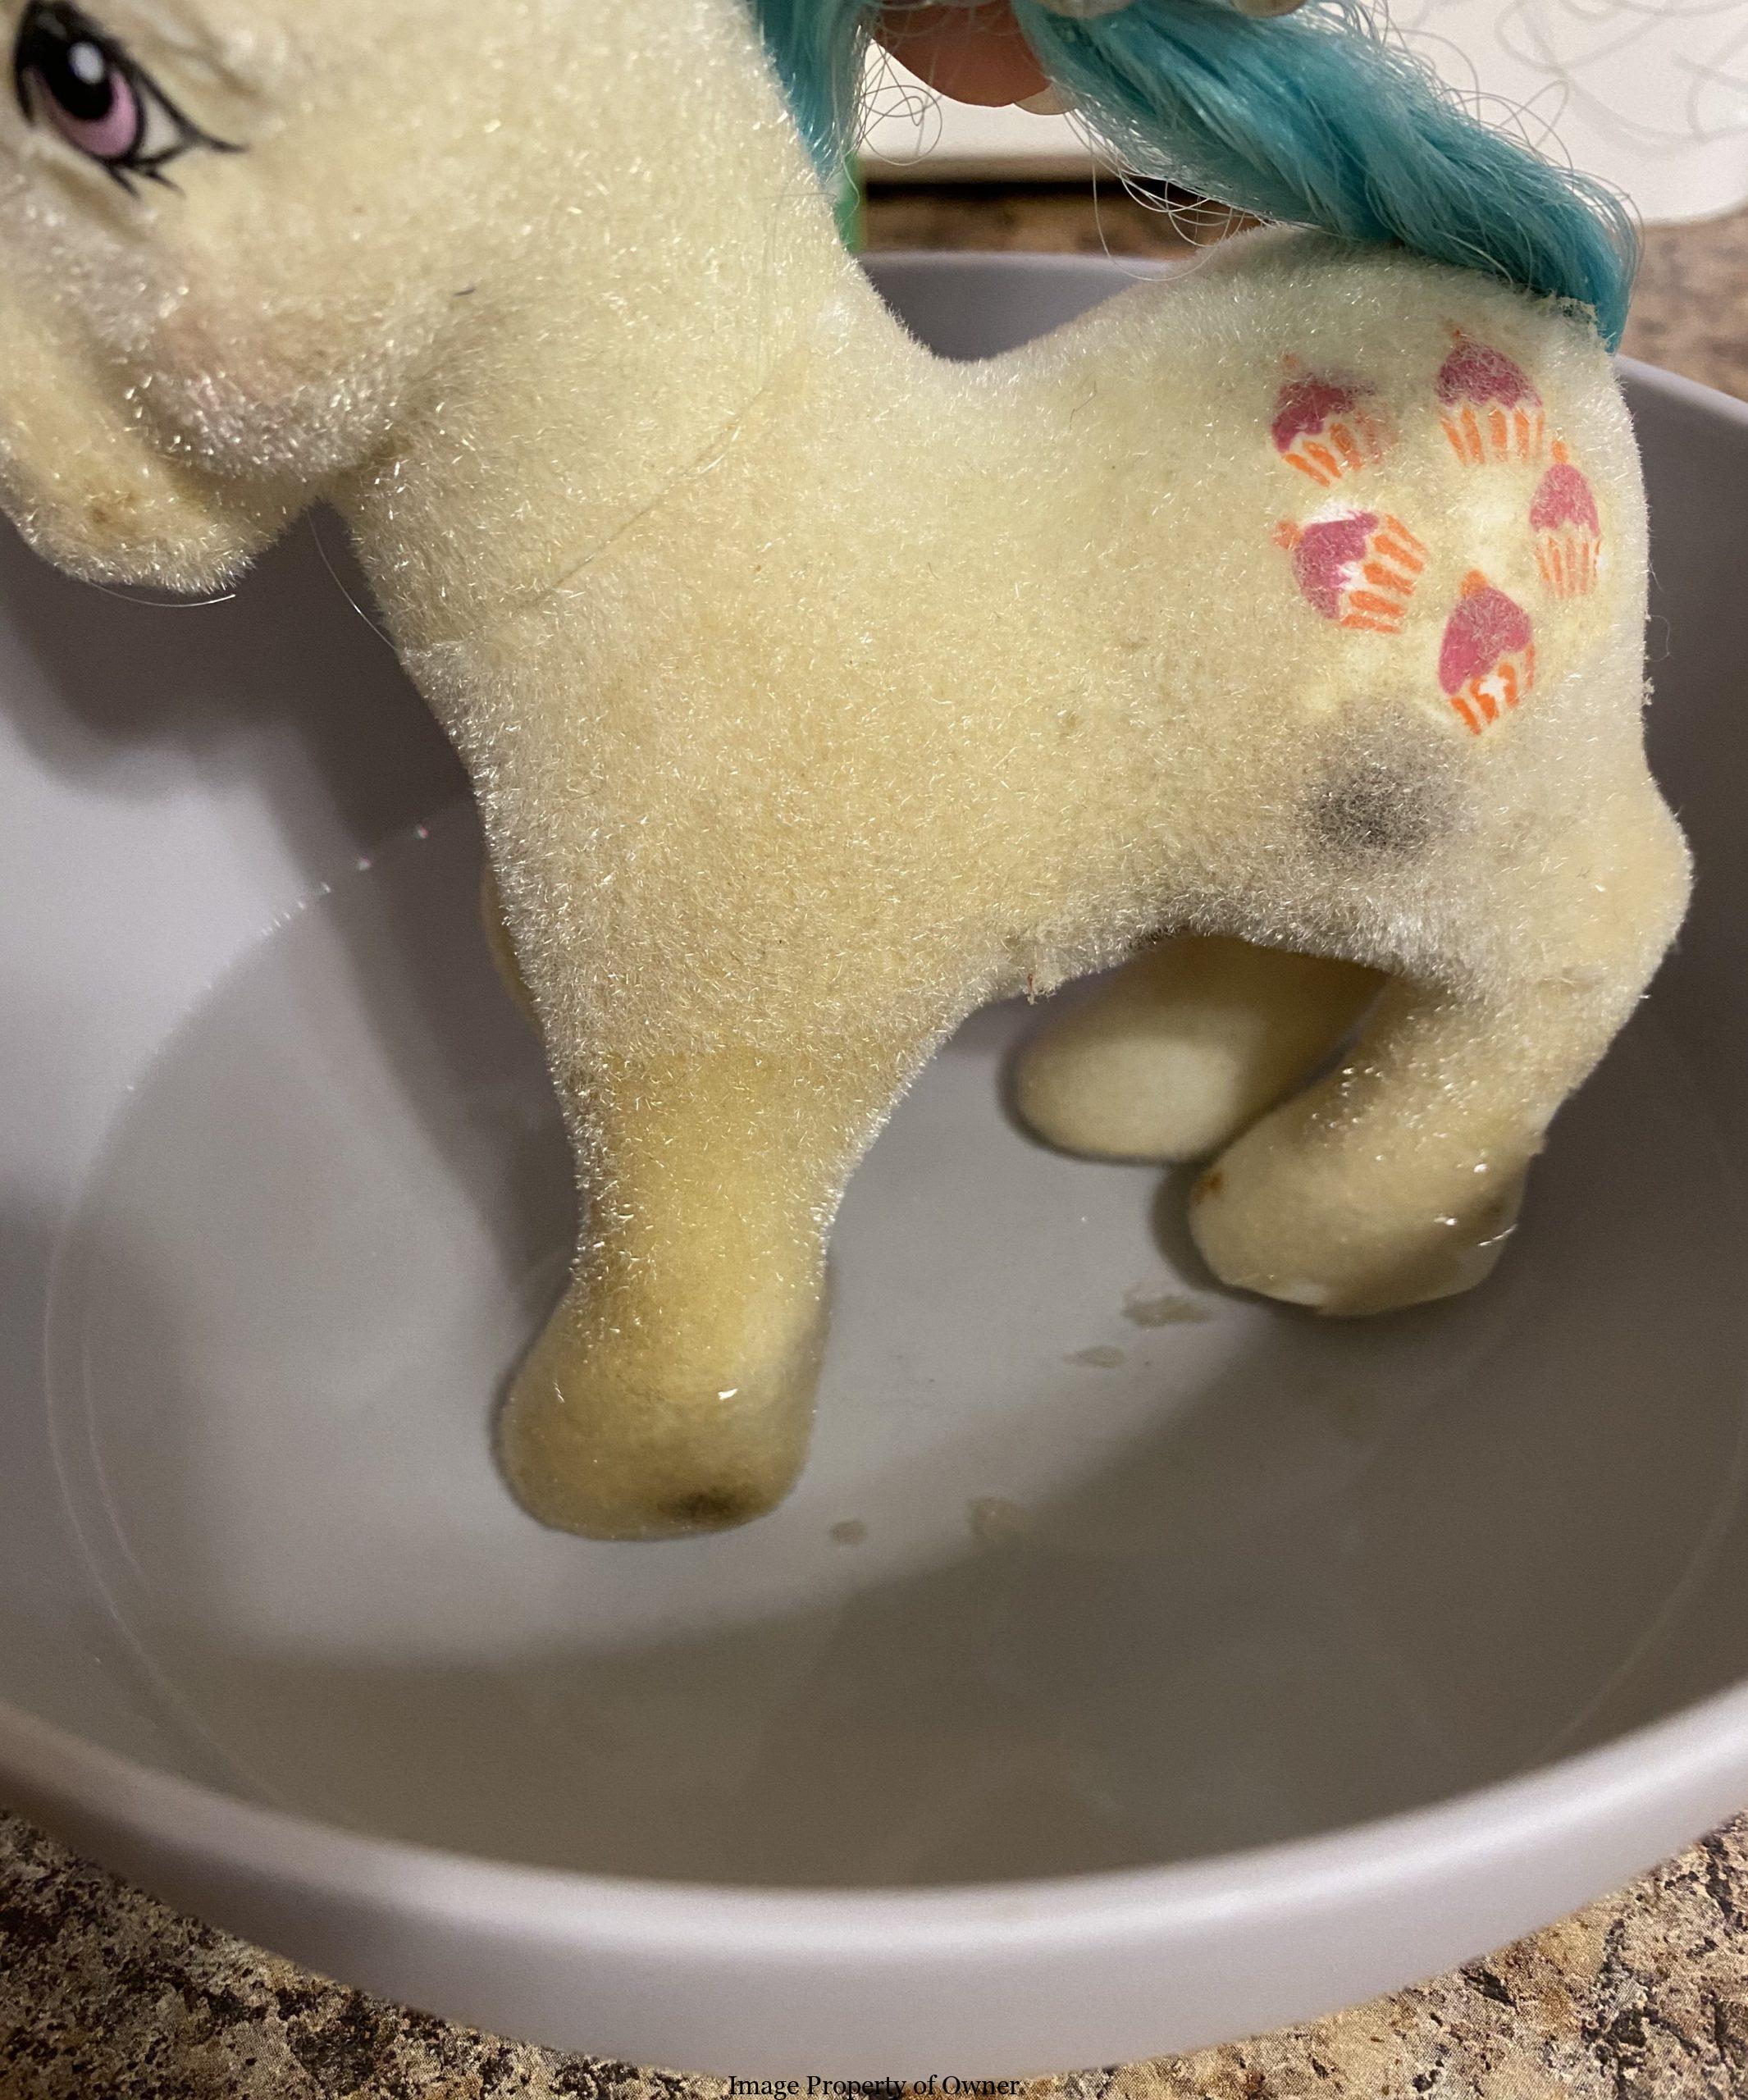
Who says you can’t cheat a little??
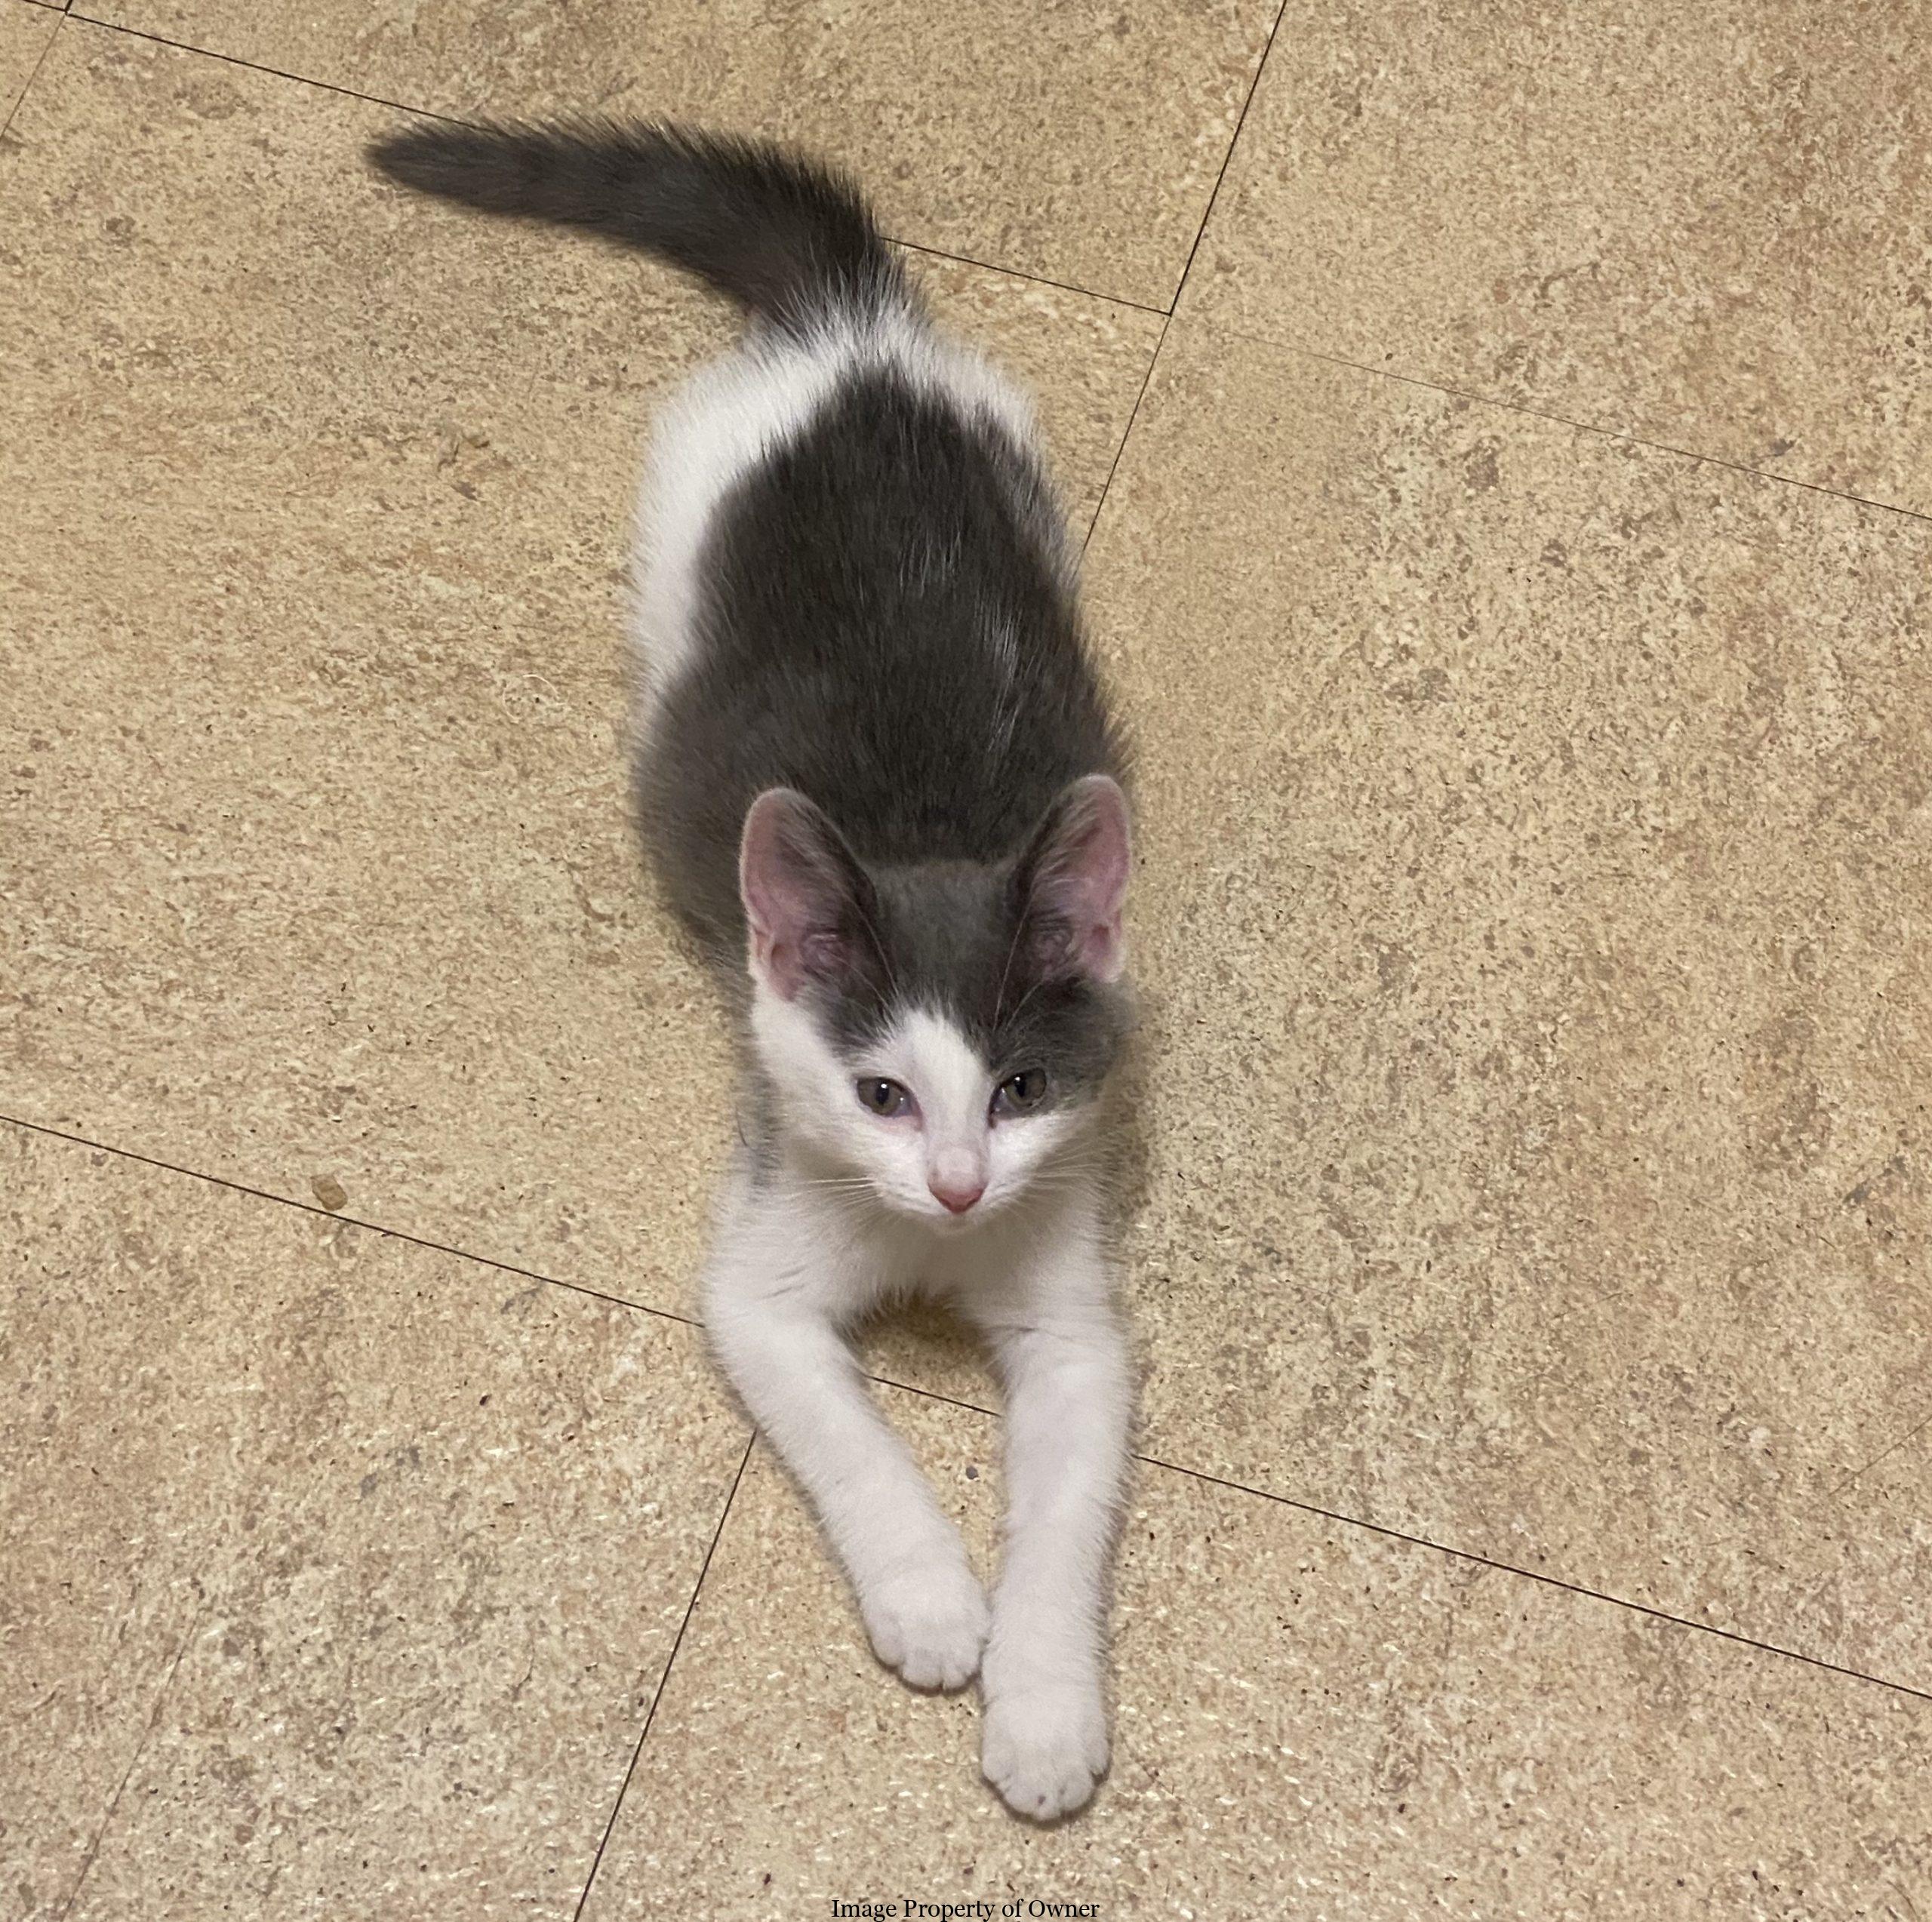
I had a helper who was all too interested in the flocking…
SECONDLY, onto those hard to reach places and painted areas. For painted areas, I get as close as possible with a q-tip dipped lightly in acetone (not soaked- again, acetone will travel) and then finish with an Xacto (craft) knife. BE CAREFUL – don’t slice yourself or your pony! I lightly scrape horizontally across painted areas to pull up the flocking, never holding the knife upward so I would stab at pony because it’s just as easy to scratch up her symbols. This is easier done around the eyes and on some ponies who have a deep eyebrow molded into the plastic because it’s a little tricky getting the flocking out of that indent. Overall this isn’t very difficult, just takes patience and a steady hand to scrape, not cut. On some ponies, such as Cupcake here, you can get away with scraping and then passing a q-tip ringed out with acetone closely near the symbols (again, in a scaping motion side to side) to clean up any glue left behind under the flocking. With other ponies, their symbols will come right off. I took off half of Hippity Hop’s symbols and ended up with a one-eyed Wind Whistler being too heavy handed with the acetone. *I have been told it’s possible to clean up directly onto symbols with a light application of non-acetone nail polish remover. Again, be light-handed.
Places where flocking is just naturally going to be more difficult to remove and I use q-tips for is around the legs where they connect to the underbelly, the pony’s chin and nostrils, inner ears, neck right up along the hair plugs, under hooves where the year , etc. is stamped, and wings. If you’re de-flocking wings definitely let a cotton ball with acetone sit on them a minute or so and then use a q-tip to remove flocking from the feather molding. Wings are my personal biggest headache.
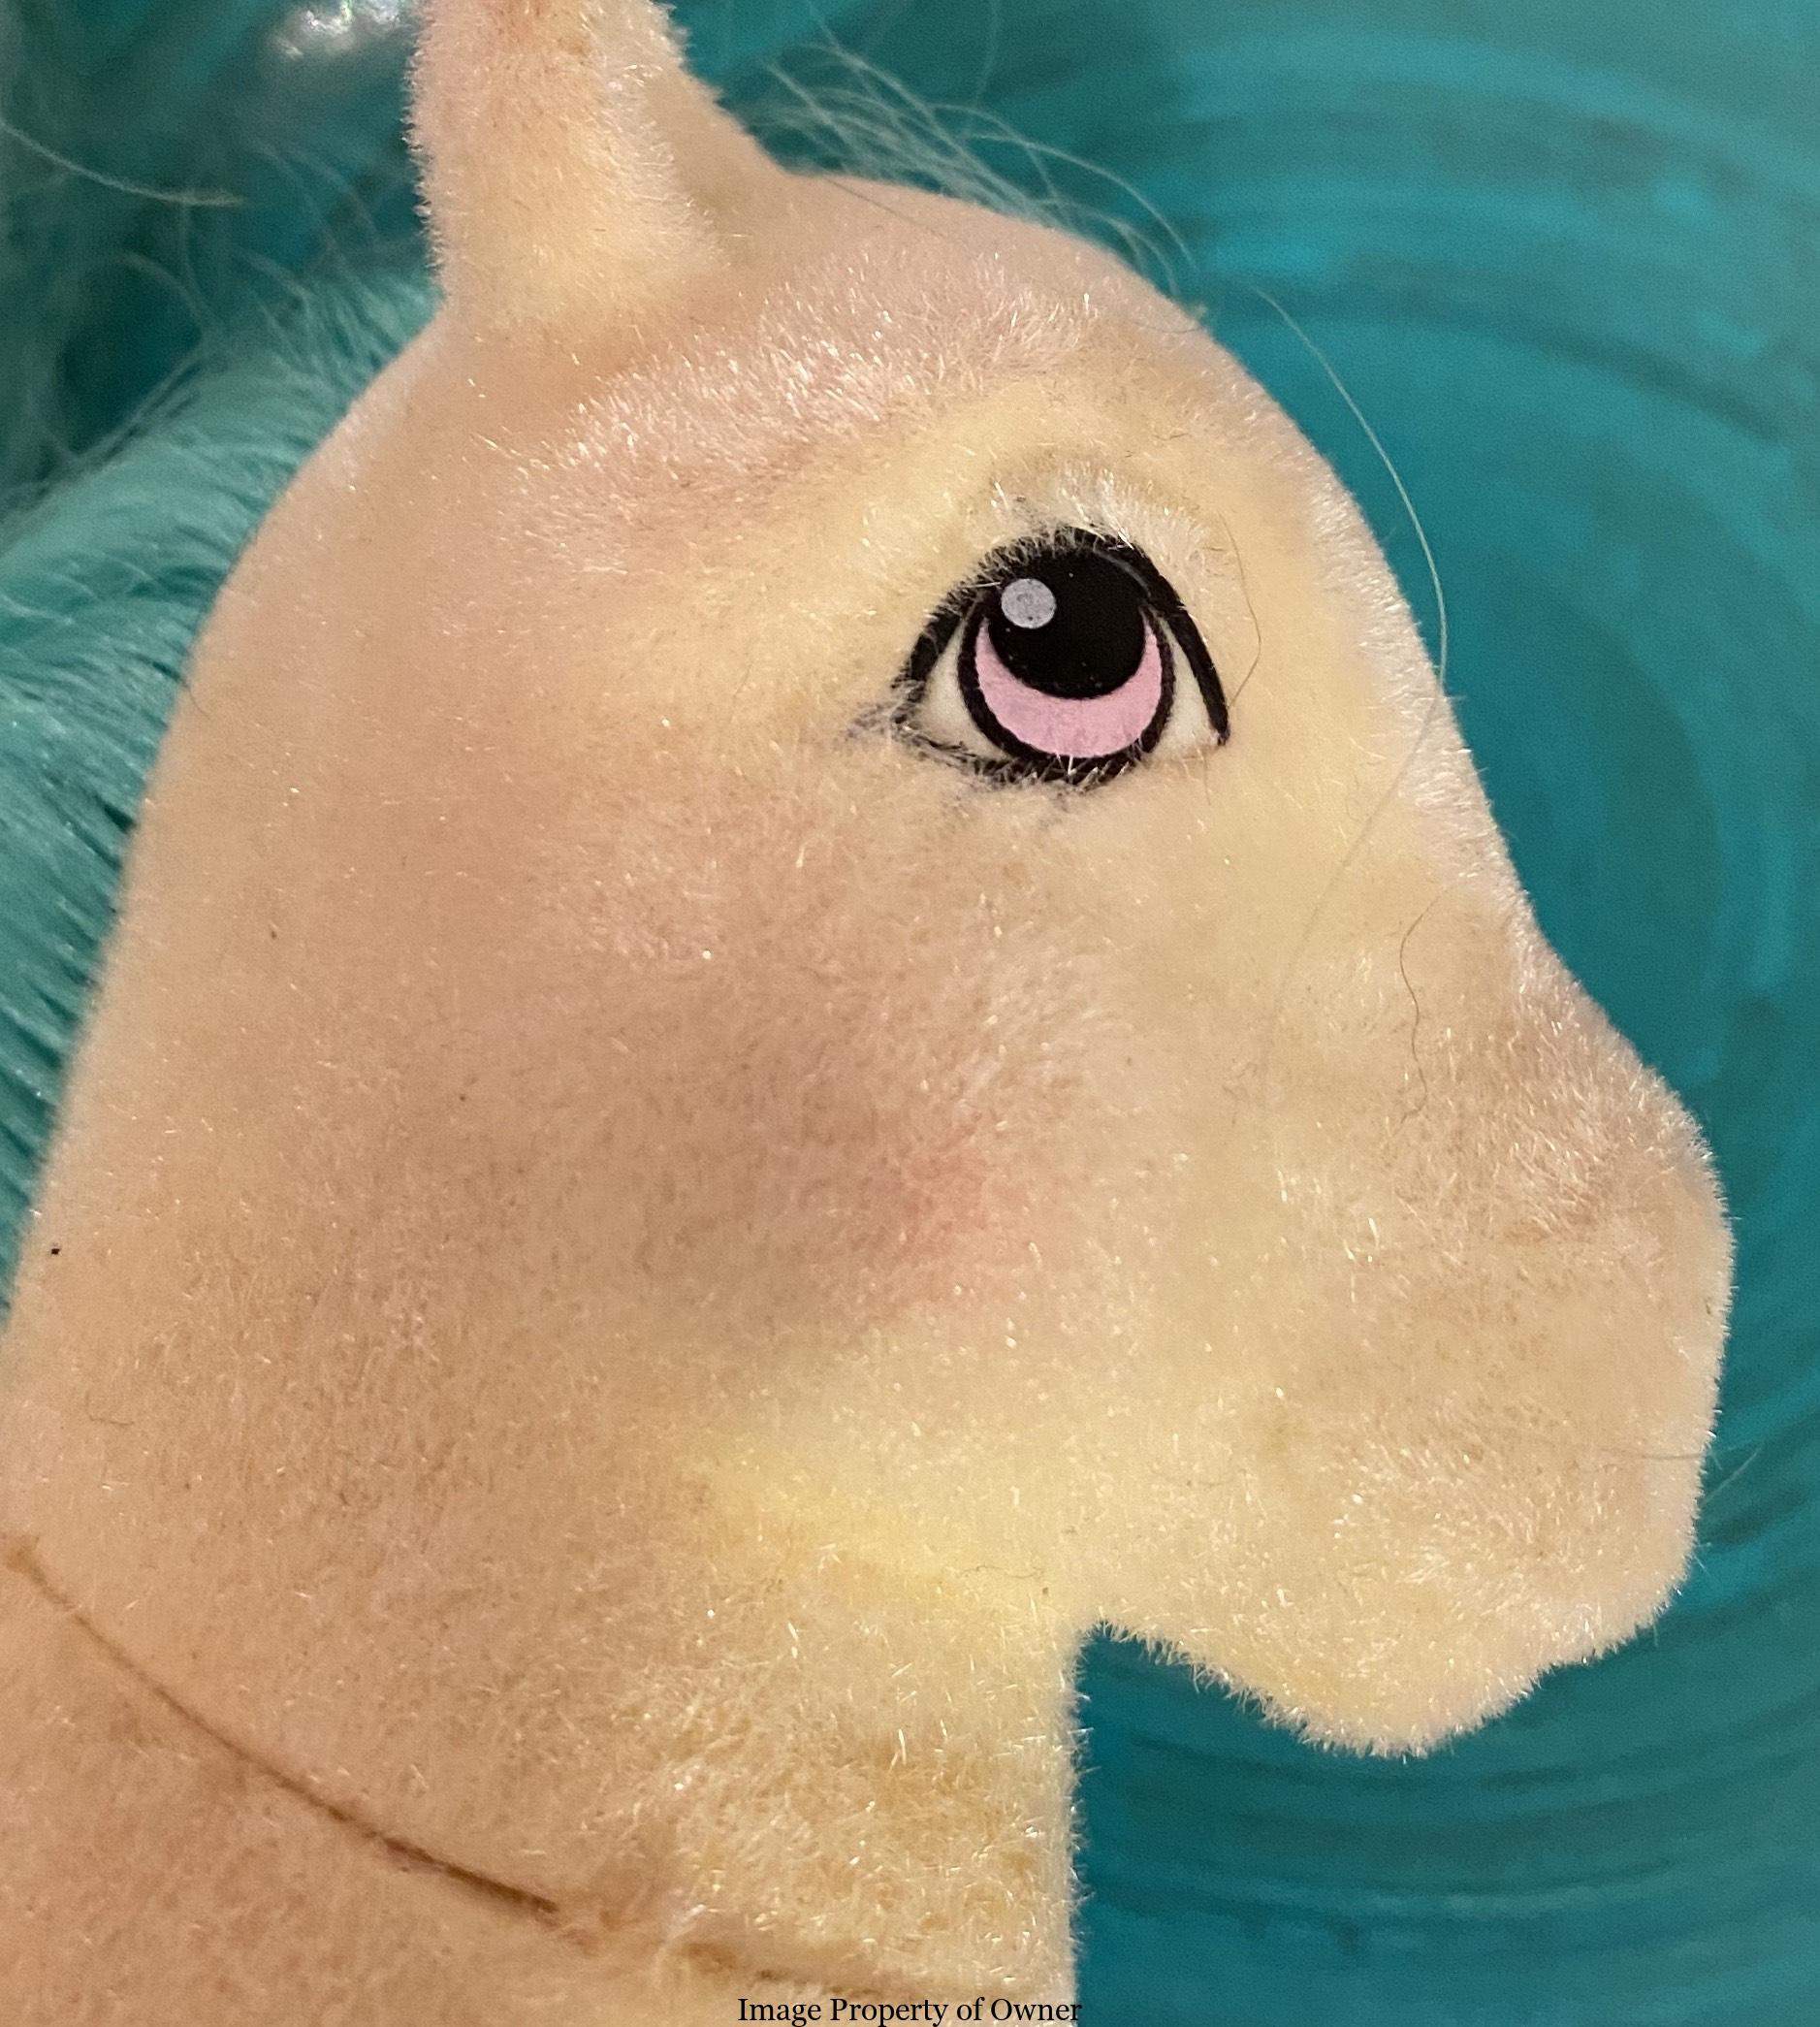
Scrape some flocking off the eye area including the brow.

Use an X-acto knife to scrape the flocking away from symbols.

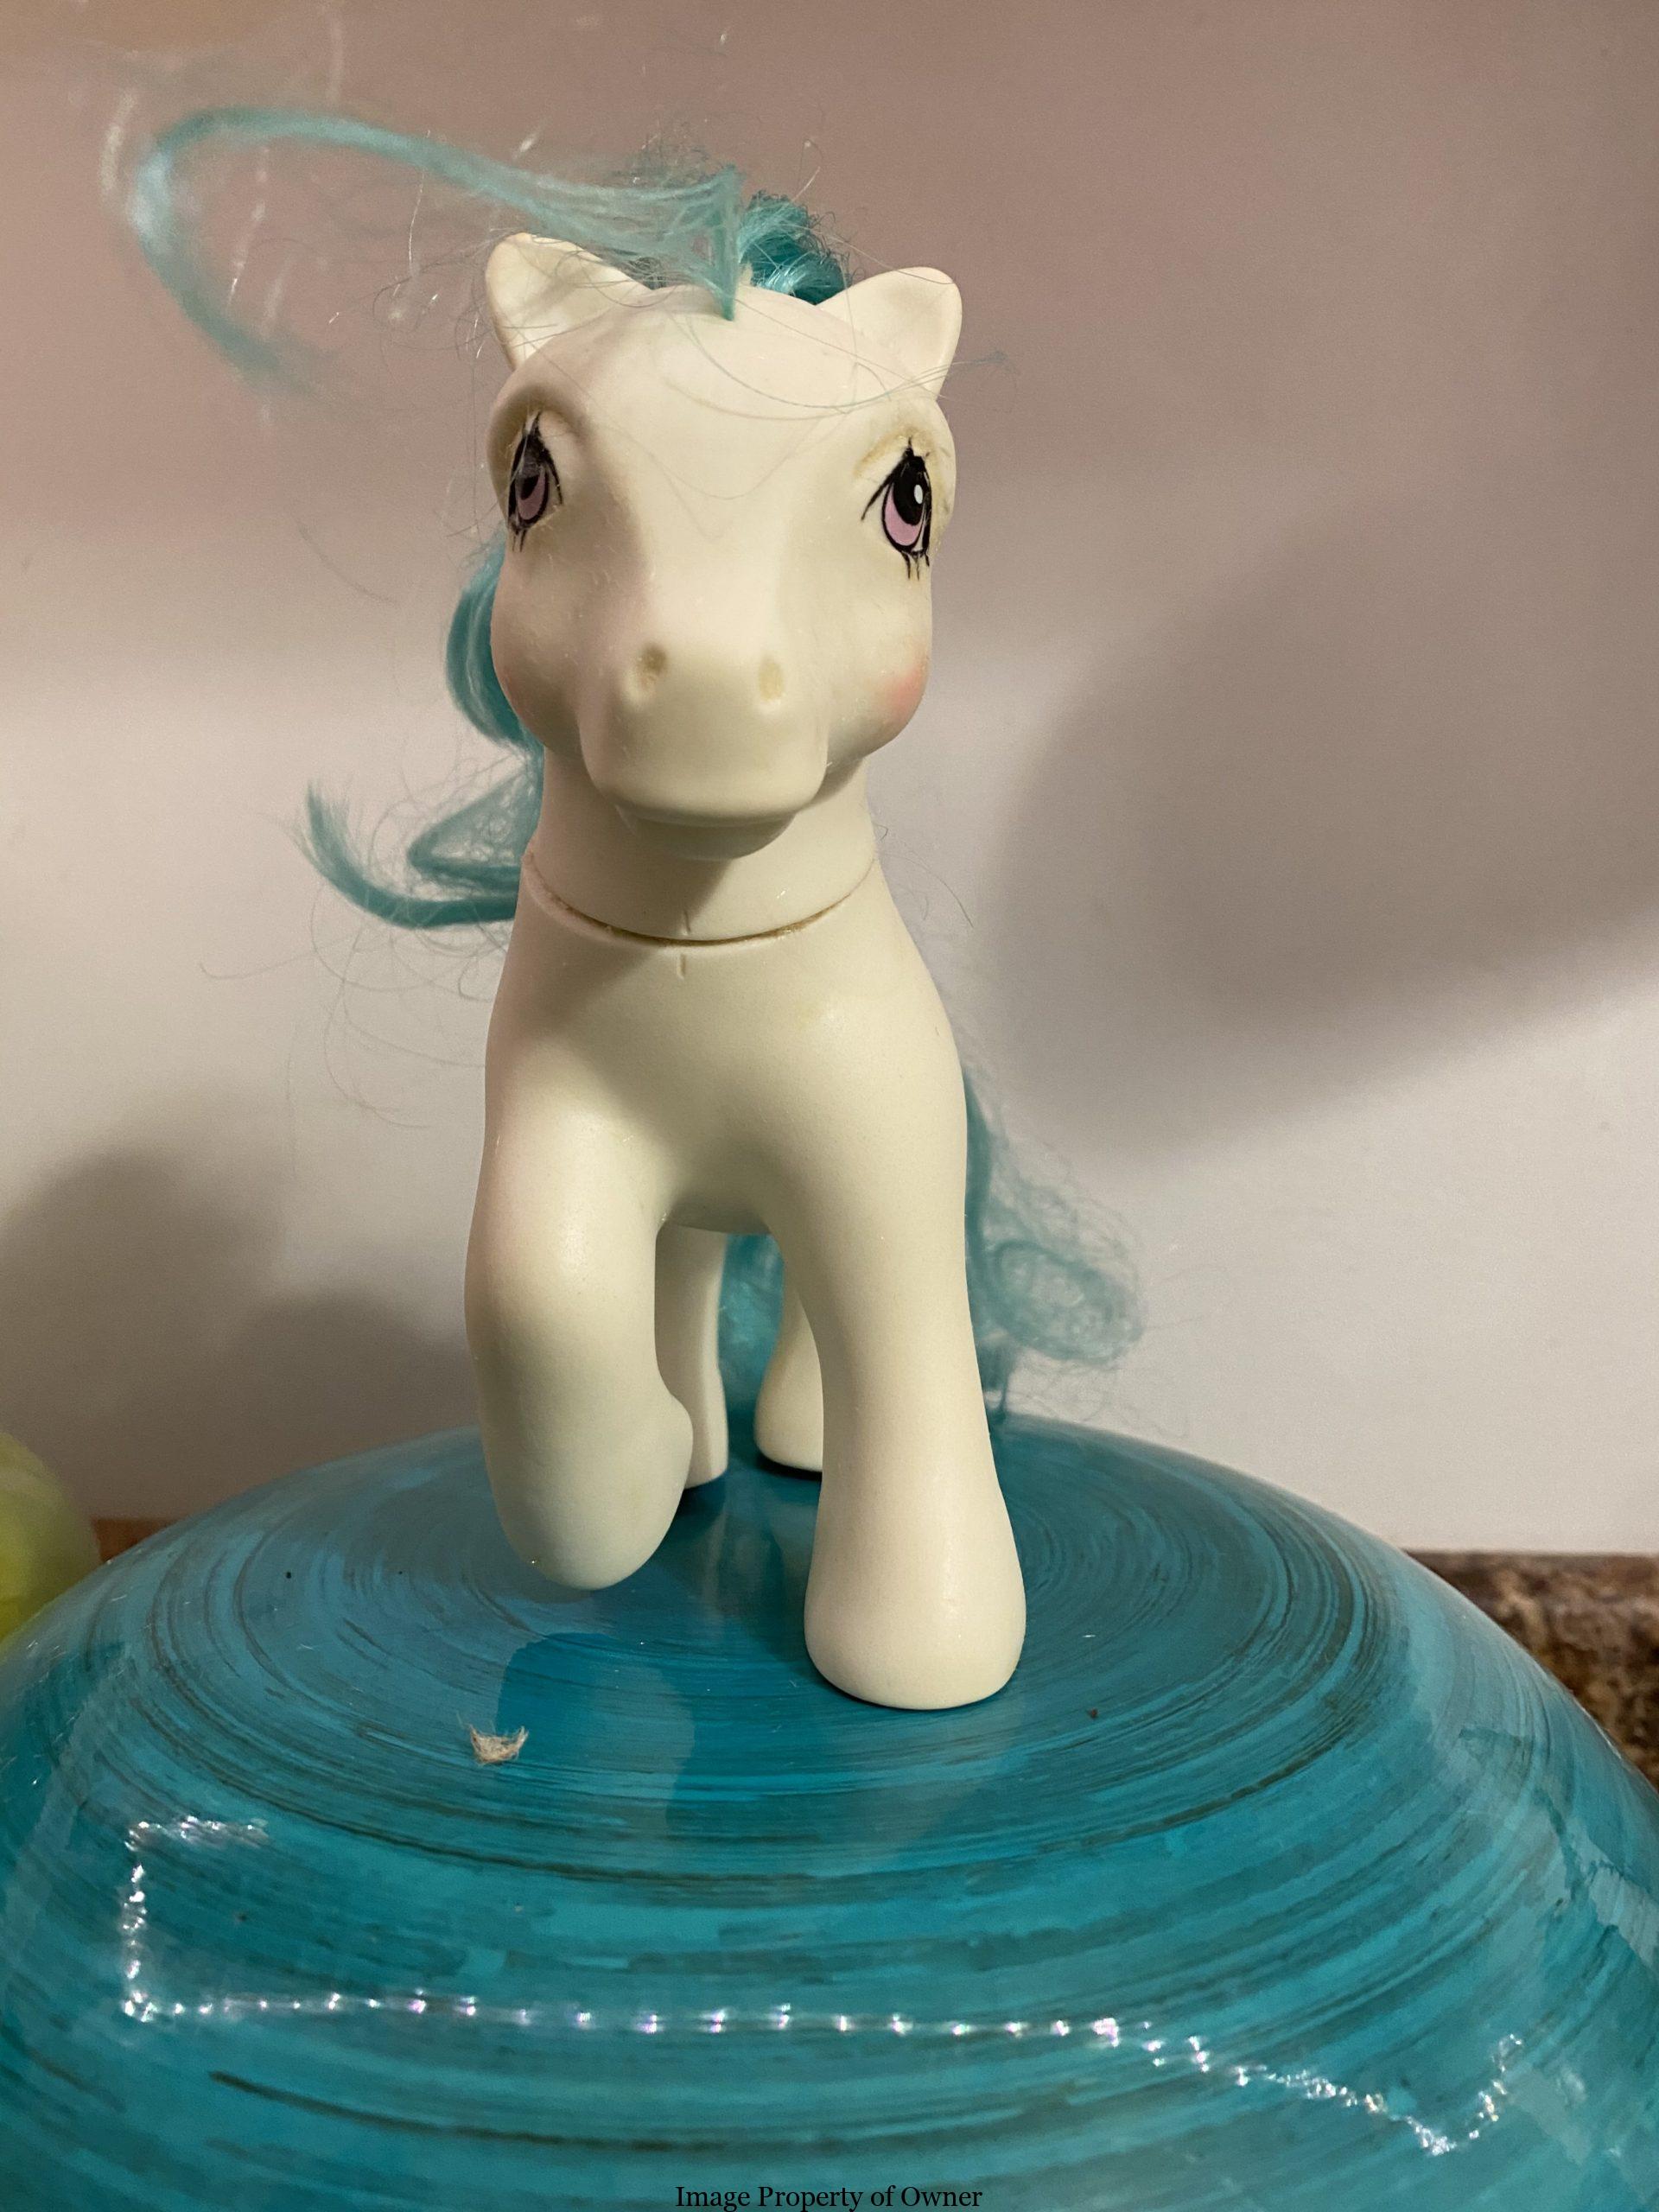
Pony is going to look worse before she looks better!
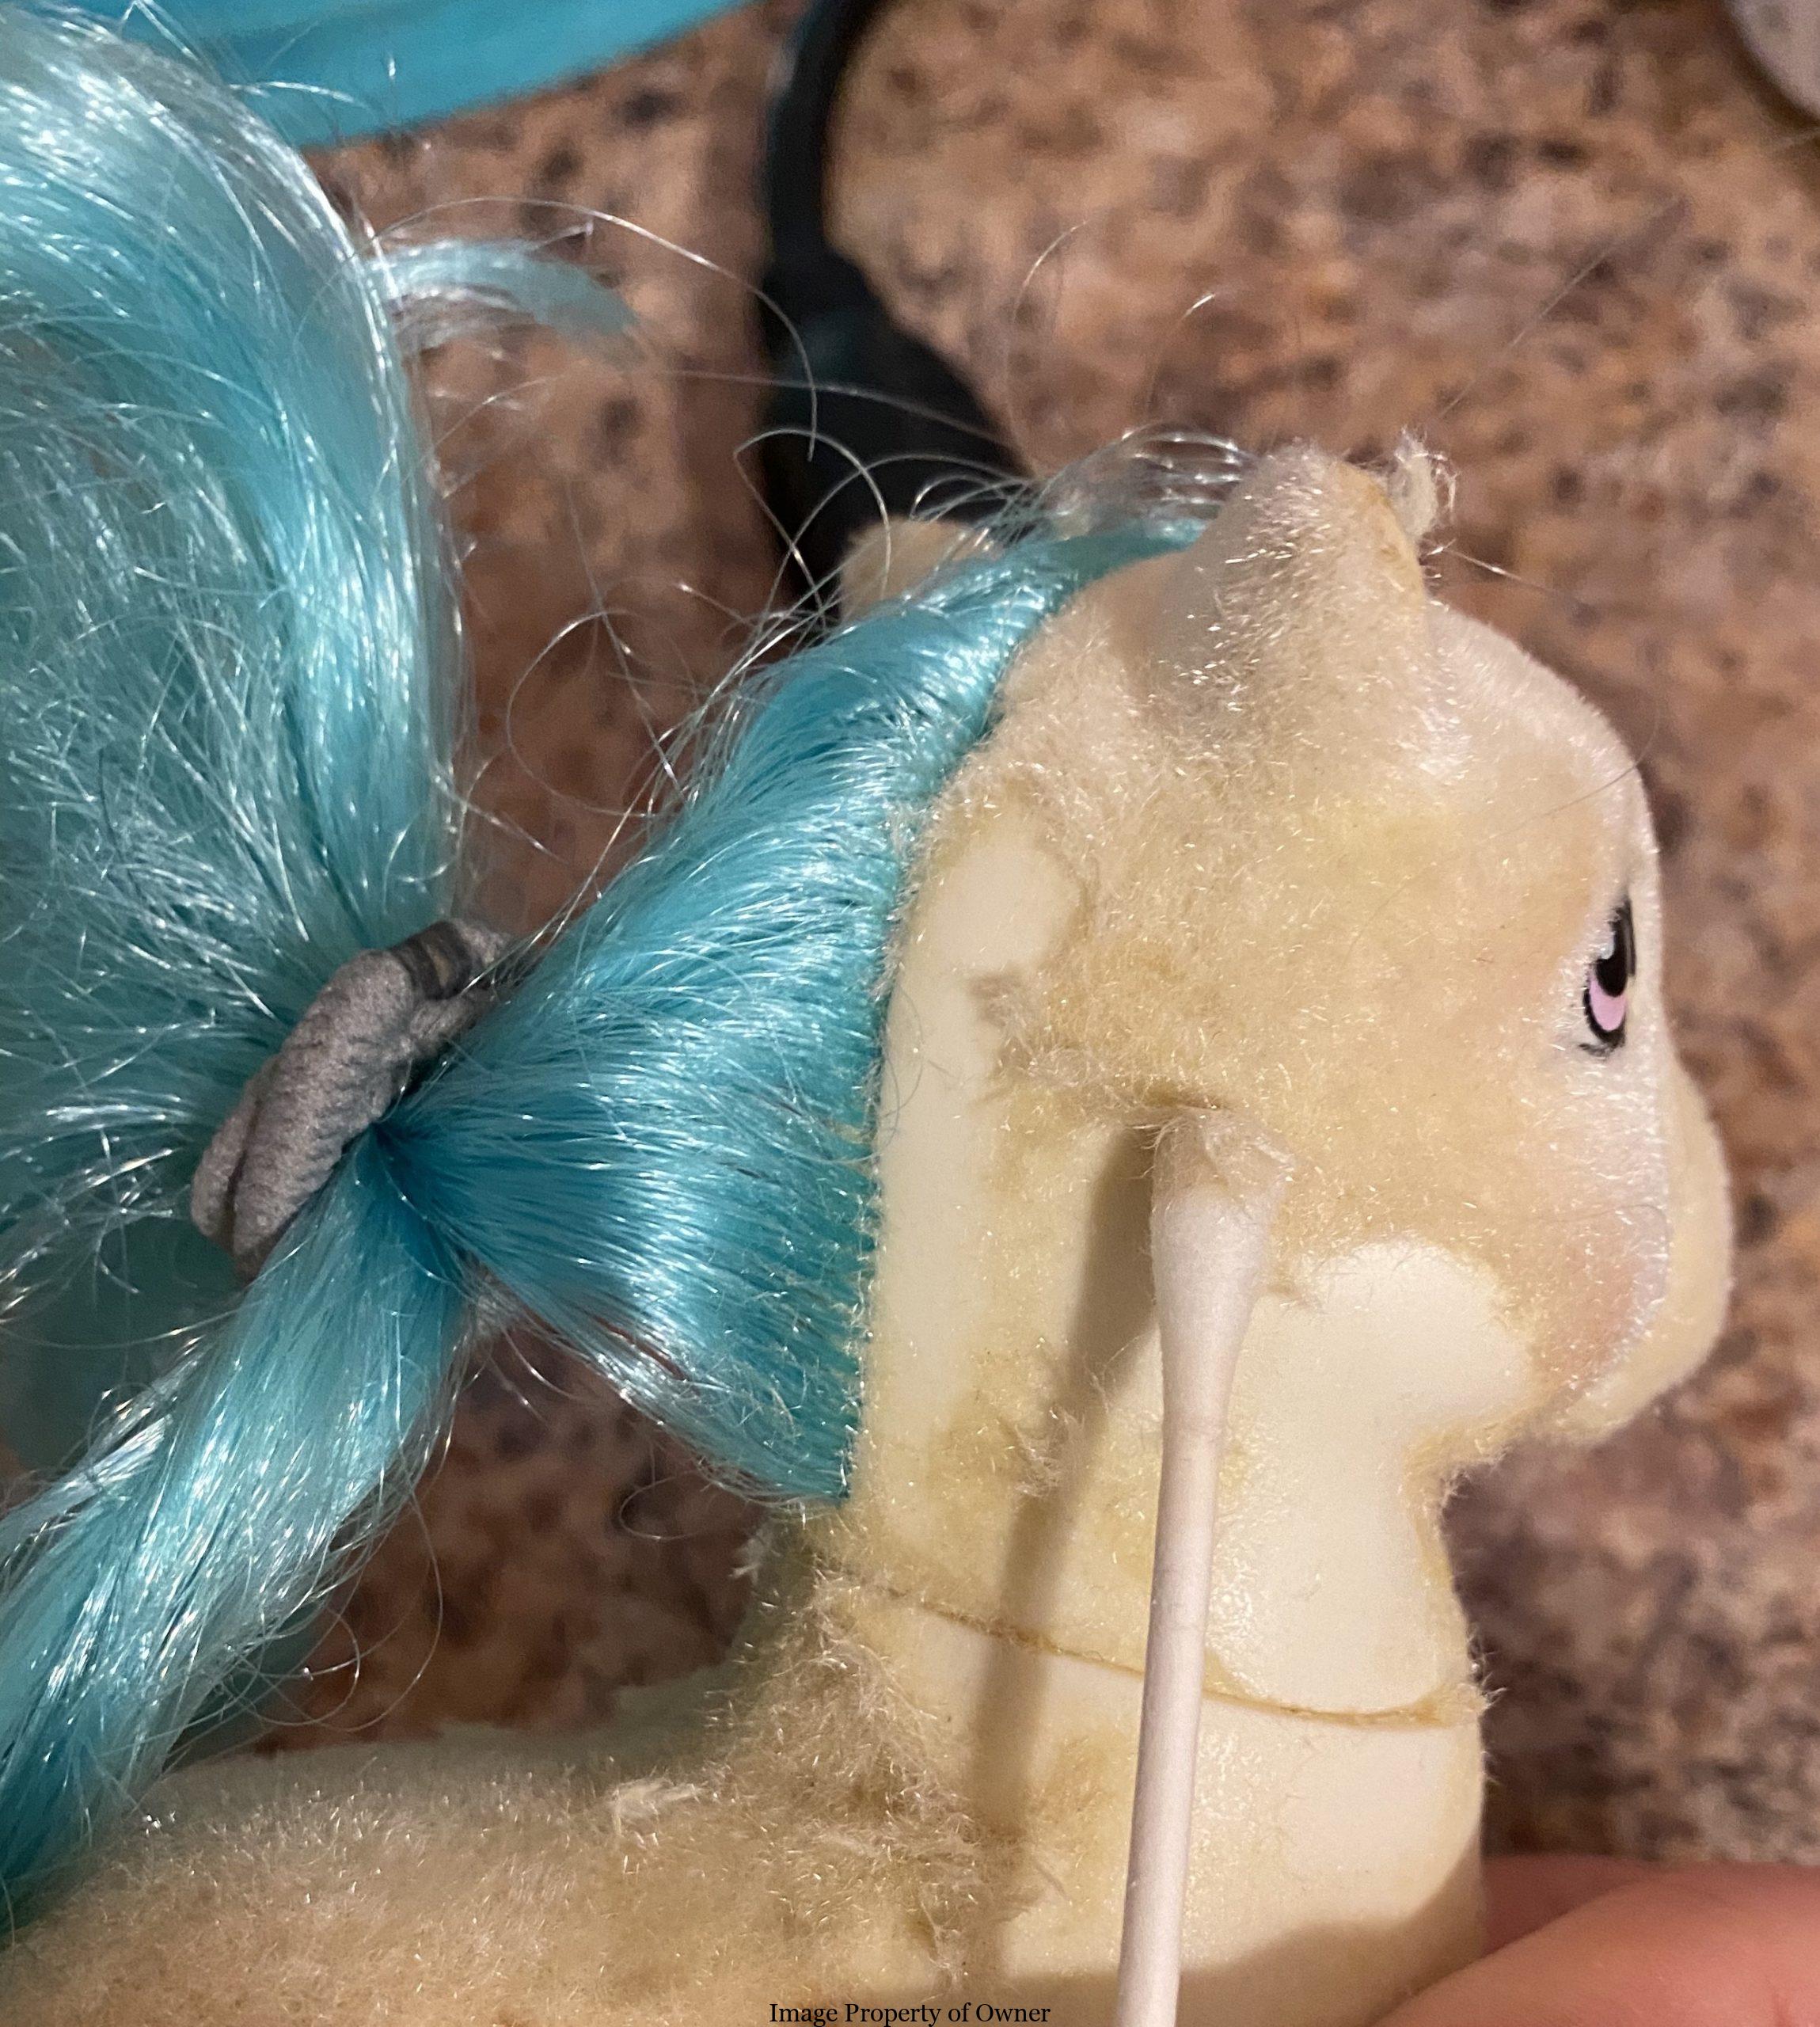
Q-tips are great for the neck against hair plugs.
Work on small sections at a time to get flocking off down to the plastic.

Go back to tackle hard areas last so you don’t spread extra acetone on these areas.
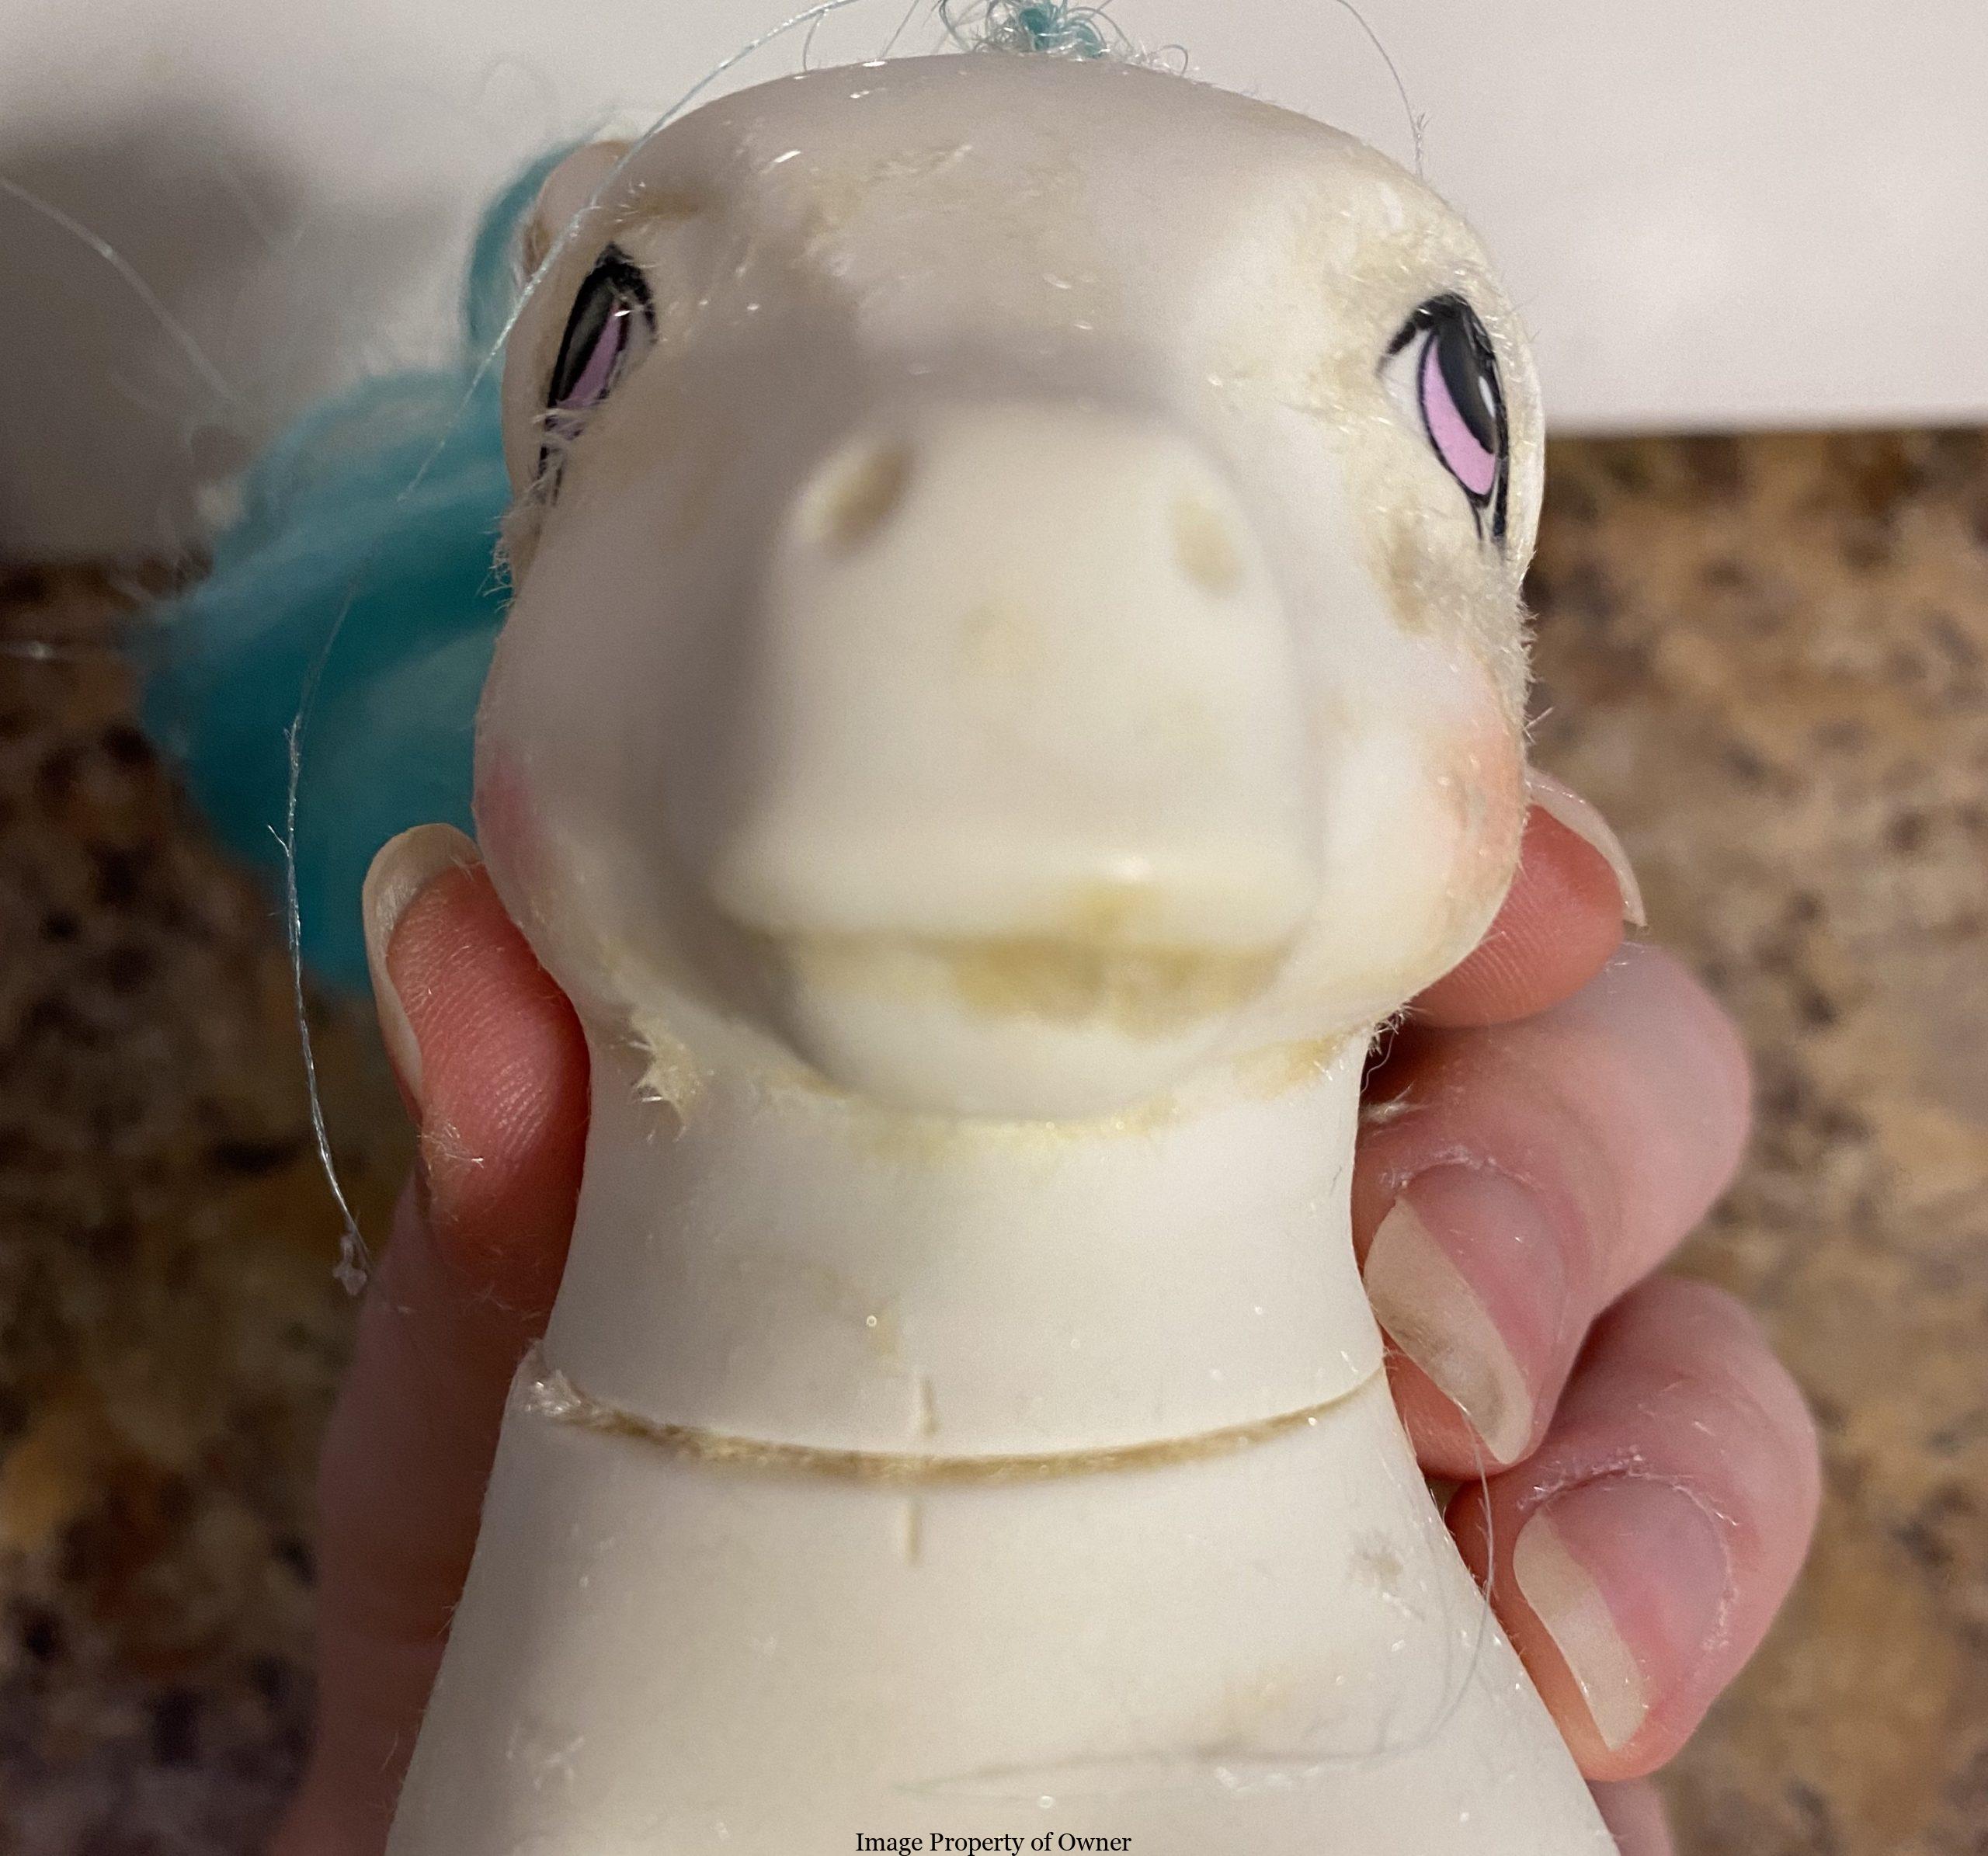
Q-tips work well for molded areas like mouth, nostrils and chin.

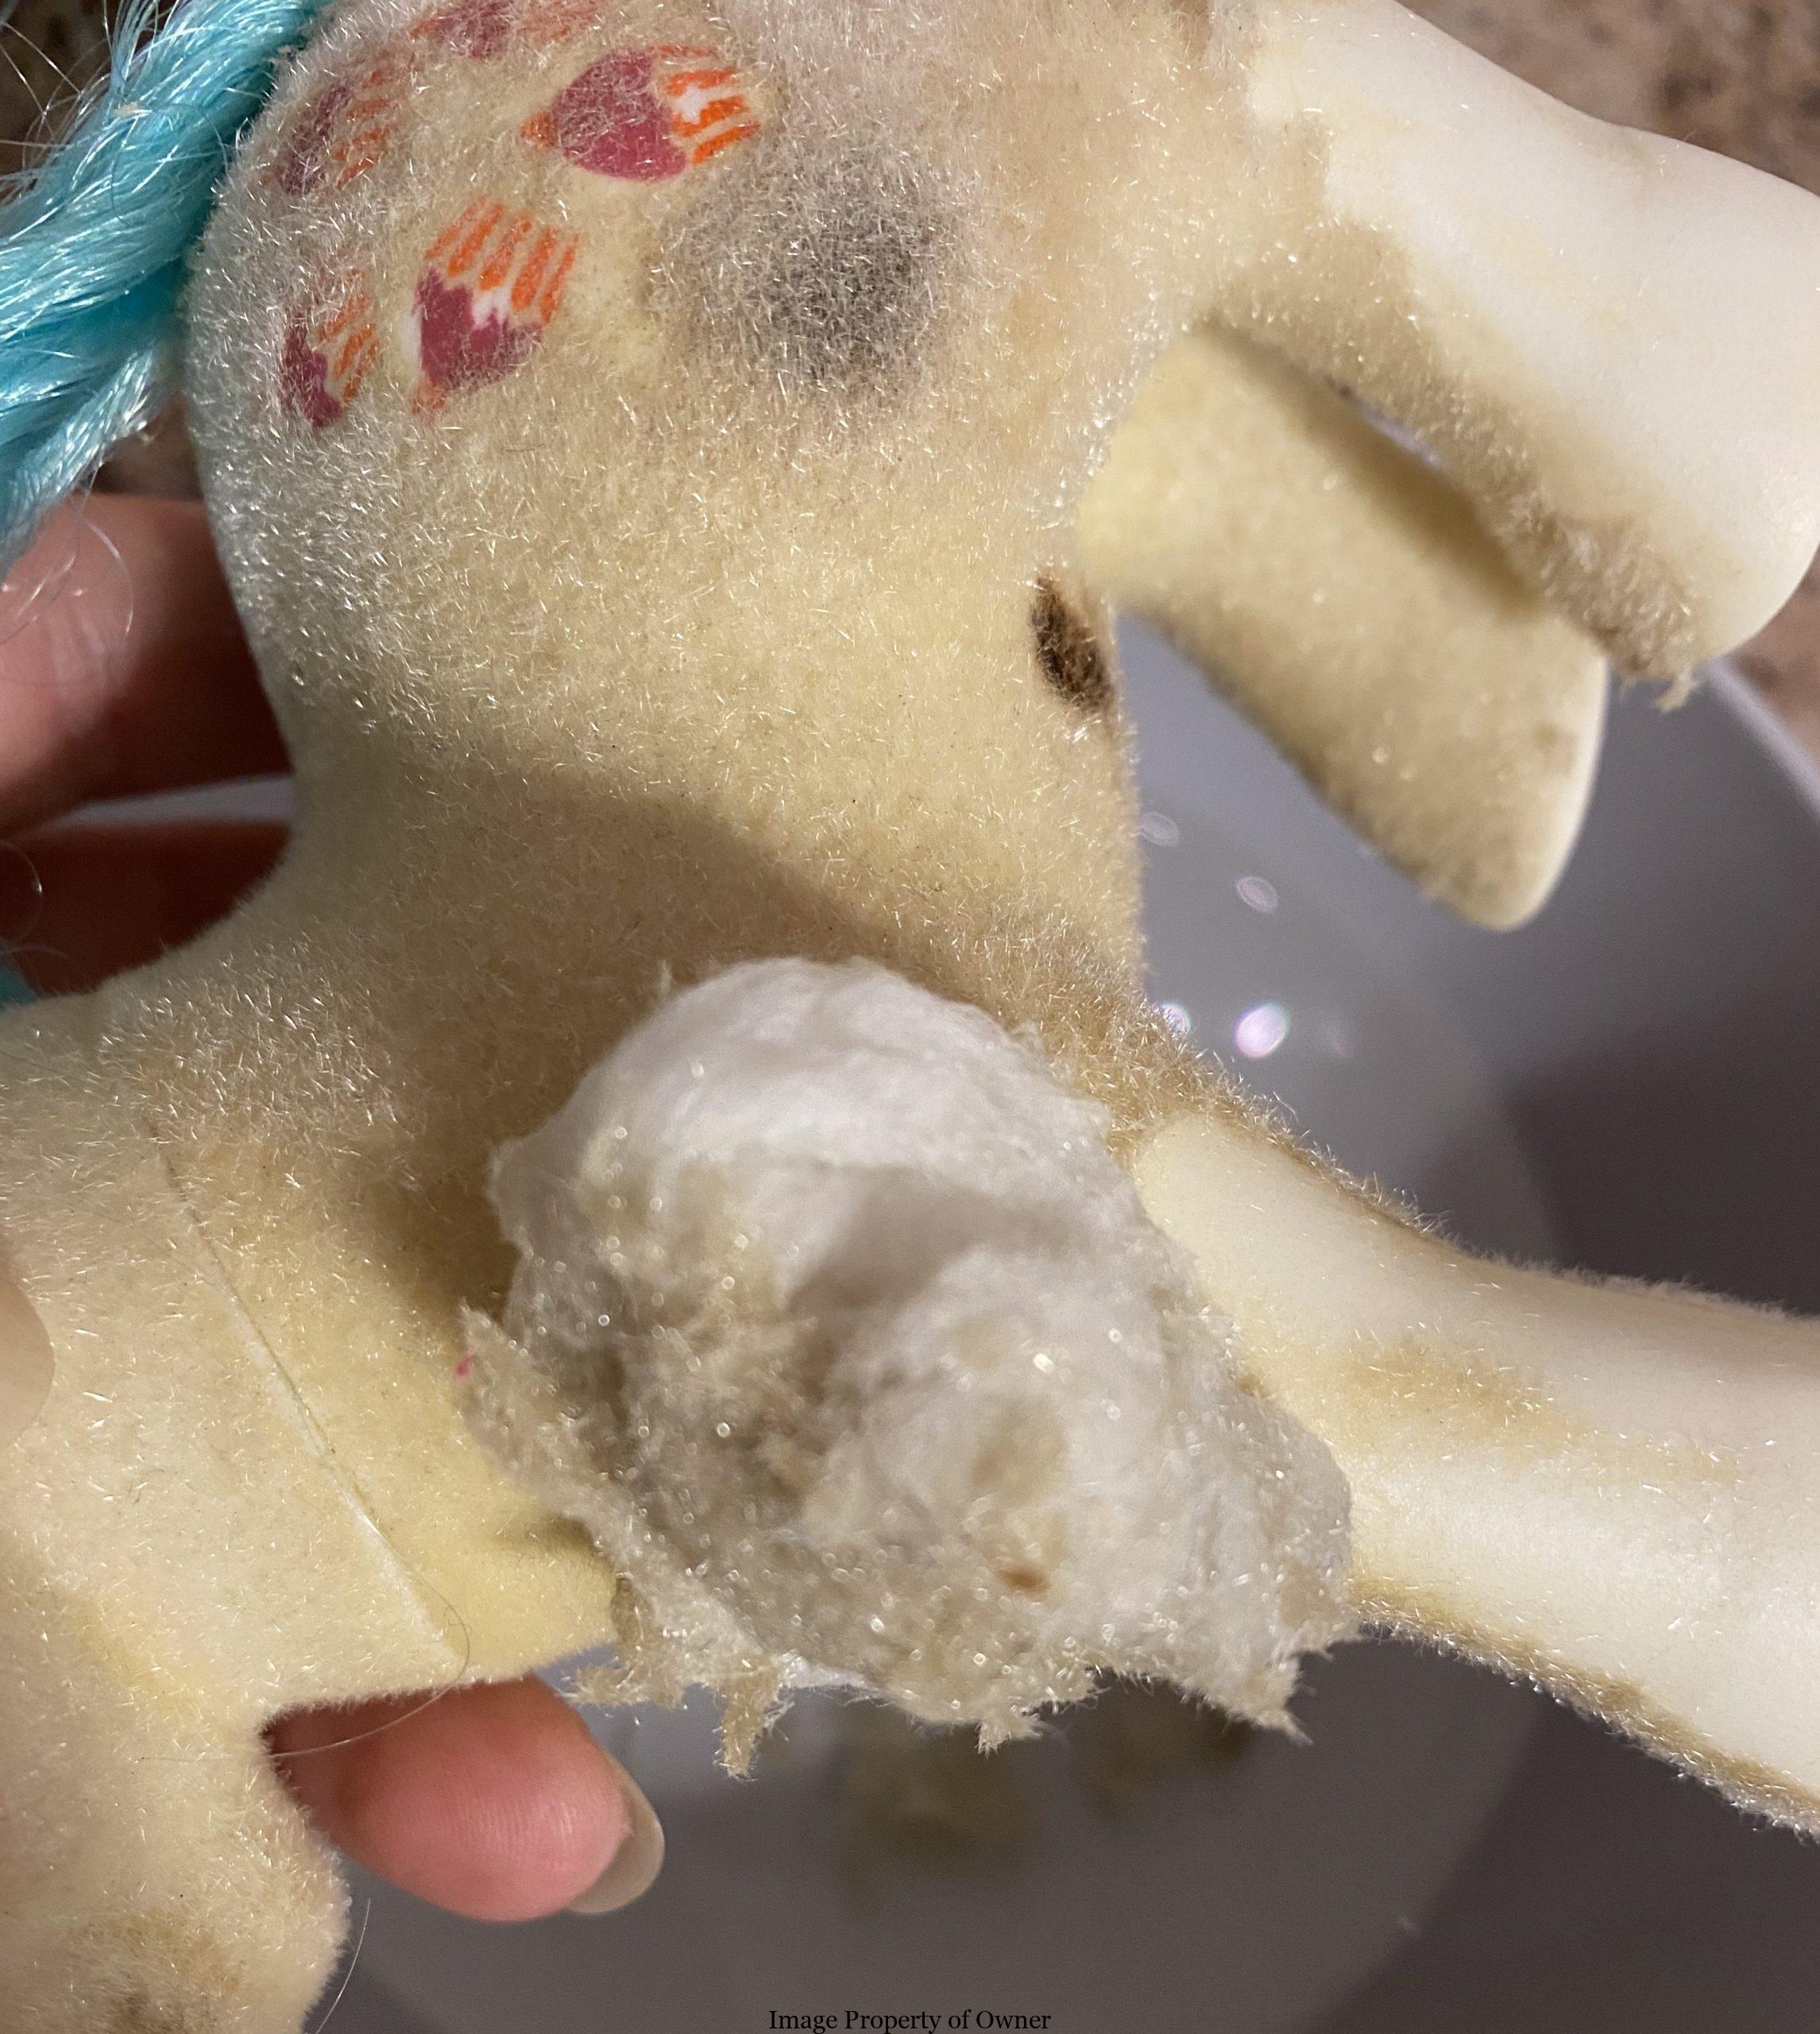
Under belly areas are a pain but manageable with cotton balls and qtips.
THIRD, Once you’ve got all the fuzzies off, turn pony around in good light to see if you see any “sparkles”- if there’s still teeny bits of flocking on pony it’ll look like she’s “sparkly.” If so, grab a sheet of kitchen paper and lightly wet it in acetone and give her a few wipes over to remove that (being careful around eyes and symbols). Now she’s likely going to need one last rub to get the remains of any glue off. Pony glue is like Gorilla Glue- that sh** ain’t coming off without a fight. If pony has any yellow/light brownish spots this is likely glue so give her another wipe down to get all of that off. Finally, give her a light bath in soap and water. I also let my ponies sit a day because too many times I see them in light during a different time of day and see a missed glue spot I need to do another quick swipe of acetone on.
Is she “sparkly”? Looks like another round of acetone is in order!
Make sure to check for any glue spots before you put your acetone away.
The neck ring may have some fuzz clinging to it- another couple of swipes will take that off.
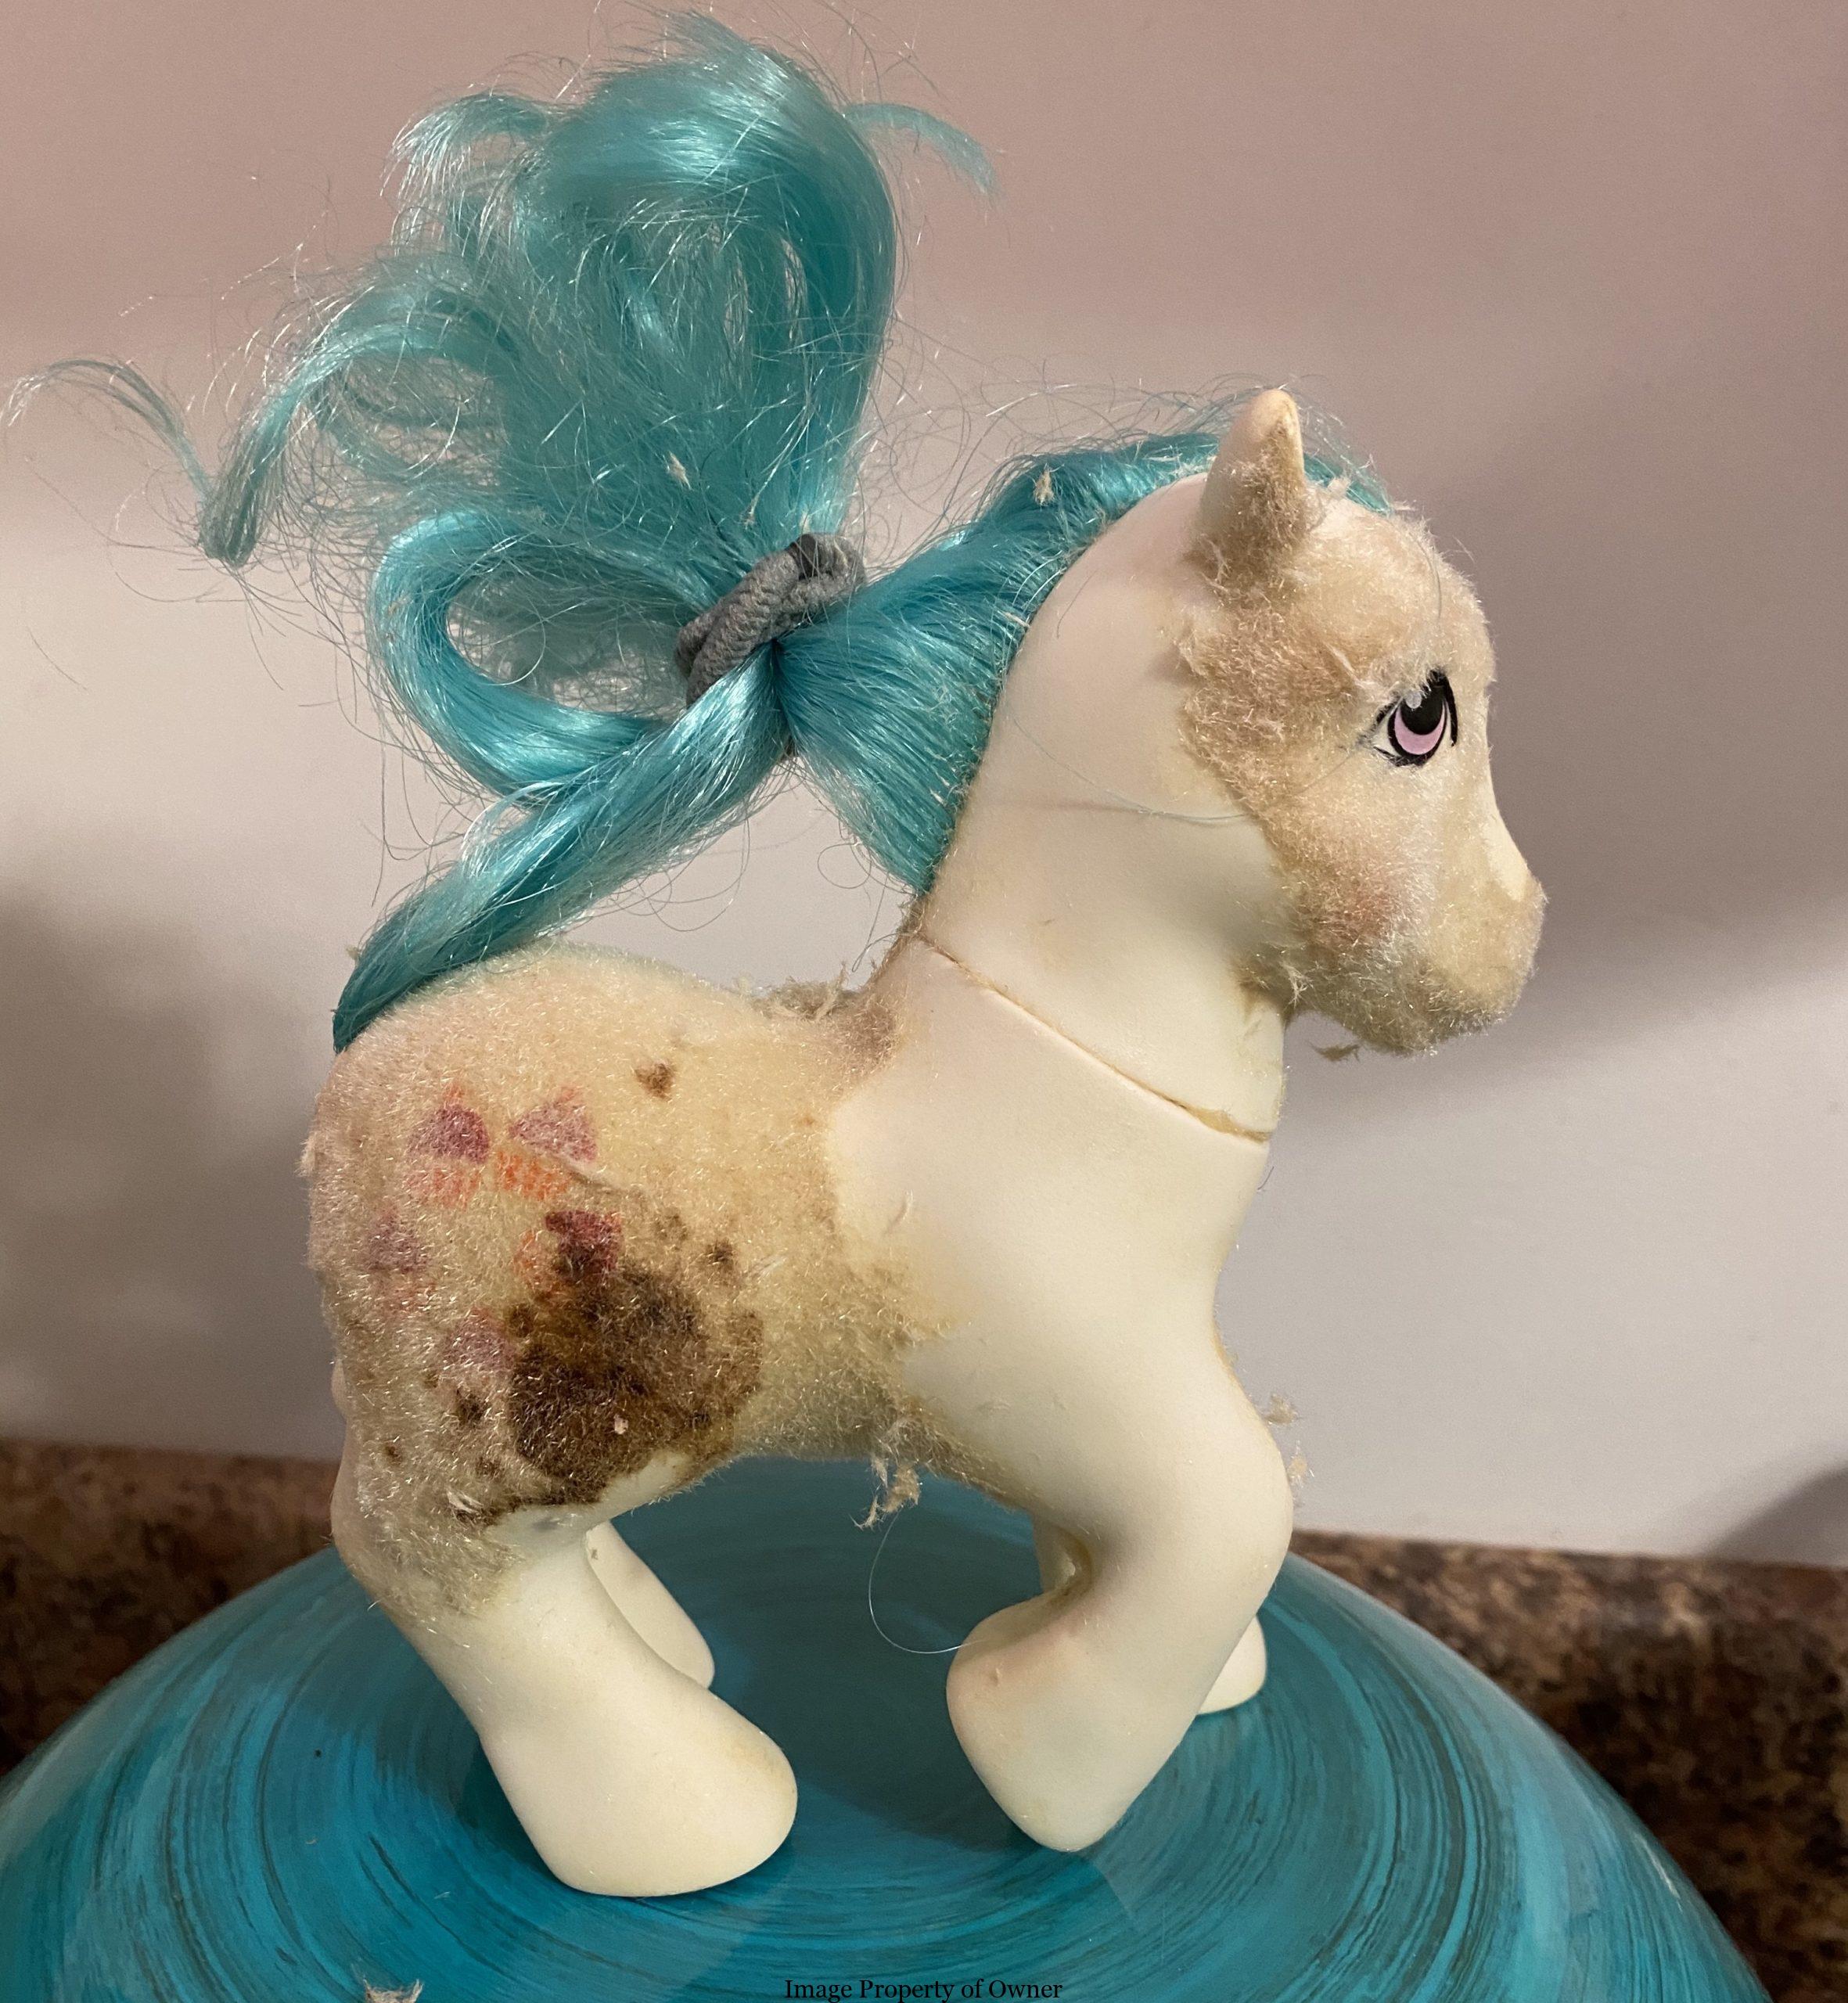
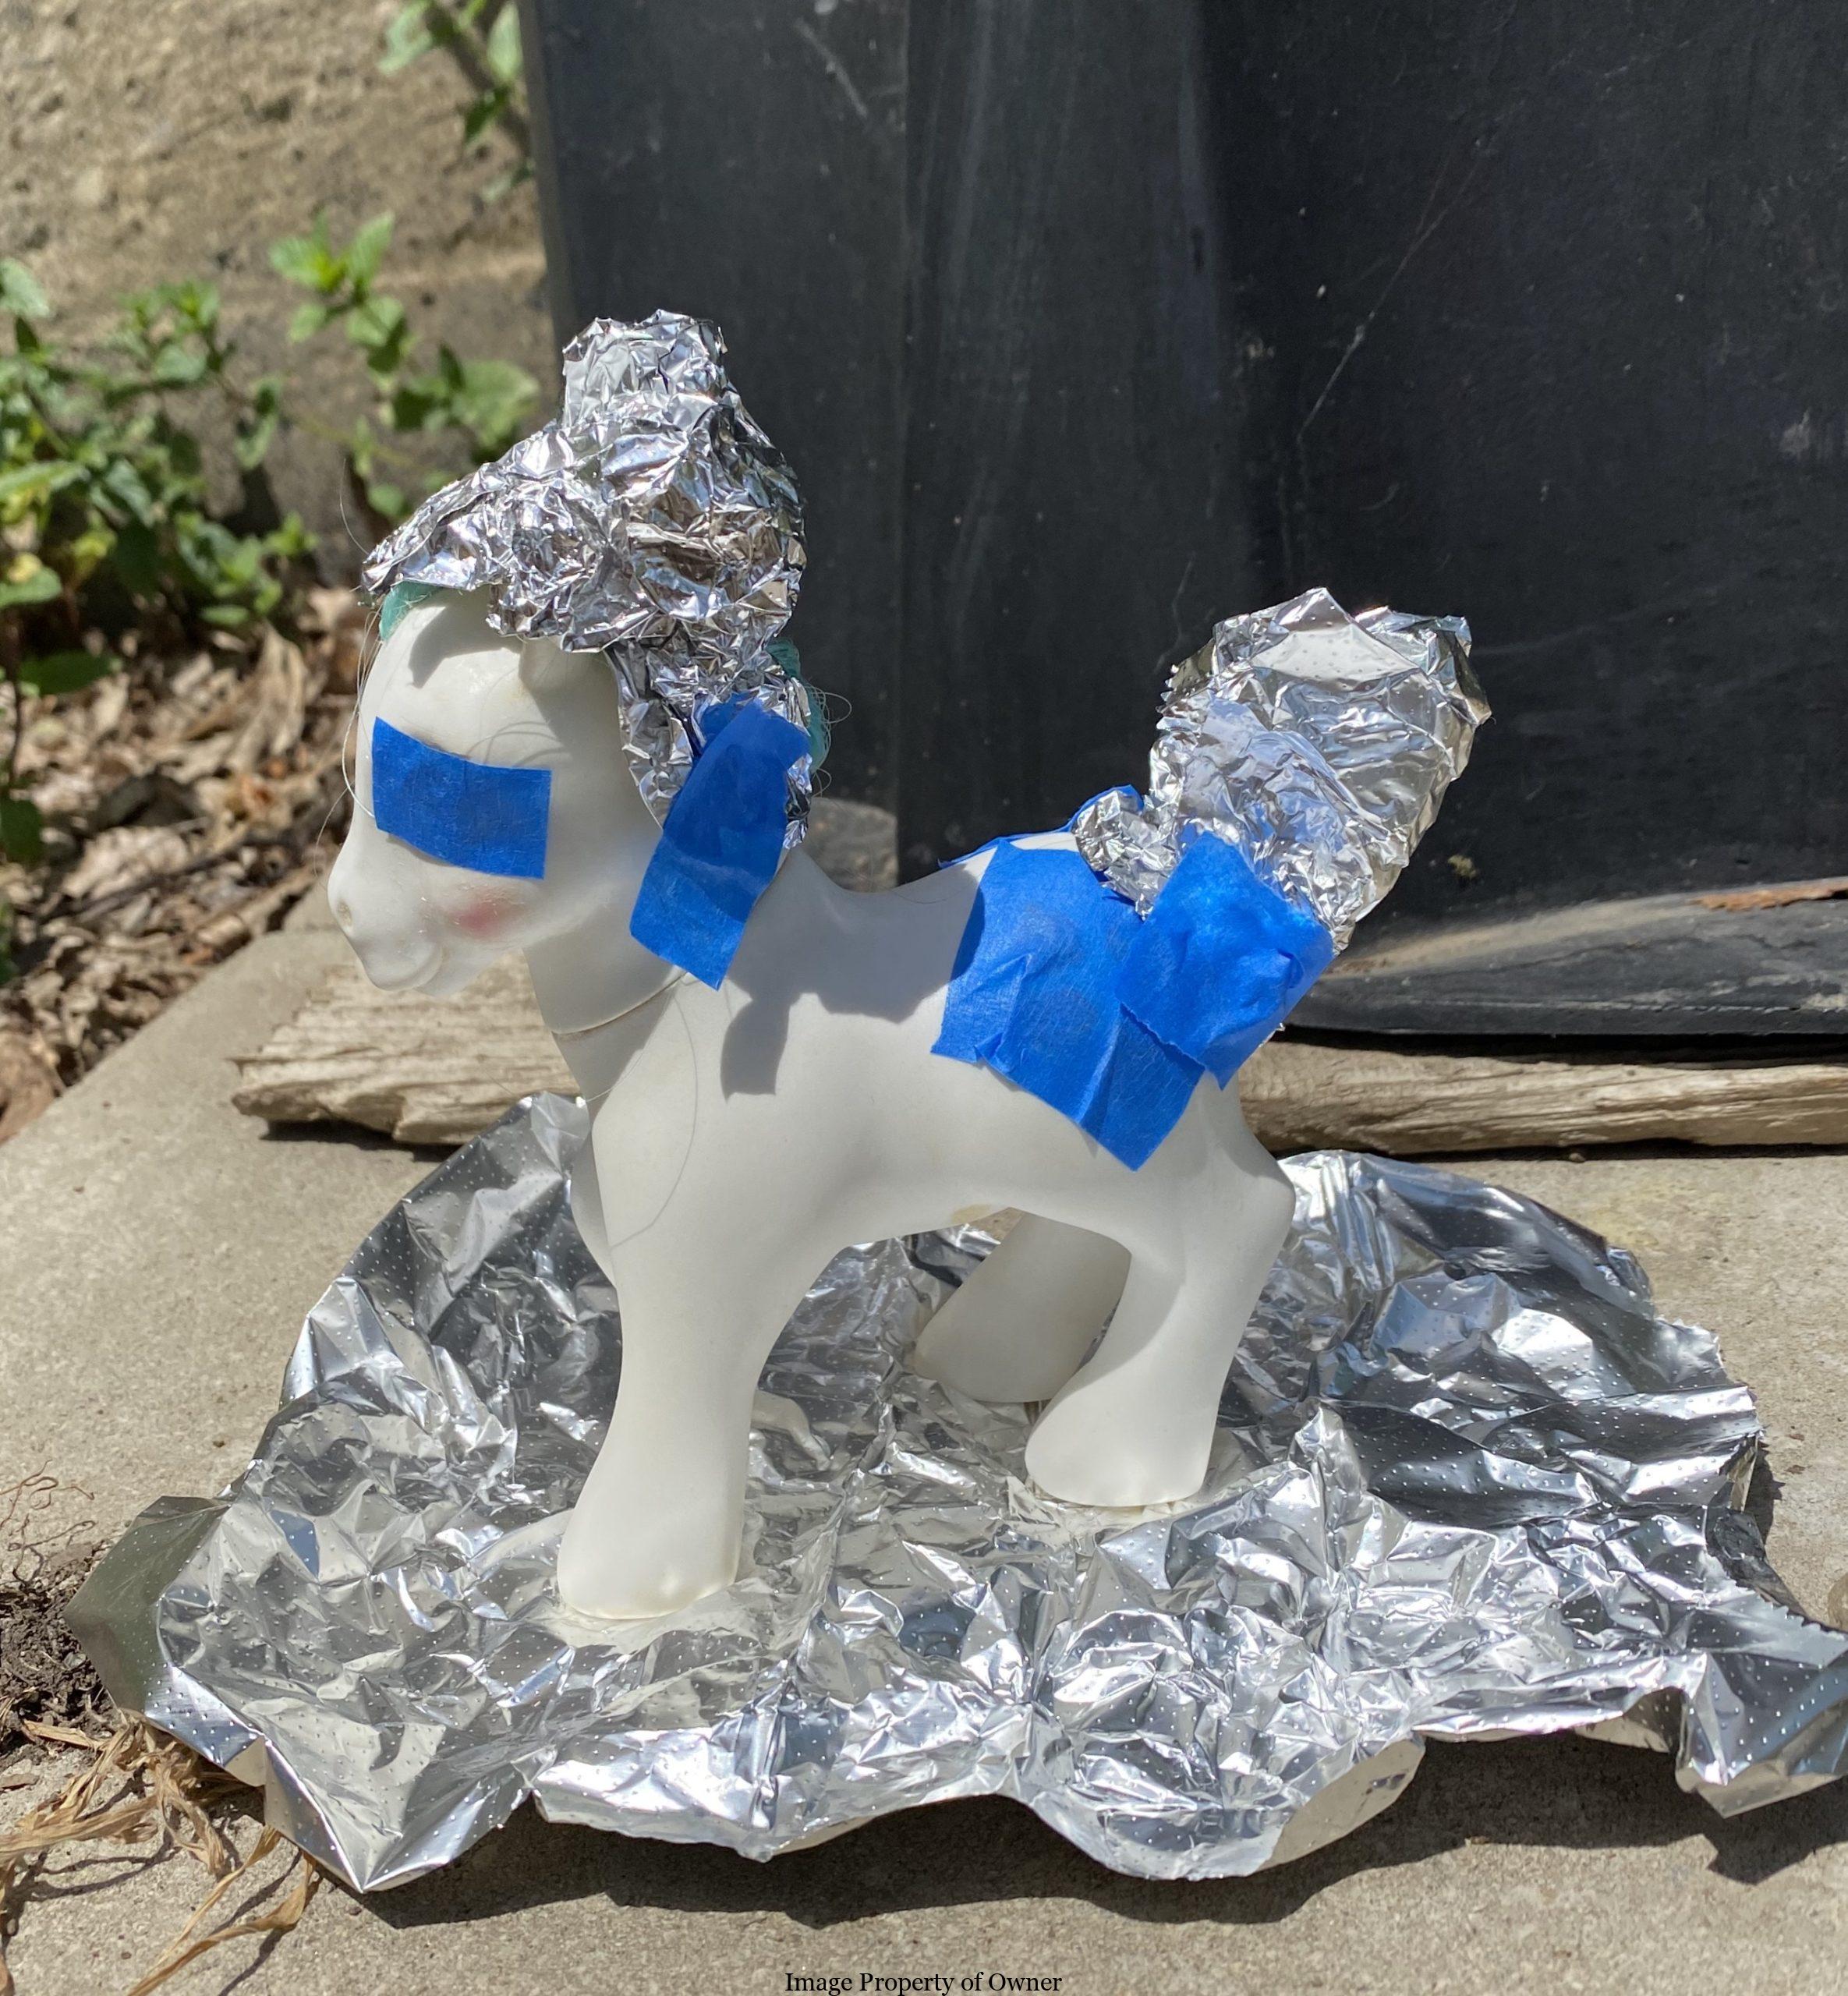
ADDITIONALLY, pony might have imperfections underneath the flocking you want to work on. In this example, Cupcake had some deep staining on her flocking I was hoping didn’t go through to the plastic (silly me) and for the most part it didn’t, but there were a couple of light stains left behind I wanted to get out. For this I decided to sun-fade. There are a lot of tutorials in sunfading but frankly I am lazy so I did the easiest way- covered Cupcake’s eyes and symbols with blue painter’s tape, covered her hair in tinfoil, and set her outside in full sun on a hot day sitting on another piece of tinfoil to reflect up onto her belly where one of the stains are. I had first tried a Mr. Clean Magic Eraser but it didn’t tackle those stains at all. After 3 days in full sun for approximately 10 hours a day in 80-90F temperatures, the light staining on her rump did ease up but the stain on her belly remained and that was ok with me.
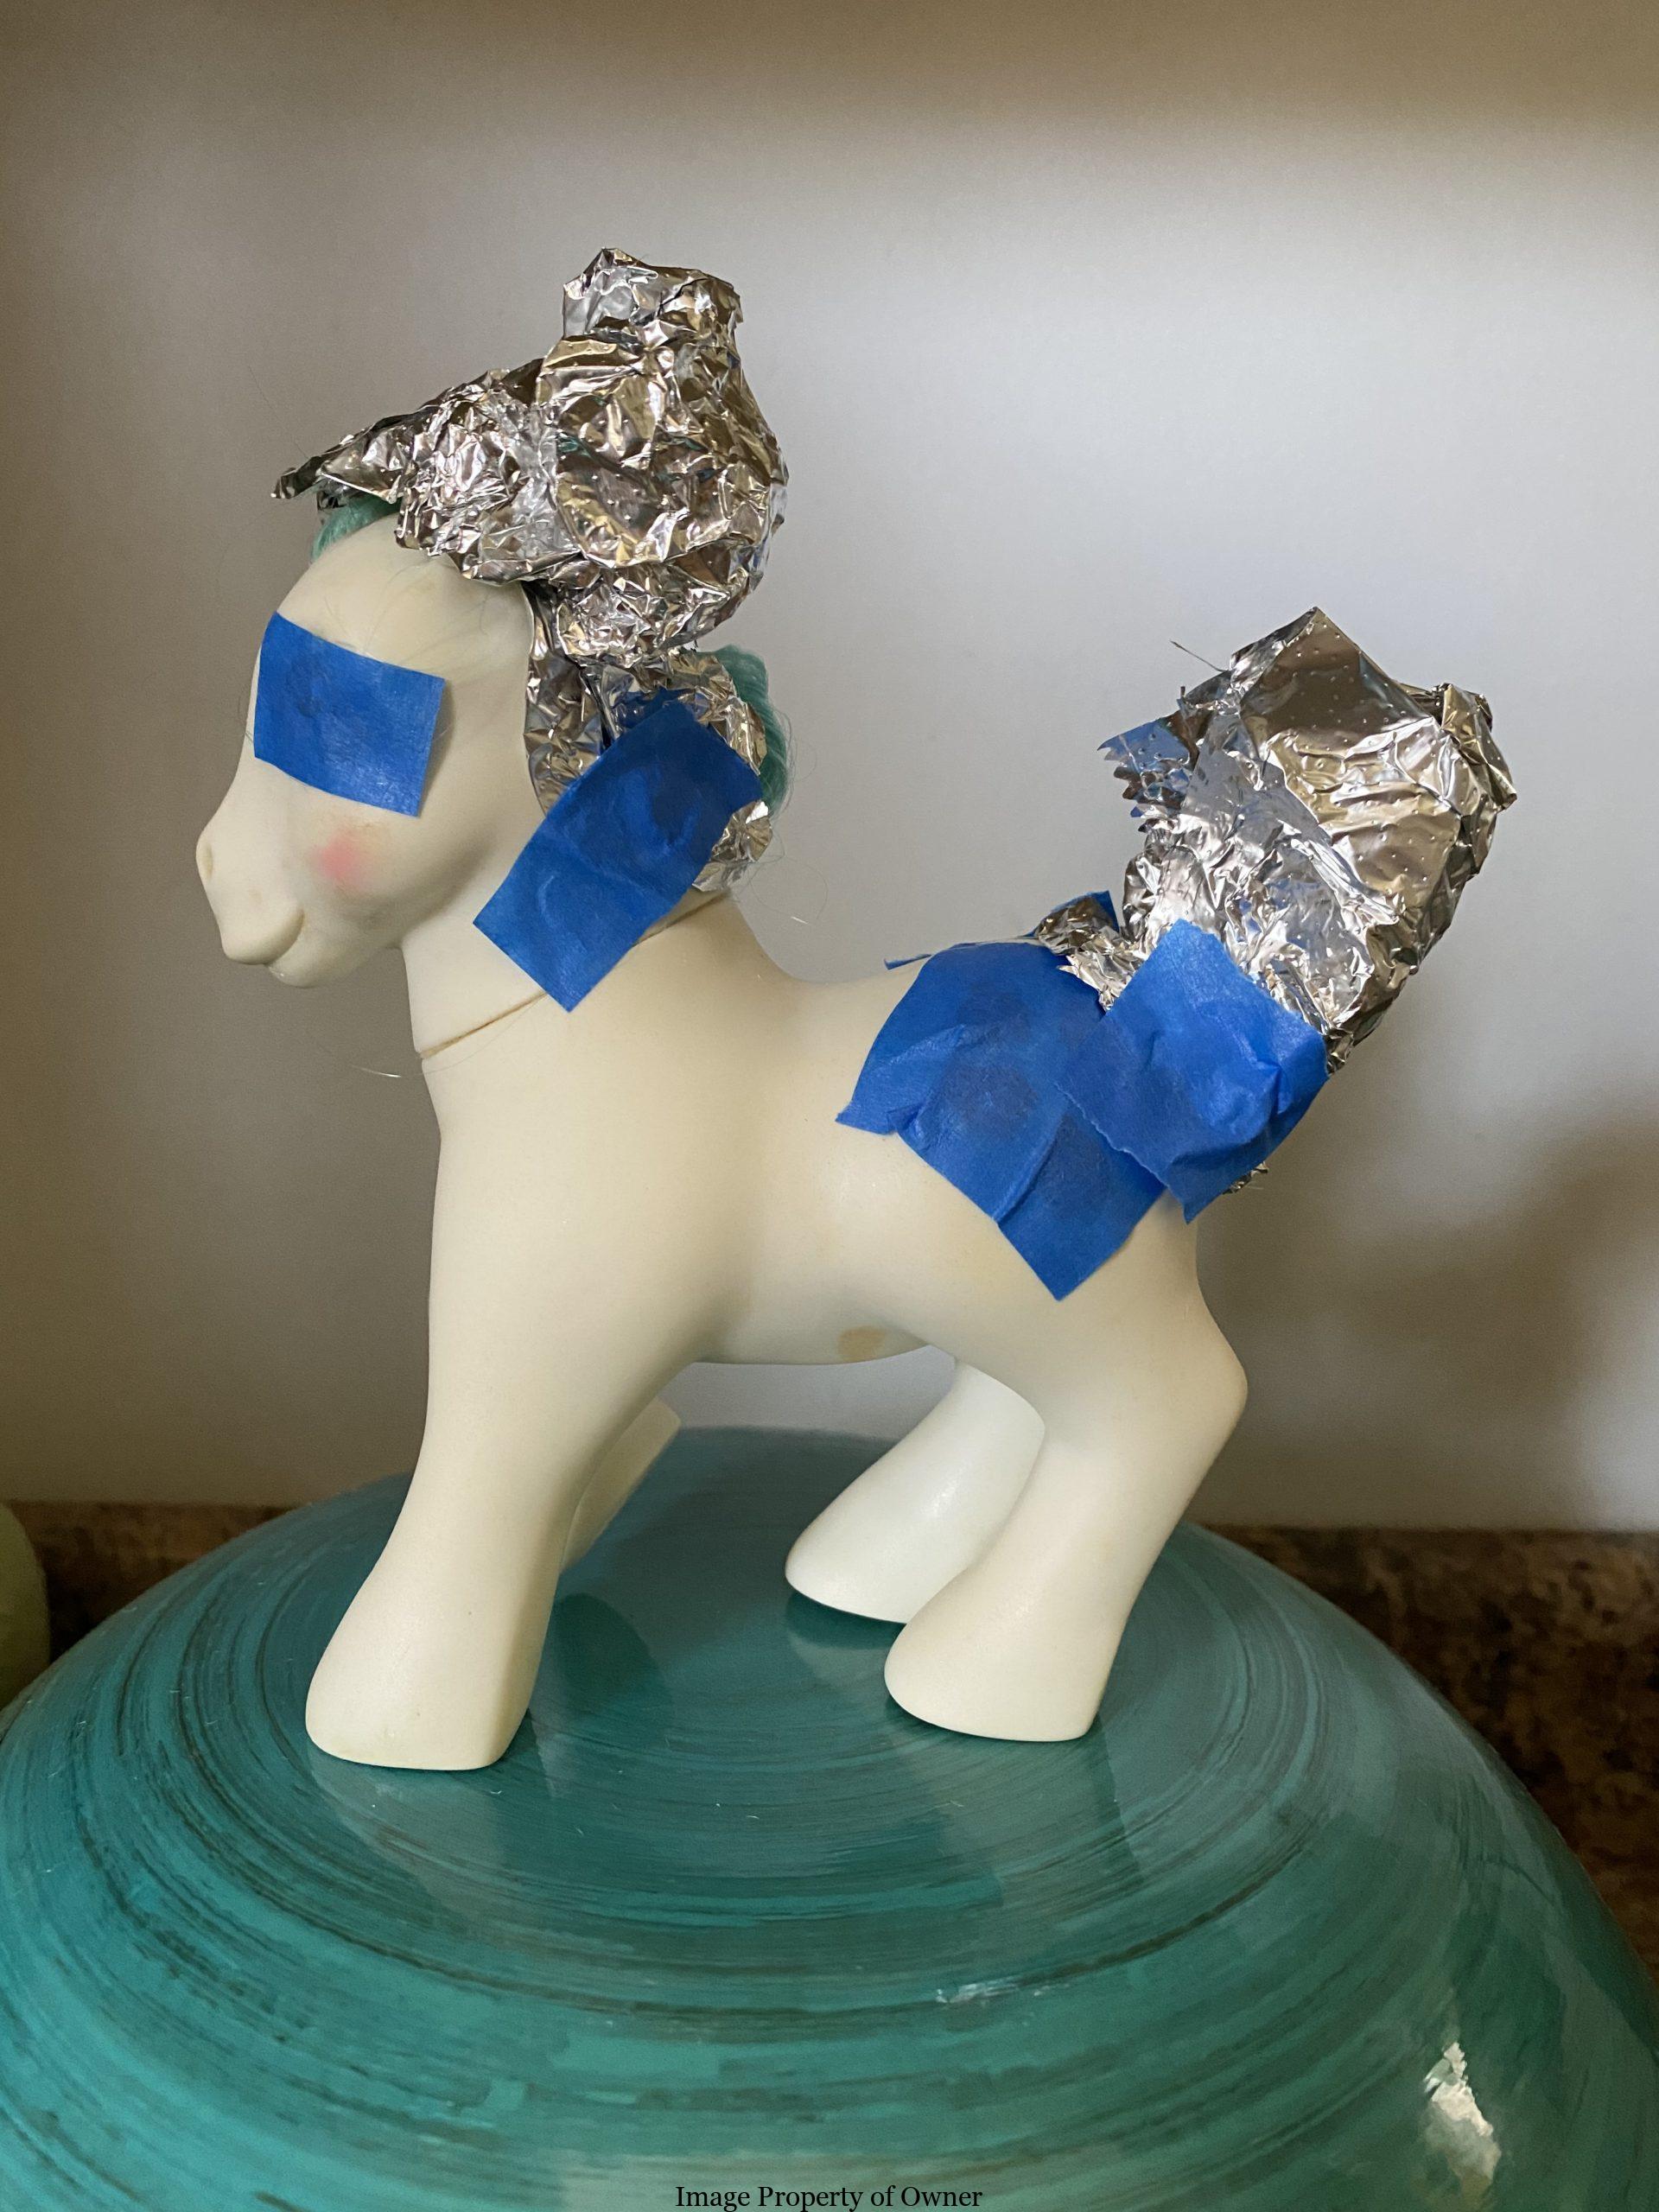
She kind of looks like she’s waiting for transmissions from Mars…
LASTLY, while you shouldn’t have dumped acetone in pony’s hair, a tiny bit probably got in there and pony will totally enjoy a nice wash and conditioner. Cupcake had some frizz so first I boiled a cup of water and lowered her into it (carefully avoiding water up to the tail washer) for about a minute each for mane and tail. Using a fine metal comb, I combed out each section of hair to get the tangles out. If you’re not working with frizzies, simply wet pony’s hair and tail and work in some good conditioner. Many restoration collectors swear by a certain brand but I use Mane ‘n Tail on my own crazy dry hair anyway, so that’s what I use. Hang pony upside down so water doesn’t get in through her tail/hair plugs and leave conditioner in a couple minutes. Rinse out carefully and style by wrapping the mane around her neck and then wrapping a piece of kitchen paper around this. It usually sticks just with the water but you can also tie or tuck it carefully around to secure it. For tails I just wrap the tail around a leg to curl and secure with kitchen paper. Left overnight to dry and then removed, the hair usually retains a nice soft curl.
And now your pony is ready to stun her pals in the stable with her complete makeover!
FINAL NOTE: if you ended up wiping out eyes or symbols (and I pulled off half an eye after all that work, lol), you can easily repaint them with any acrylic paint and a fine brush. I used a size 2 round brush but you can use down to a 0 or a “liner” brush and keep your hand steady. If you took off glitter symbols people often use either glitter nailpolish and a small brush OR paint with acrylic and then lightly paint on clear-drying glue and sprinkling over very fine makeup glitter to touch up.

The windswept look
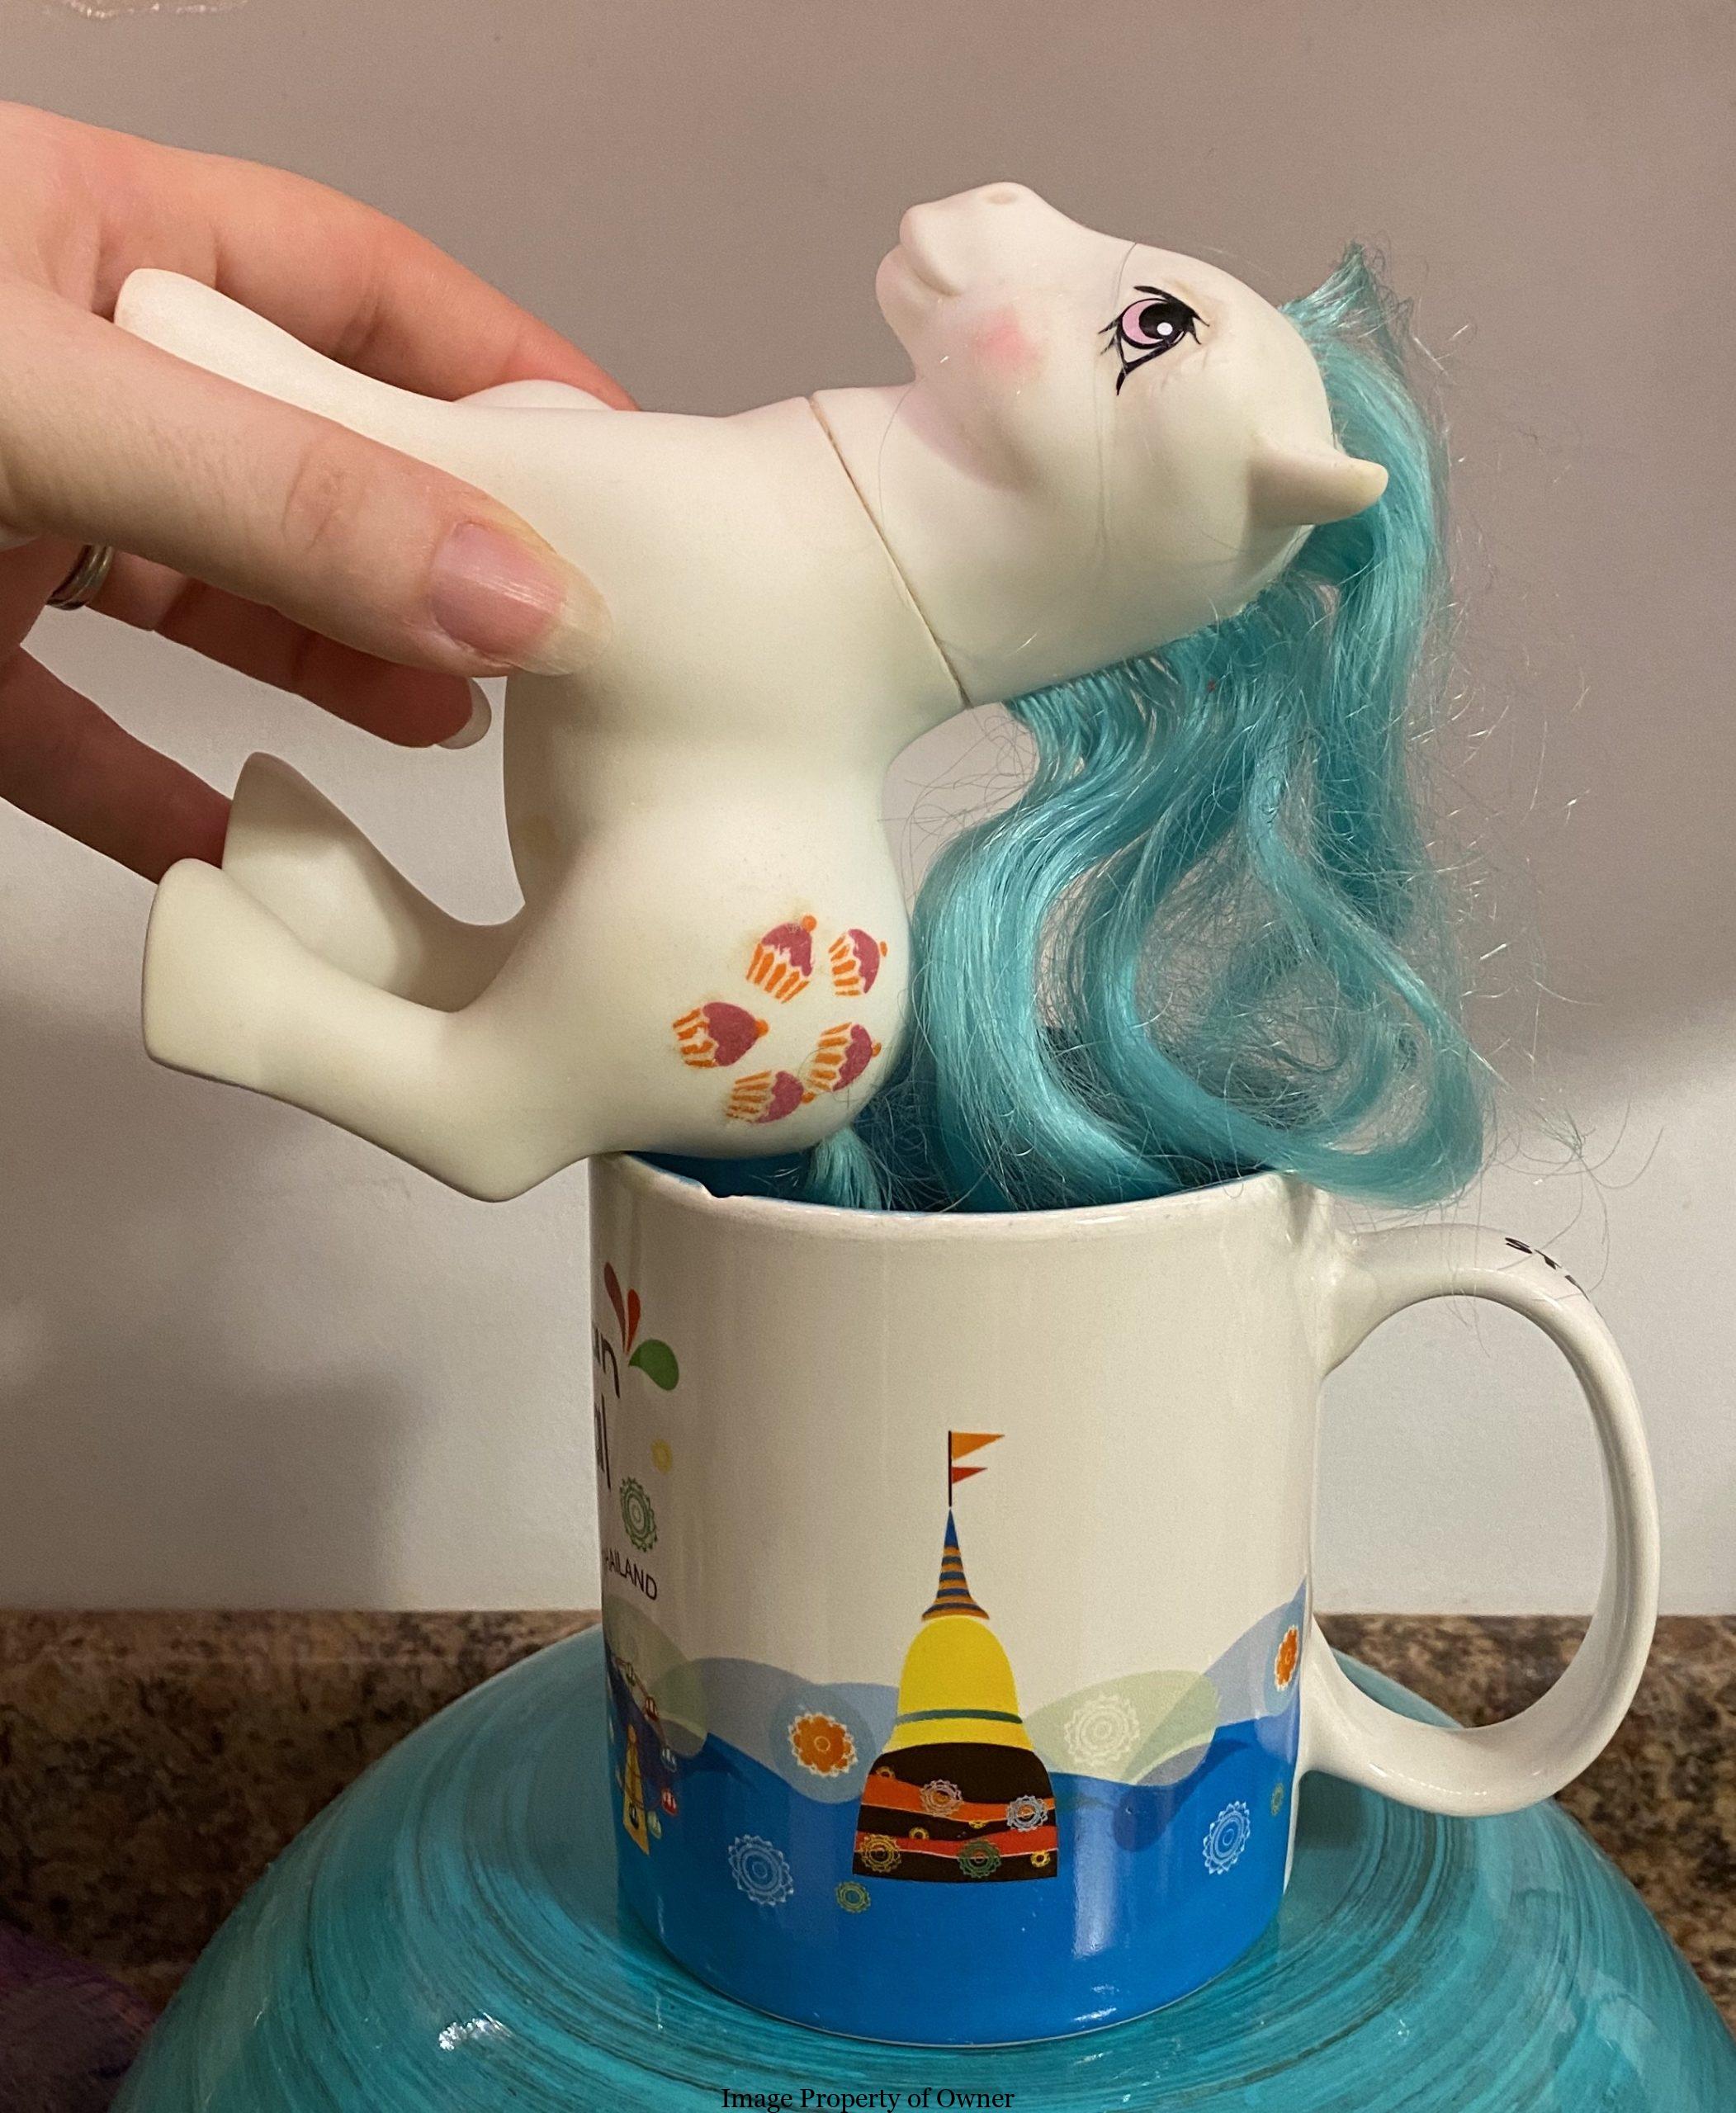
Boiling water to take the frizzles out.
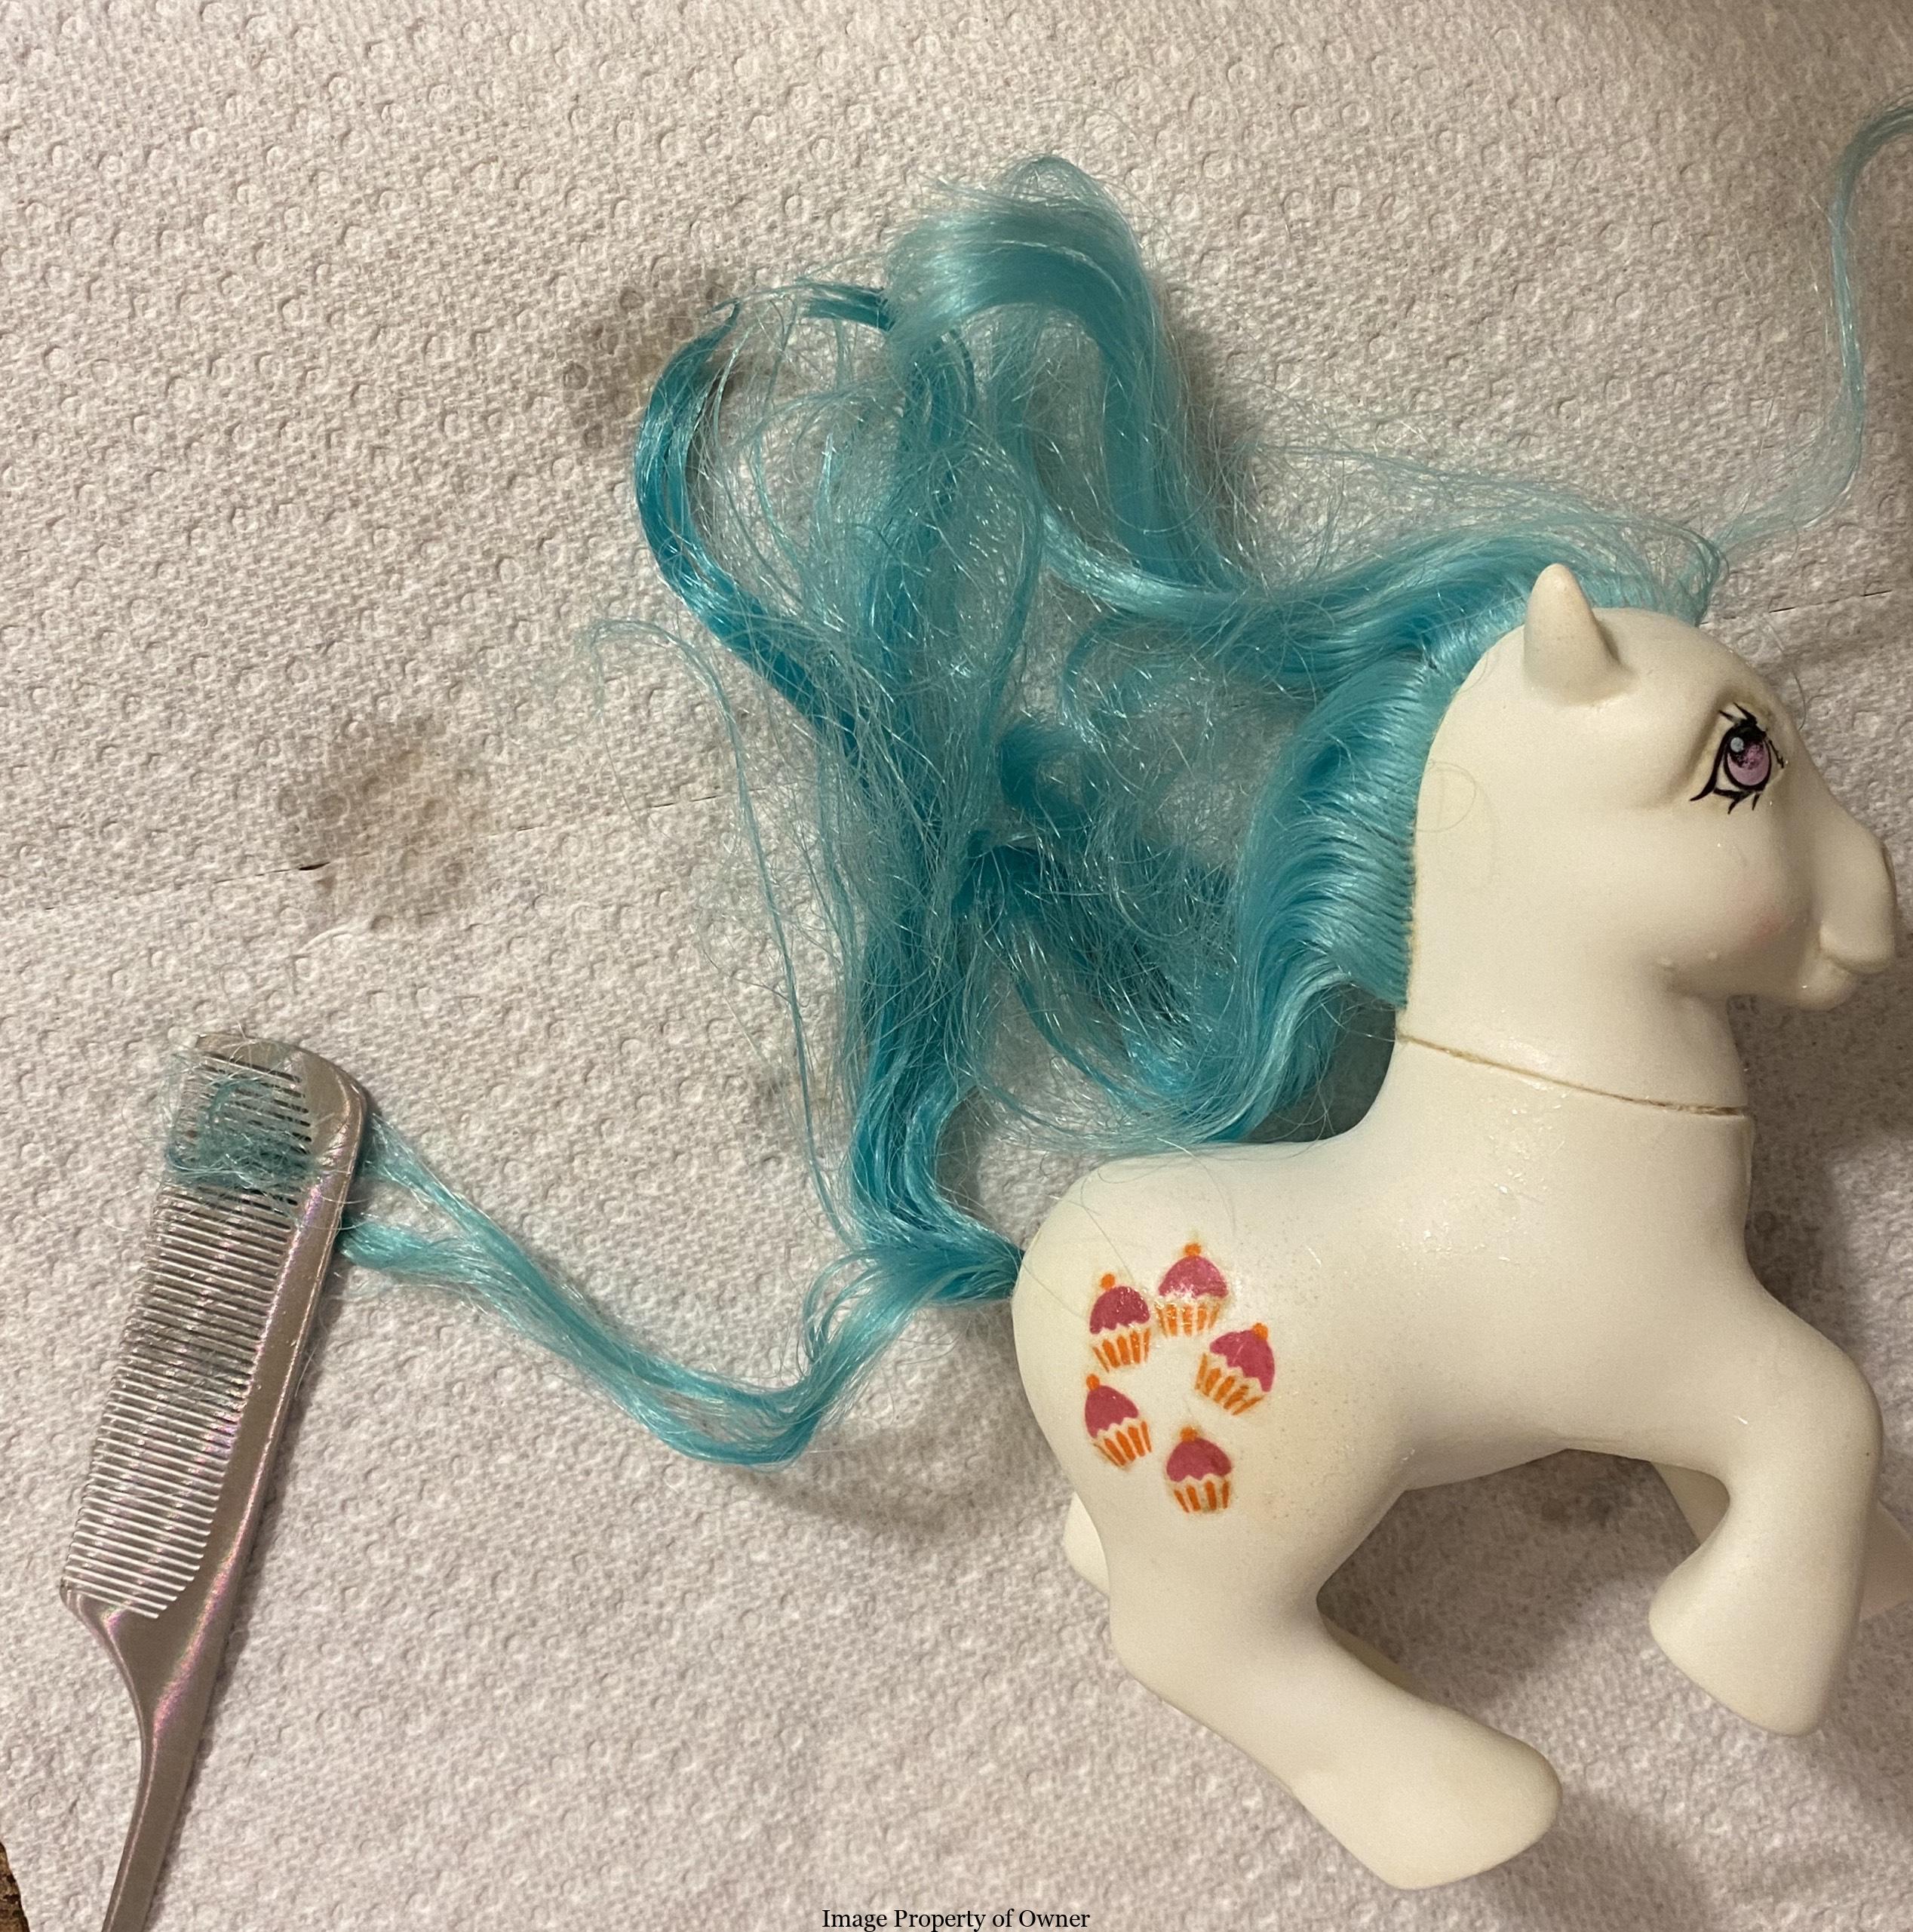
Metal, fine-toothed comb to comb out stubborn tangles.

All conditioned and ready to style.
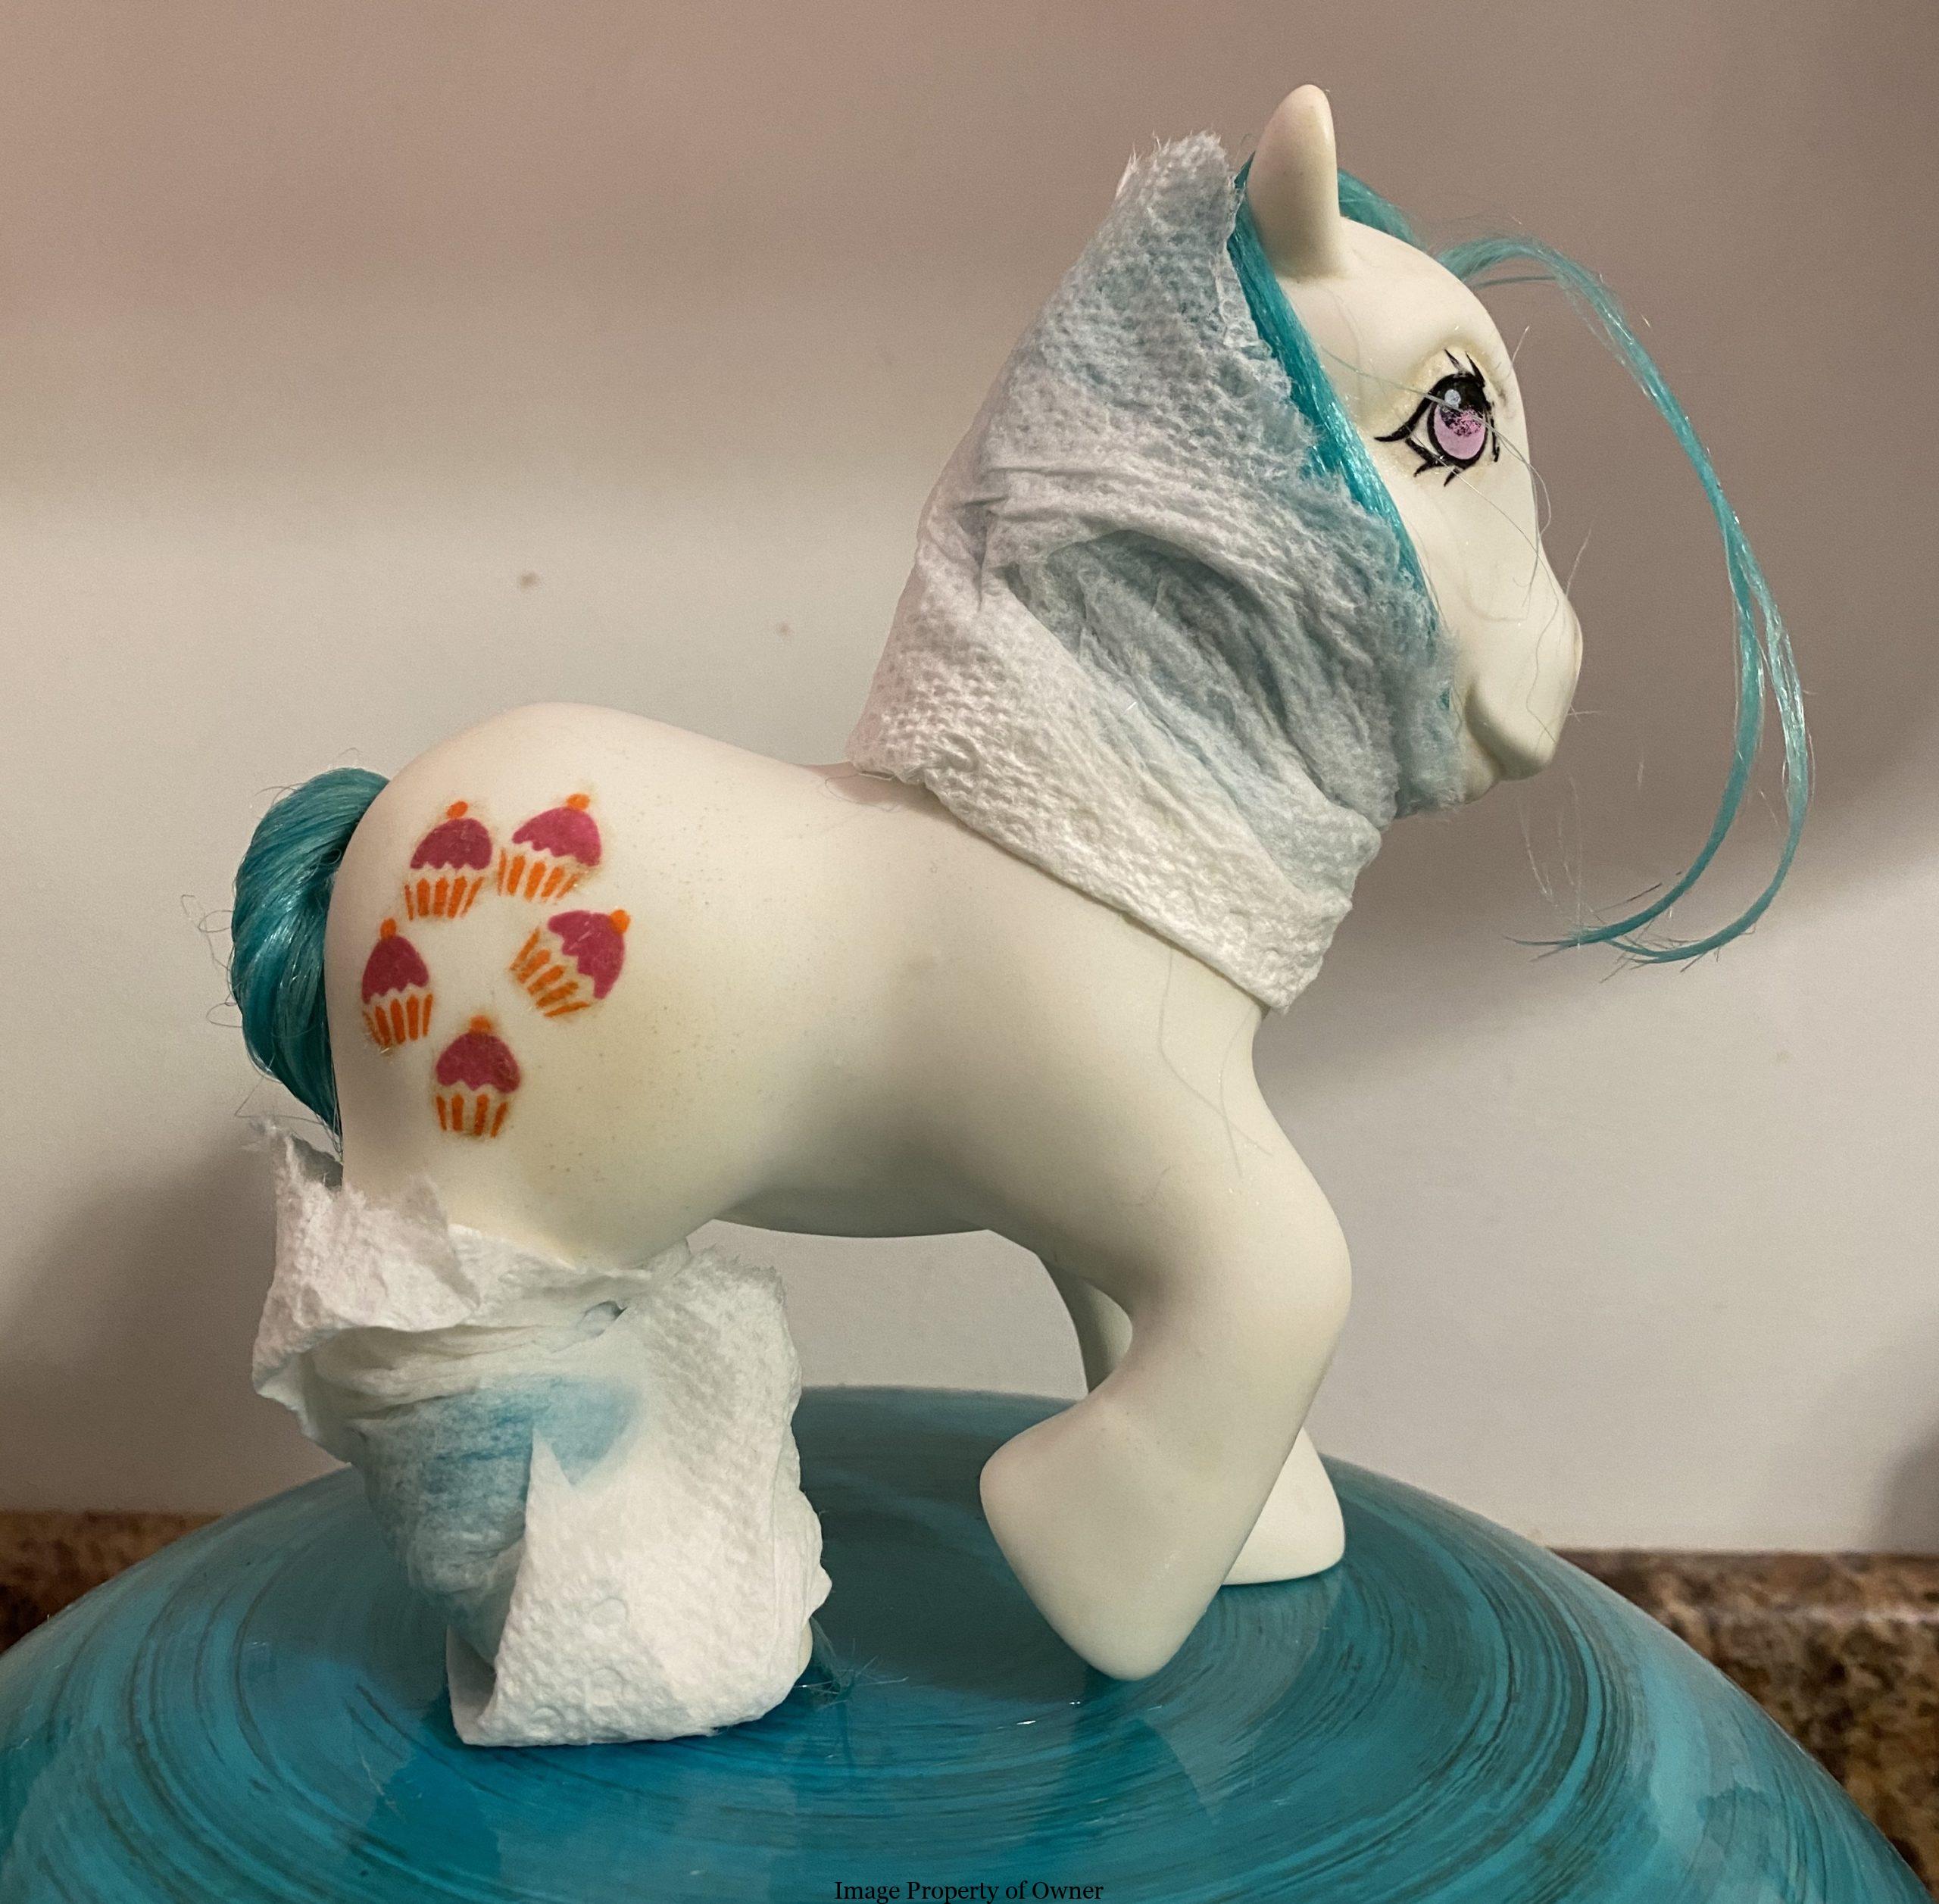
Plain old kitchen paper to curl and set. I love that forelock- I’m going to let it go as wild as it pleases!
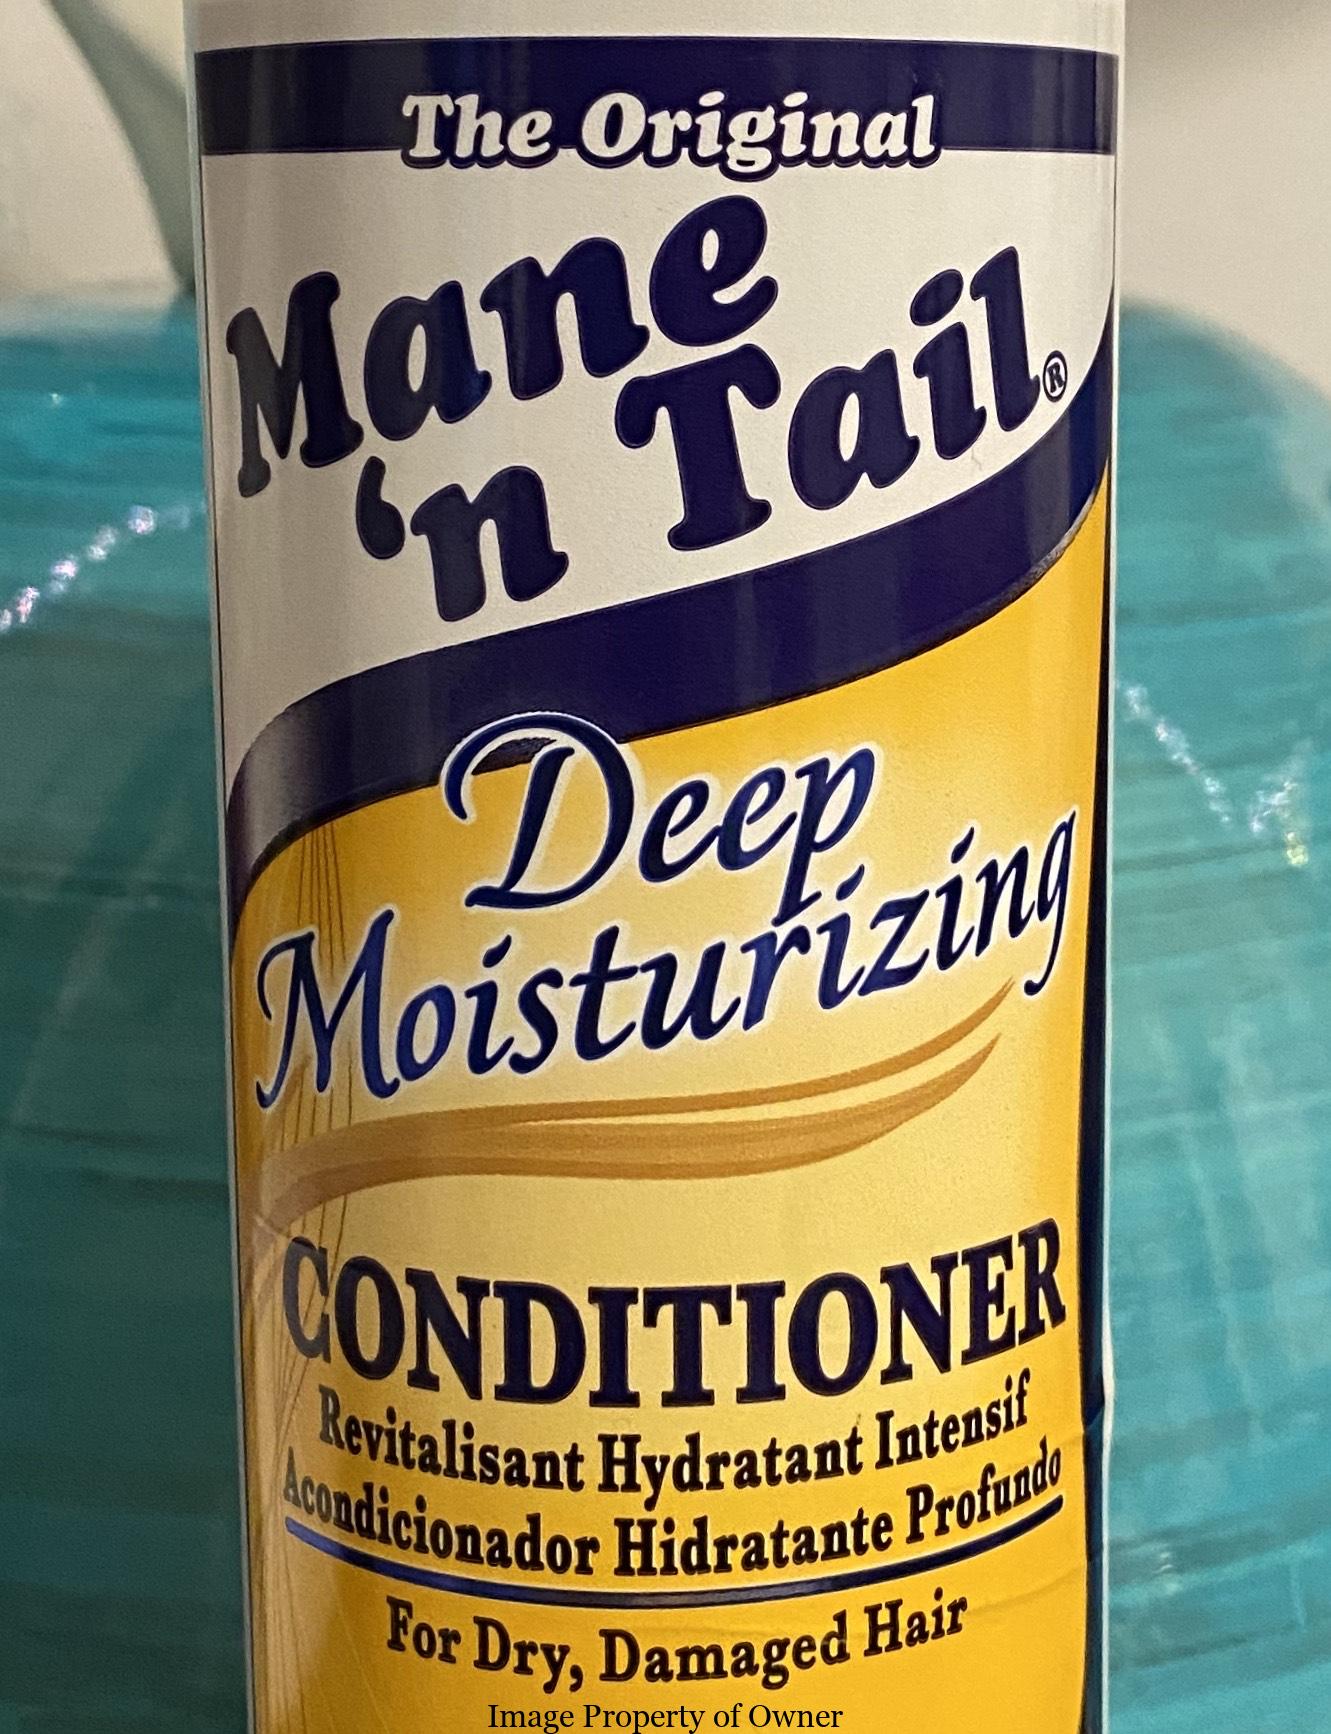
Mane ‘n Tail conditioner- I get mine from Amazon or Target
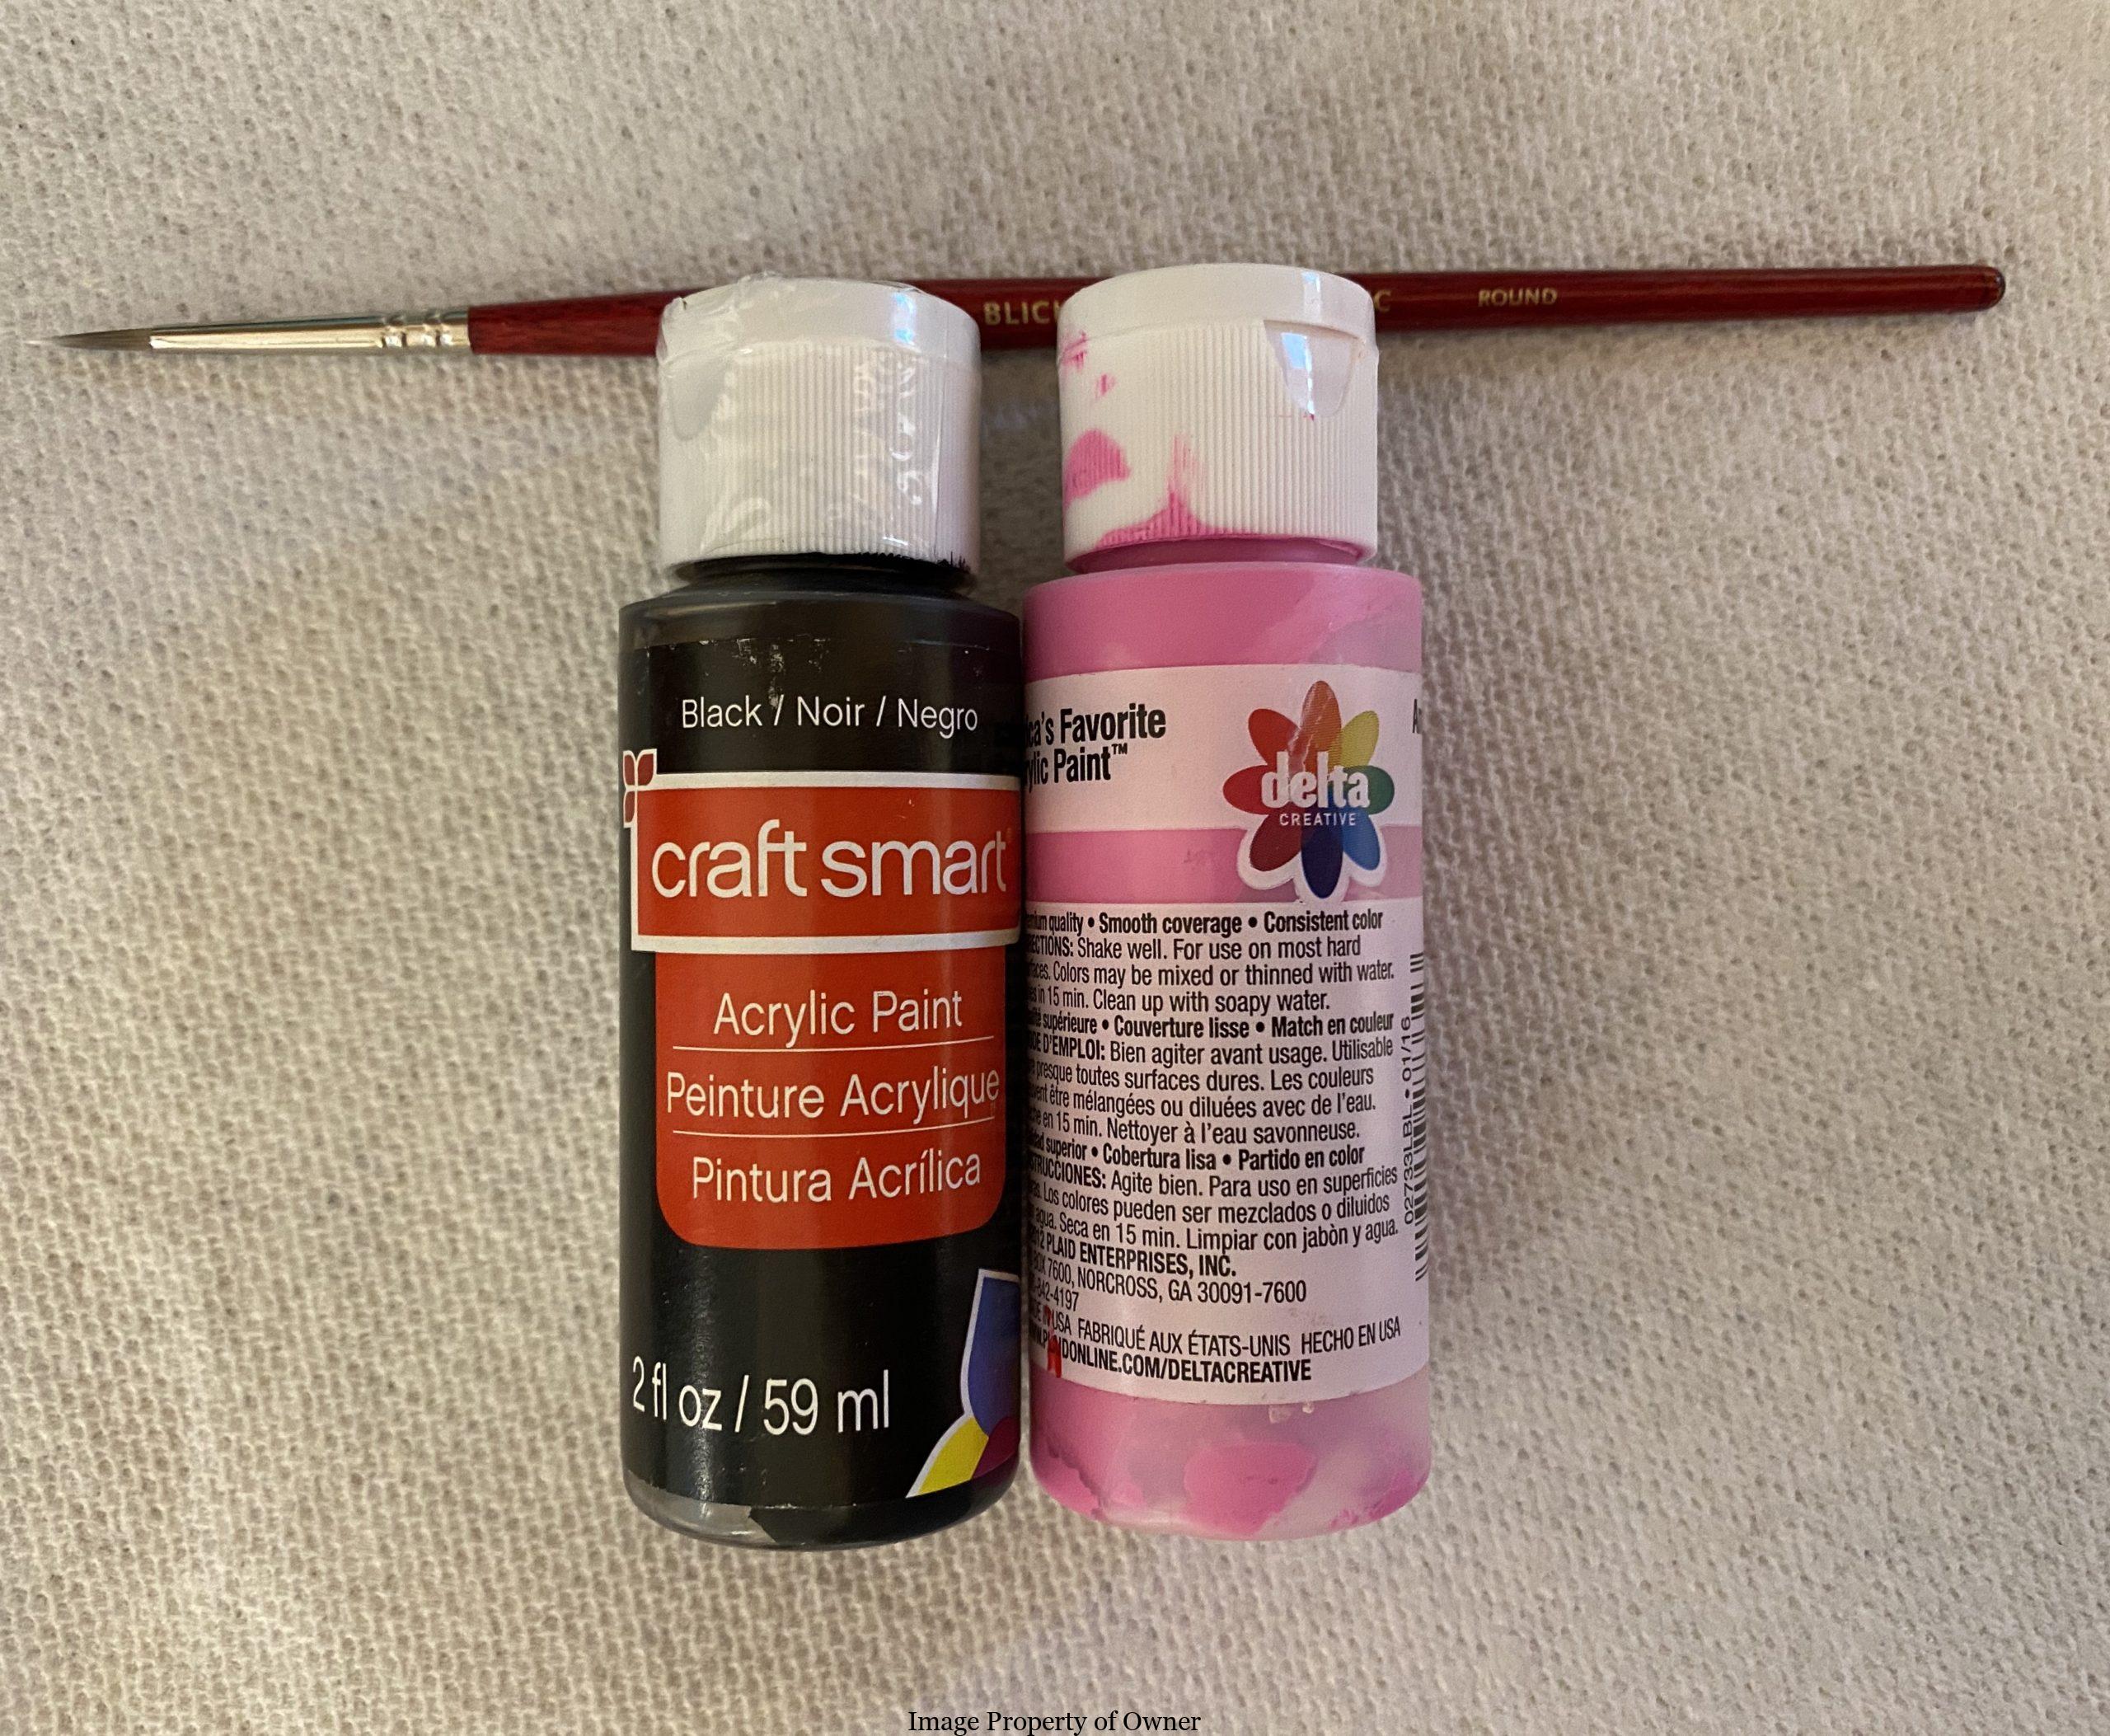
Acrylic paints to touch up flaws
All done and ready for her closeup!

Some stains are just too stubborn!
All done and ready for her closeup!
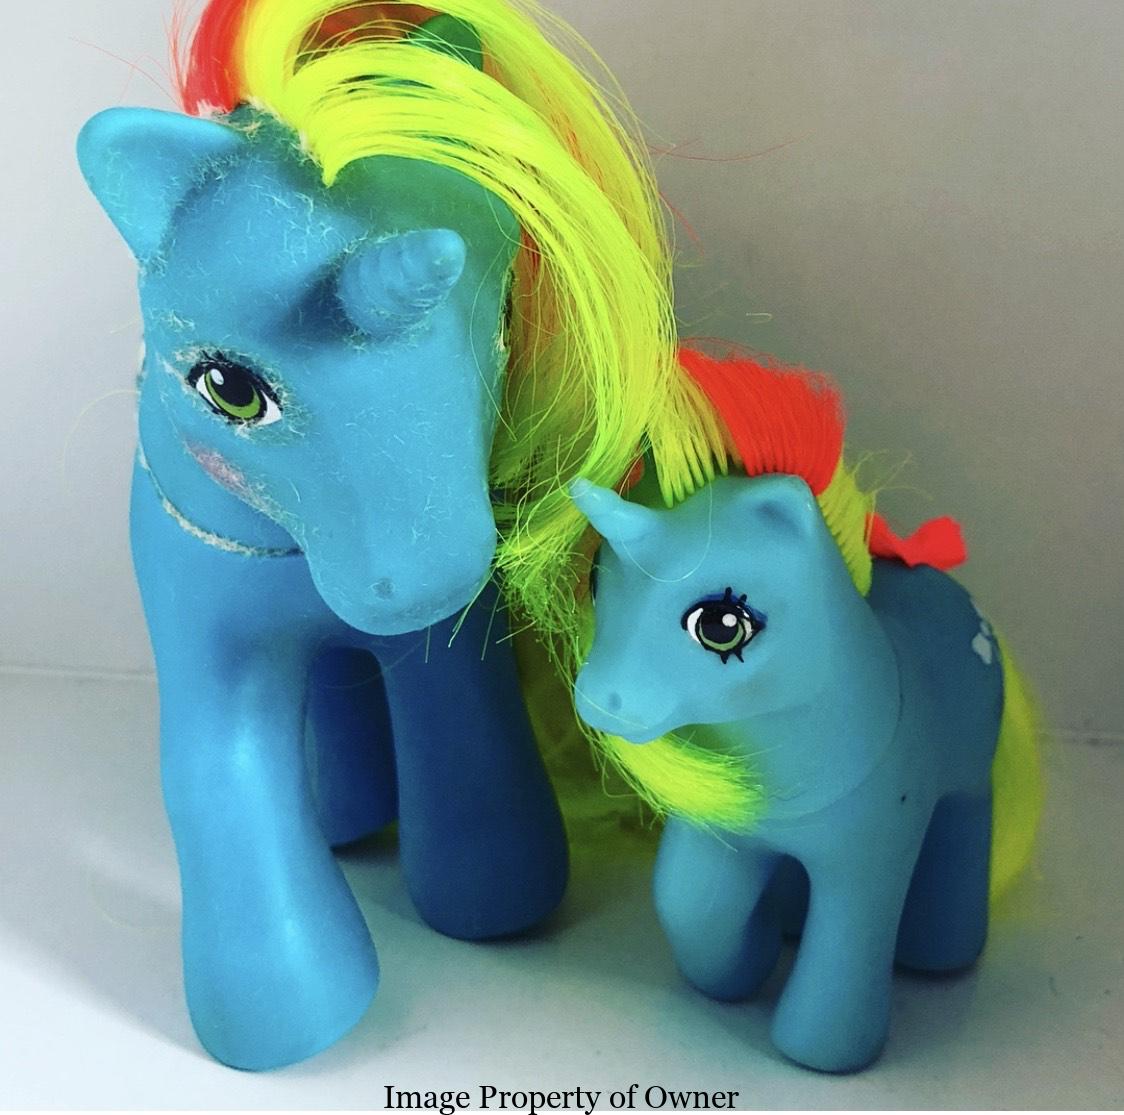
MLP So-Soft Ribbon and BBE Baby Ribbon- mummy is deflocked, BBE has custom eyes
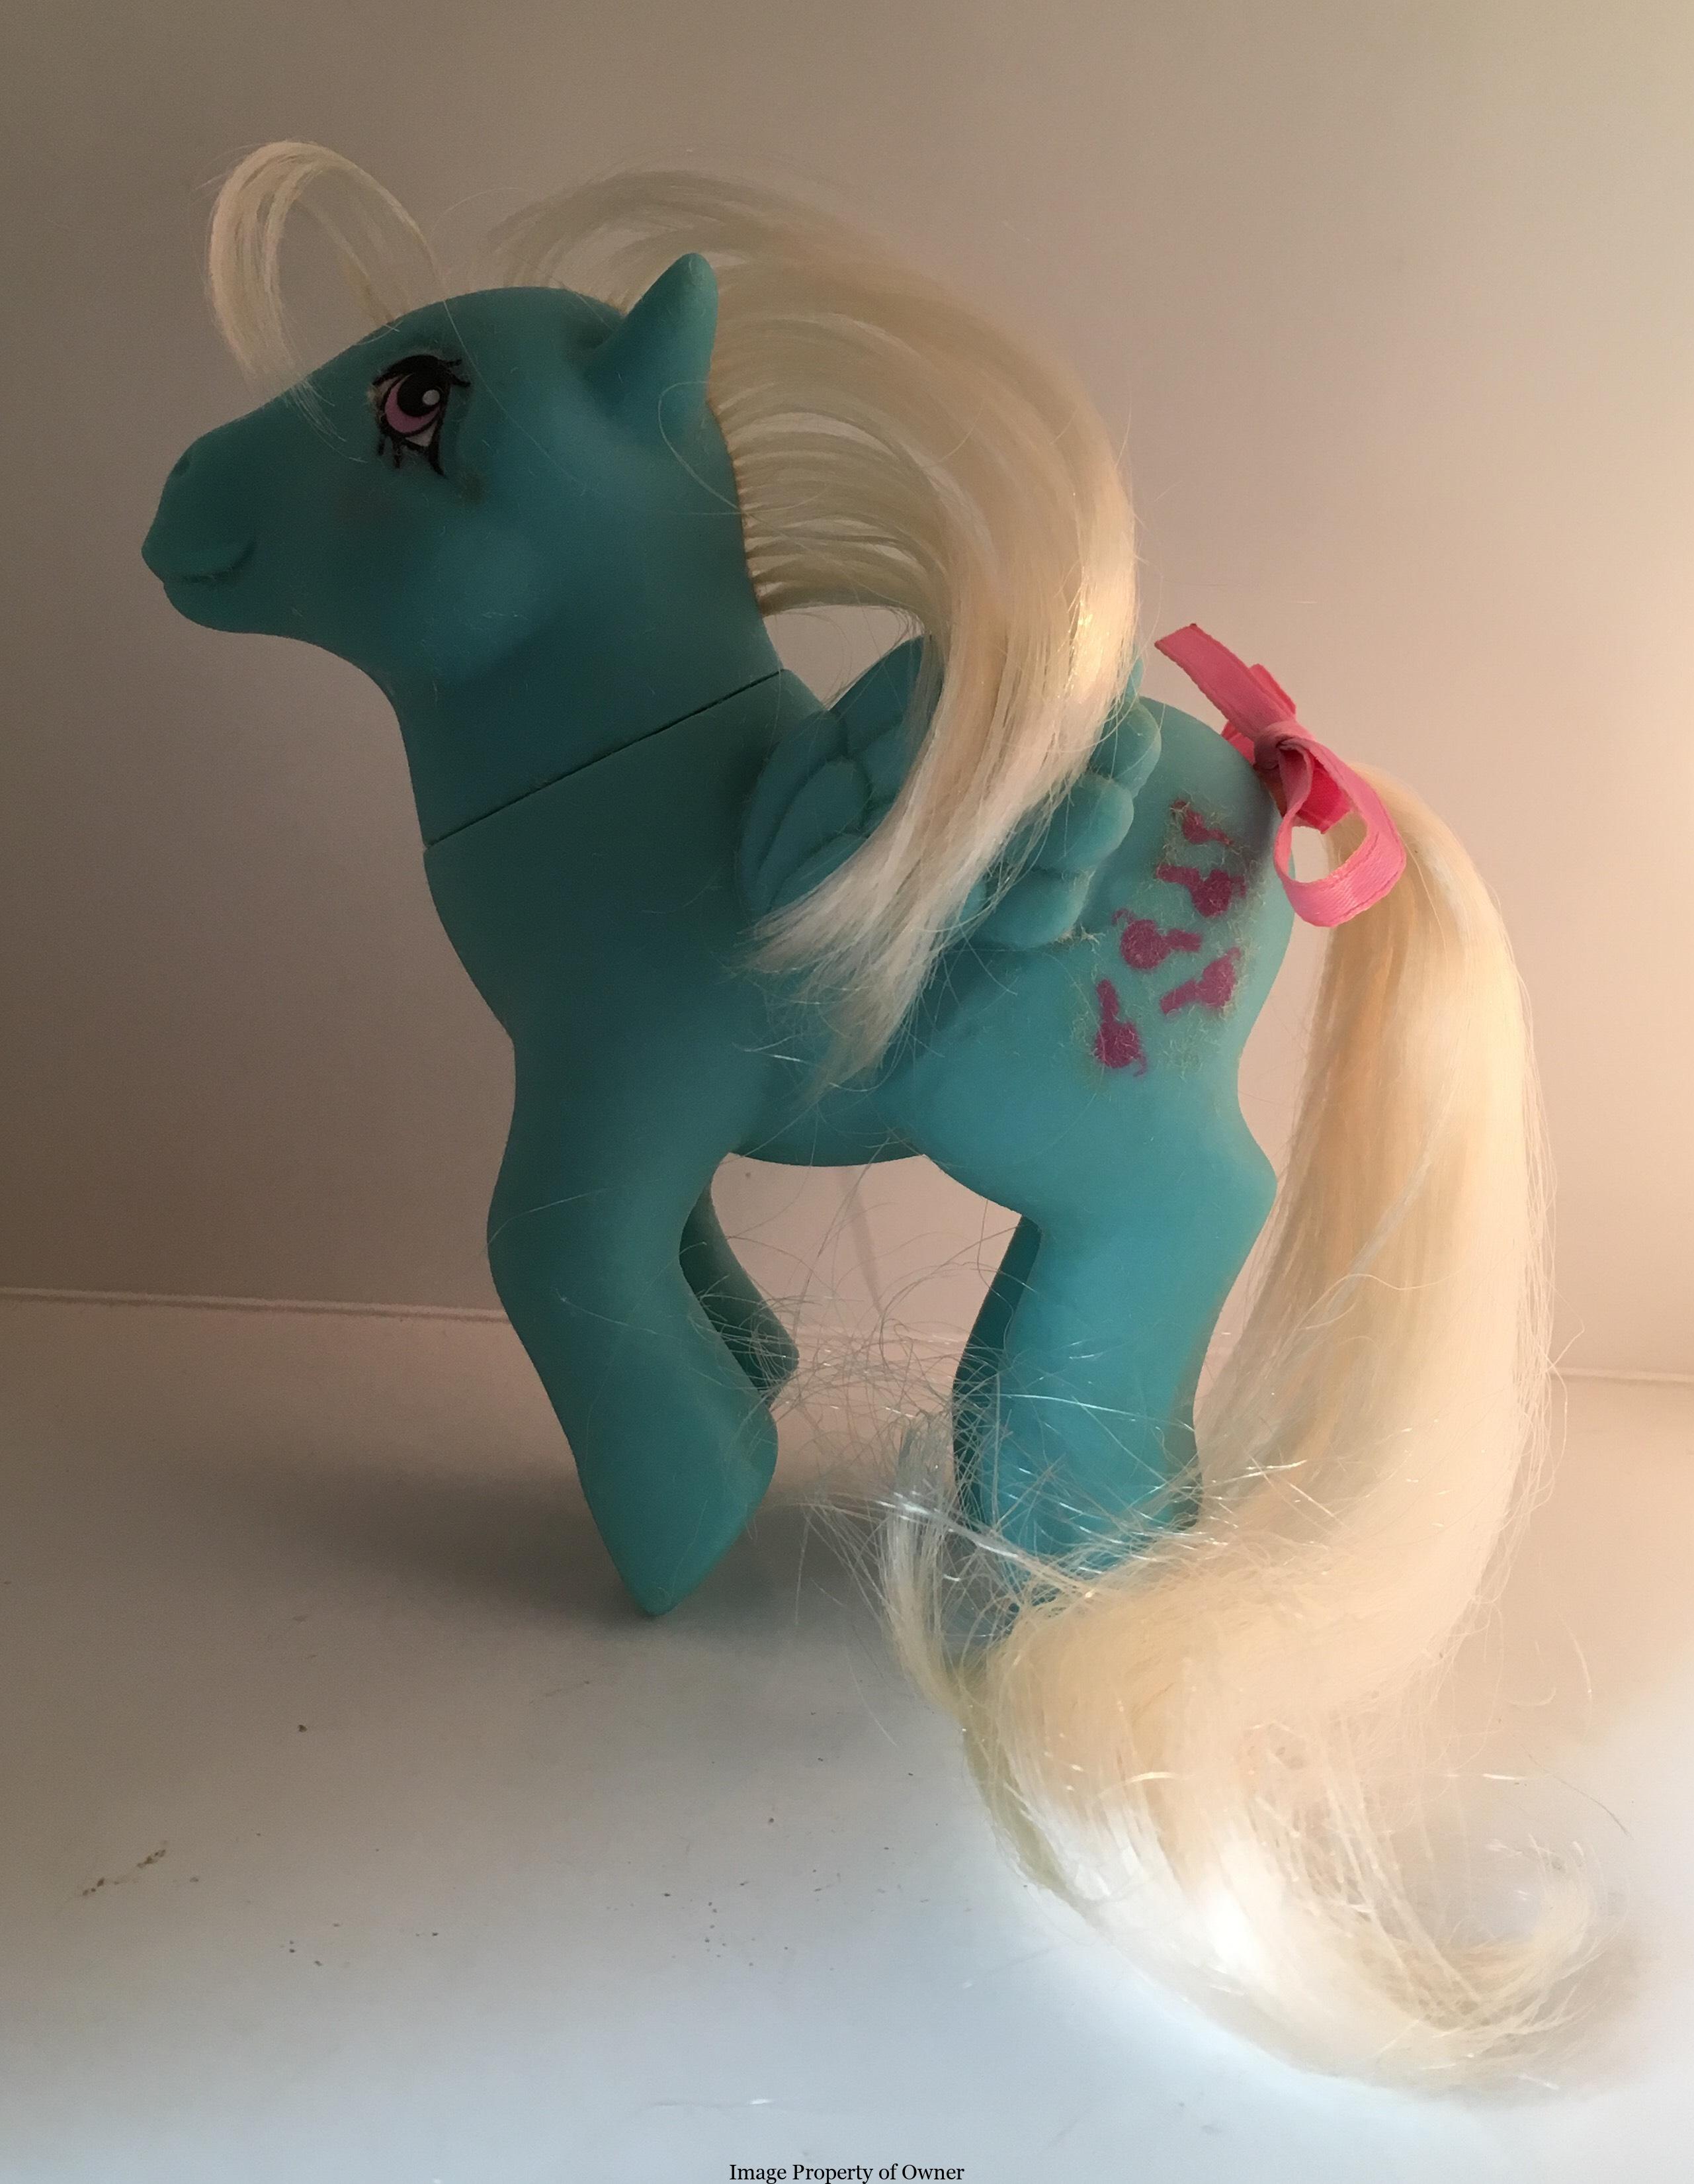
MLP So-Soft Windwhistler deflocked
MLP So-Soft Hippity Hop de-flocked

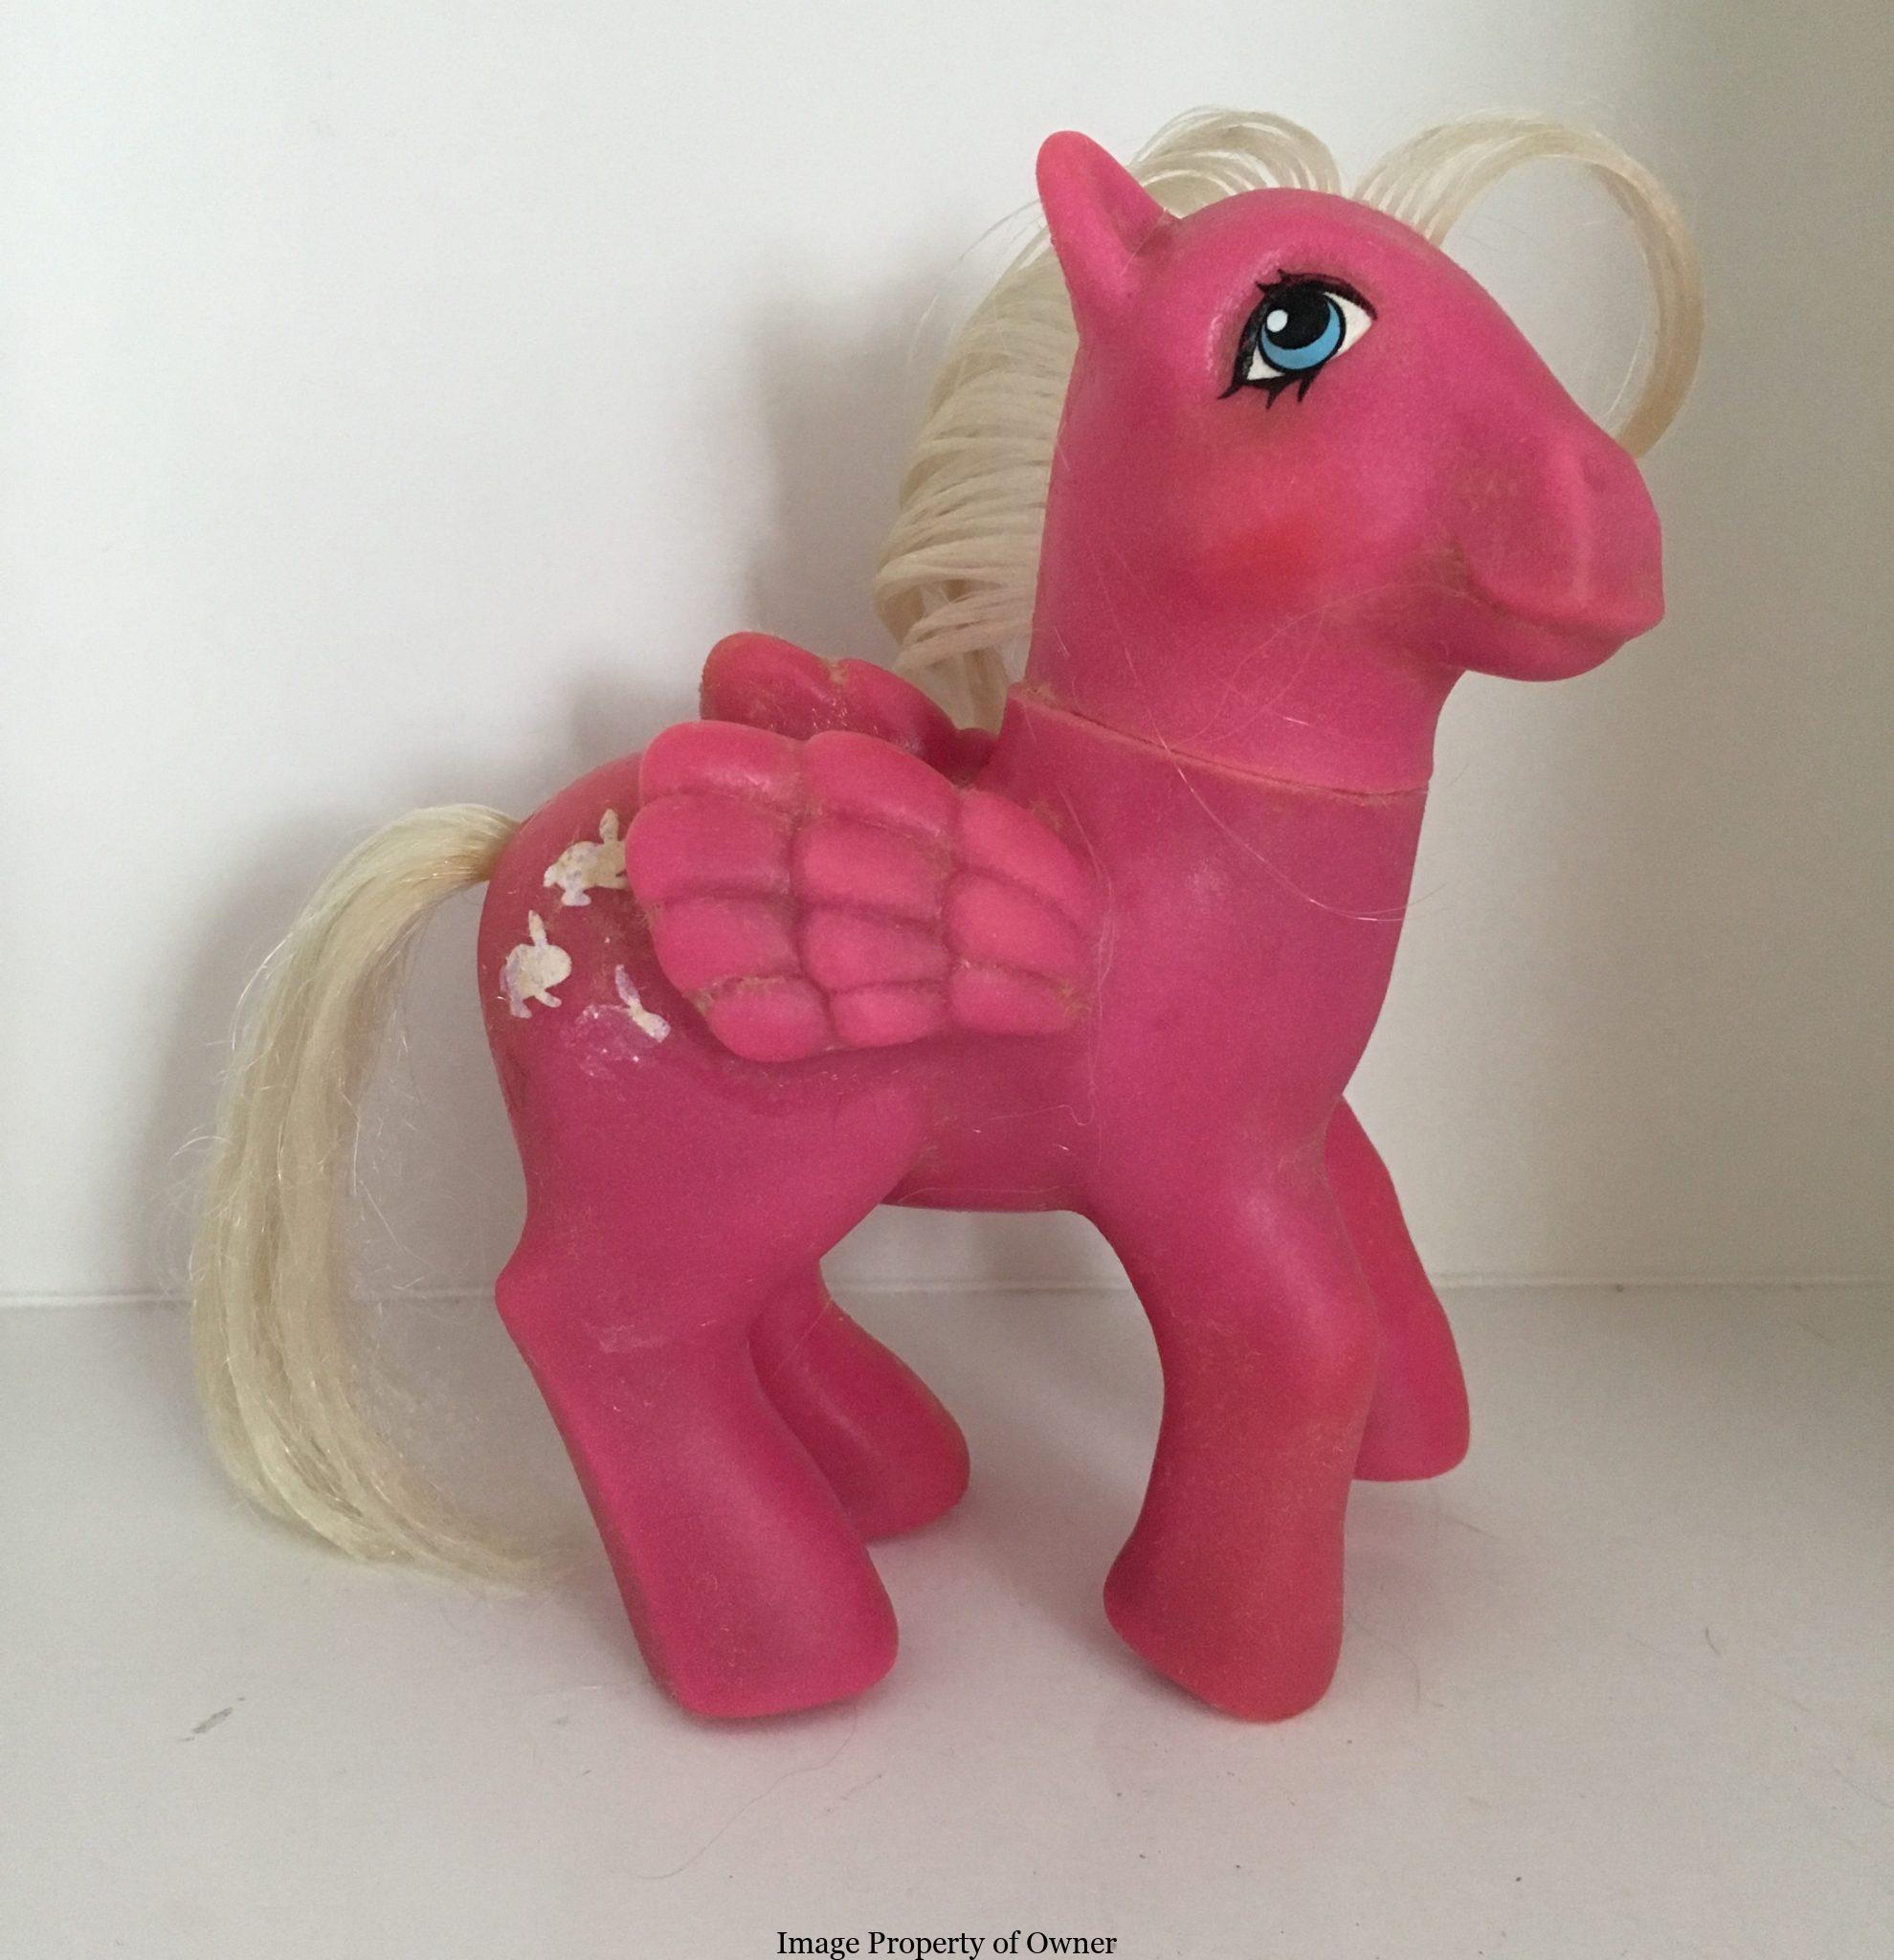
MLP So-Soft Paradise deflocked